Product Showcase - Interior Mobo Compartment
Product Showcase - Interior Mobo Compartment
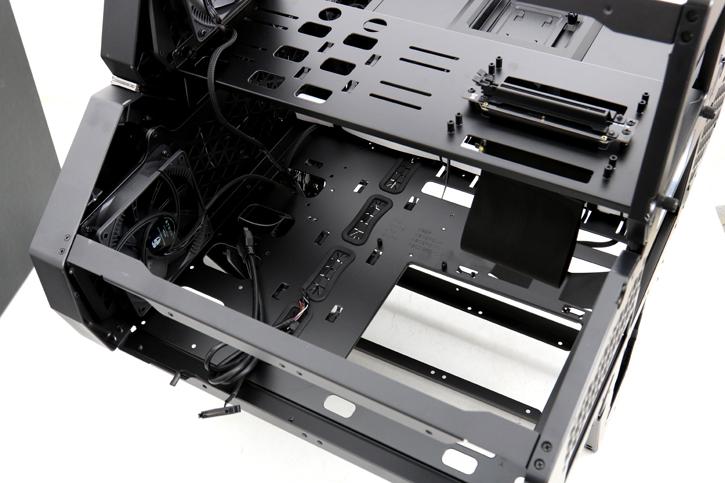
It is time to gather some gear and build us a PC. In the upper photo, you can see the motherboard tray, which is HUGE. For more easy installation I do recommend you to remove the GPU bracket, as it is removed easily. As mentioned, up-to E-ATX motherboards will fit. You'll notice grommet holes (rubberized) and even a massive motherboard tray cutout so that you can easily access a cooler mount from the rear side of the motherboard. While there is plenty of space there will be restrictions due to the compartment height. Your CPU cooler can only be 110mm height max and the Liquid Cooler radiator is limed as Front: 120/240/360mm and at the bottom: 120/240mm.
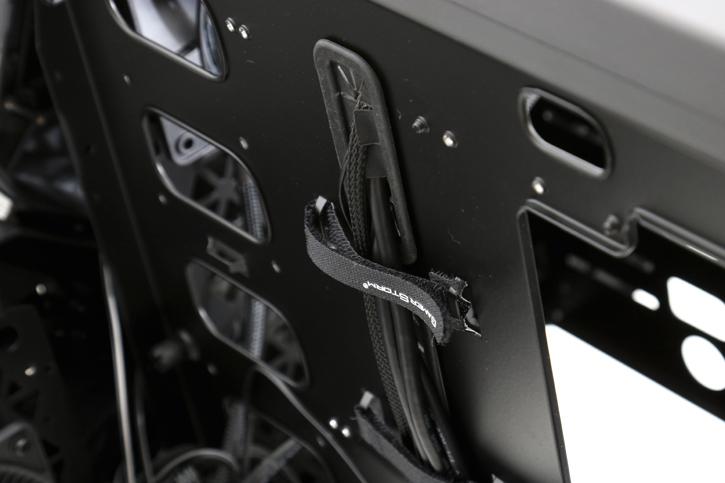
At the rear side of the motherboard, we notice nicely implemented velcro ties, and yeah gaps and holes everywhere at any location for proper cable routing. For this chassis cable routing was not an issue whatsoever, there is plenty of space and hiding space everywhere.
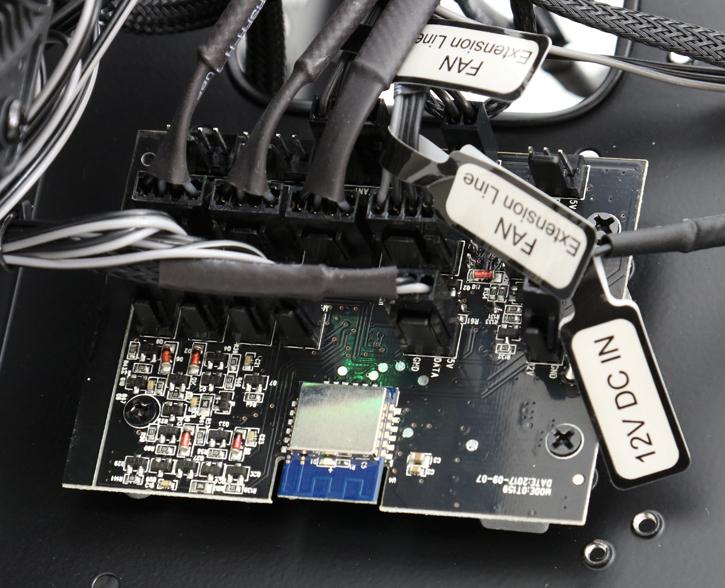
At the backside of the motherboard tray, you'll also spot this little unit. It is the RGB and FAN controller. It is WIFI enabled, with a smartphone app you need to connect it to your WIFI network. There are some extra connectors available for additional fans.
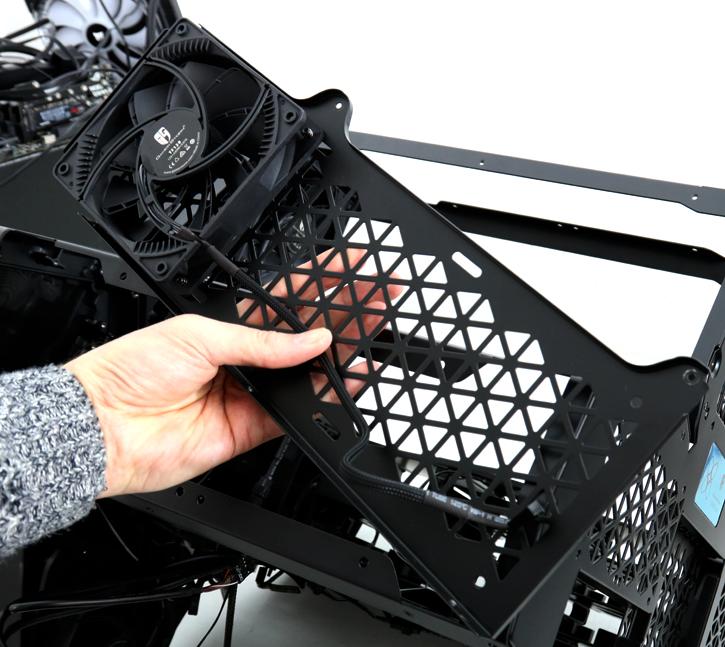
So initially I had prepped an ASUS Zenith / Threadripper 1950X for this build as I have a 280mm liquid cooling solution tied to it, but that was a no-go. What I have in my hands right here is the front side fan plate, here you can mount your fans/rads. It, unfortunately, is limited to 120mm fan sizes, ergo anything 140mm will not fit. Please keep that in mind.
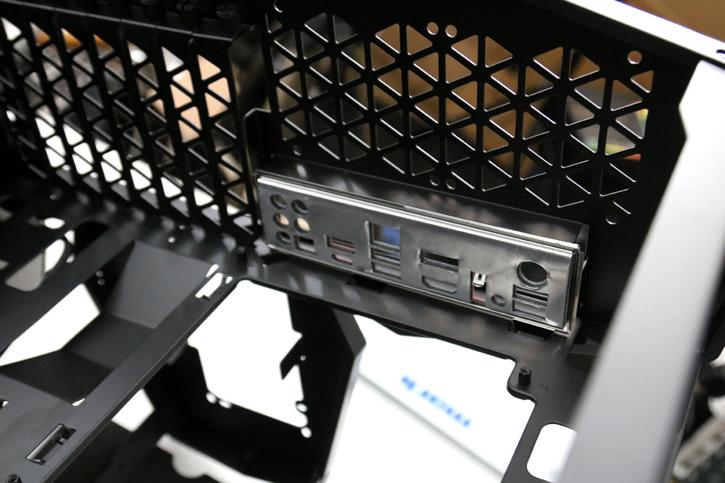
The rear IO bracket plate sites a little weird, extended to the inside. It will take a minute or so fiddle but then it was securely mounted. Right, let's continue on the next page with this build, as we still have a gazillion of things to talk about and show you.
