Product Showcase - The Build
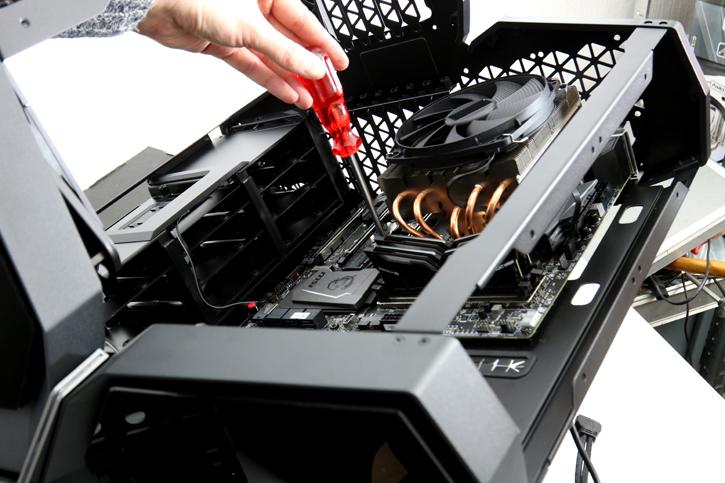
Right, we've arrived at the phase where we will mount all hardware components. We just installed the PSU, we now move back towards the motherboard tray where I'll install a motherboard with a heatpipe cooler.
As you can see, there is plenty of space to work with inside the QuadStellar. The left side could easily hold a 120/240/360 radiator as thick as you need it to be. This build is using a normal ATX form factor motherboard from MSI. Cooler wise I'd suggest a compatible AOI really if you do want to go for heat pipe cooling, remember, your cooler cannot be any higher than 11cm. But there are plenty of coolers solutions available.
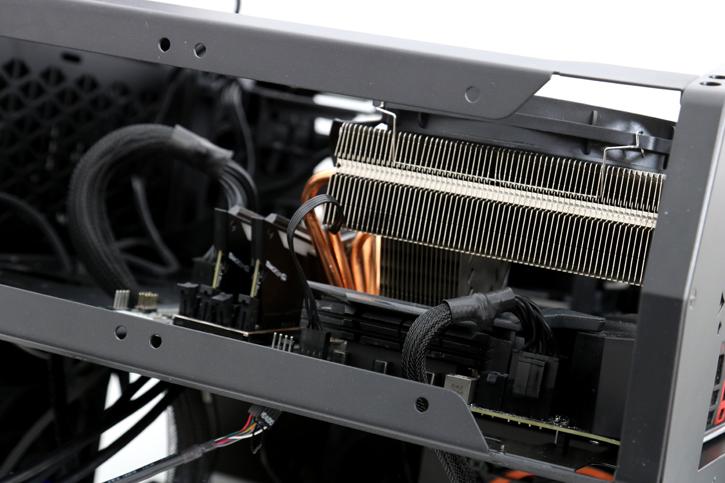
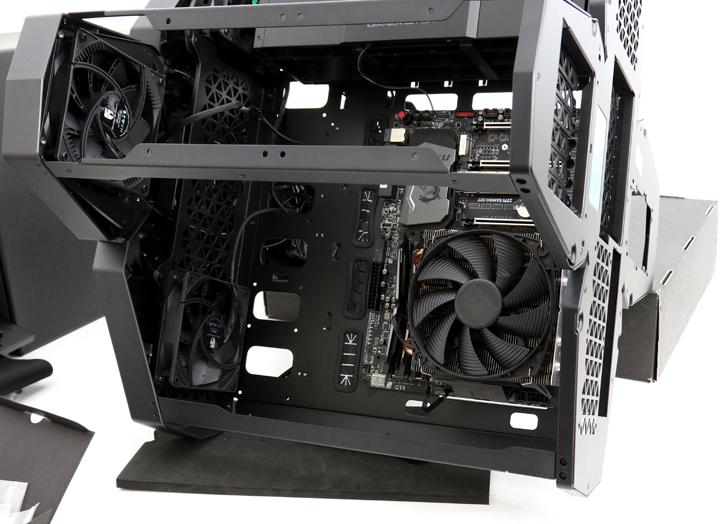
We now have the mobo and cooler in place and connected, it is time to finish up the rest. With all the space and gaps available, cable routing is a no-brainer. BTW should you wonder, that is the be quiet! Shadow ROCK TF2 cooler (review here), which almost seems to be made for this chassis.
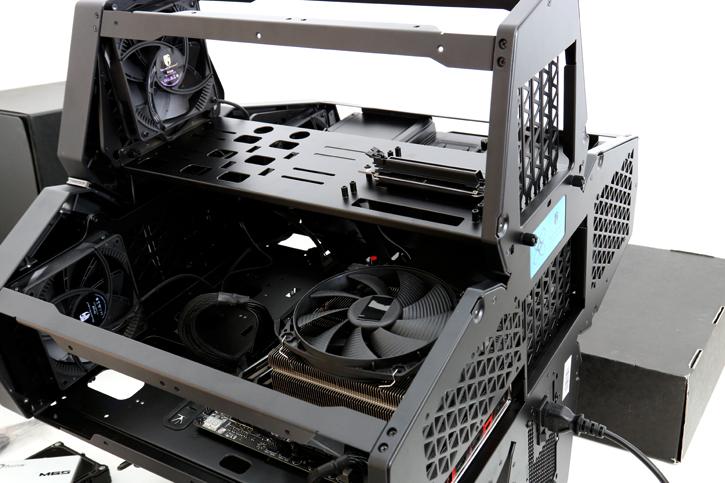
At the backside, as well, you'll have decent enough space for cable routing, though less luxurious alright as you do need to remember that the panels need to be positioned back in place.
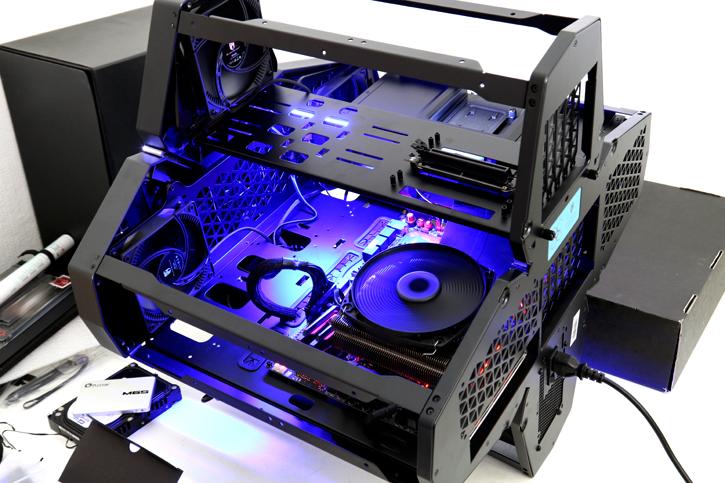
First power check, yes fans and LEDs nicely lit up and start spinning. I always like to check and see if the PC is working in between components mounts. Especially with a build as intricate as this one, you do not want a finished build to find out one connector wasn't inserted properly and it's not working. Then you'd have to remove all panels and fid the issue. The mounting of the panels is a rather time-consuming thing with the QuadSteller. Next up, installing the graphics card.
