Page 9
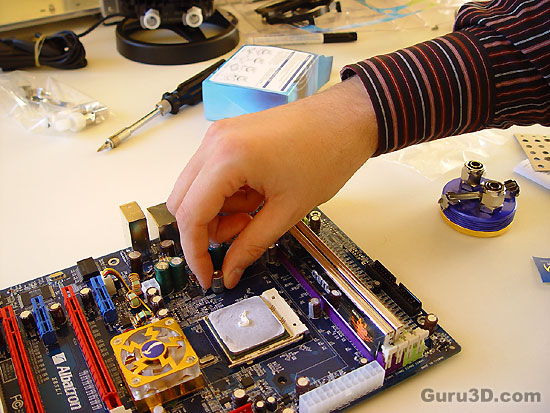
Next we use the two supplied screws and screw them tightly towards that bracket we just installed. BTW, smear that thermal paste equally over the CPU. A drop in the middle as you see on the photo is not at all recommended.
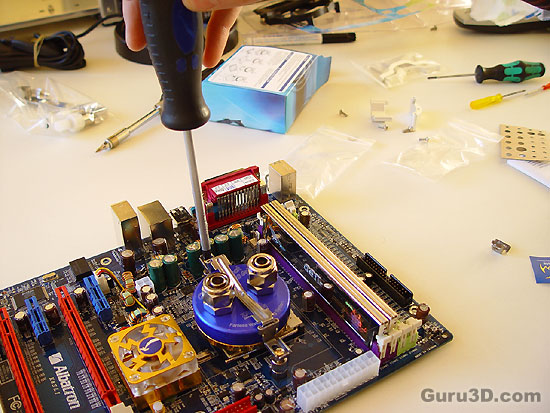
Now we place the water block on top of the CPU and screw it in securely with the help of a retention clip and two screws. Done! We are now ready to install the mainboard into the PC case.
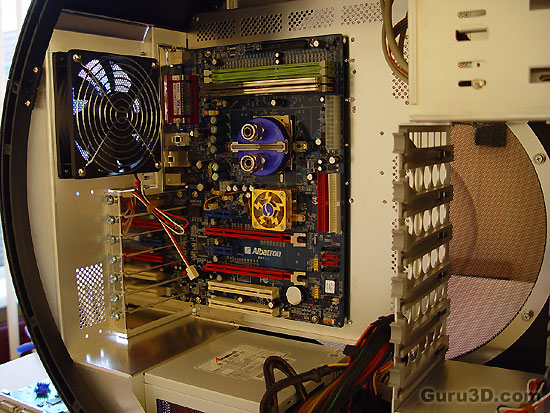
Carefully install the mainboard, then fit the tubing. Next is of course the graphics card that we just prepared, and then connect the wiring and the rest of the devices, cables etc.

Once the VGA card and CPU are seated we need to figure out how the flow line is going to be. In our case Reserator -> CPU -> VGA -> Reserator. Since we live on a world with gravity, work the flowline from top to bottom following the path of least resistance. We now install the tubing. Don't be scared to do so, it's a pretty easy and simply job with the reserator kit. BTW, connecting the tubing to the CPU block: by removing the nuts from the connection on the water block you'll see that the stem is flared. Now take the nut and push it onto the hose, but make sure you leave yourself enough room so that the hose can be pushed over the flared stem all the way until it stops. Push the nut back towards the stem and begin to tighten it securely. The nut is narrowed on the inside and it compresses the tubing onto the stem thus causing a "drip proof" connection. I didn't even make any sexual jokes there.
