Page 10
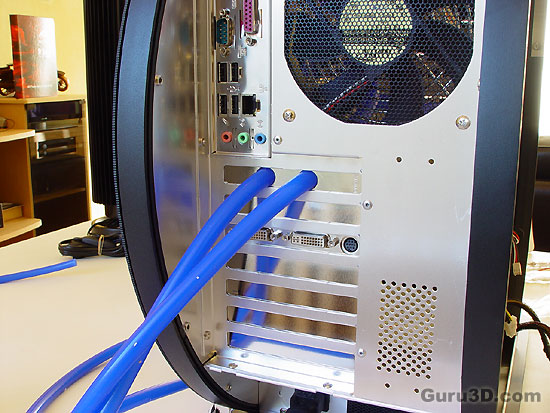
Don't forget to guide the tubing into the casing with the help of the I/O bracket. You guide the tubing to the water units and then lead them outside the system case through the holes in this special back panel bracket.
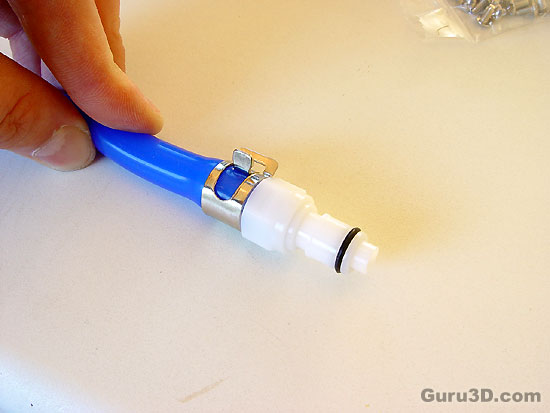
At the end of the tubing we now install the quick couplings onto the tubing and clamp it down.
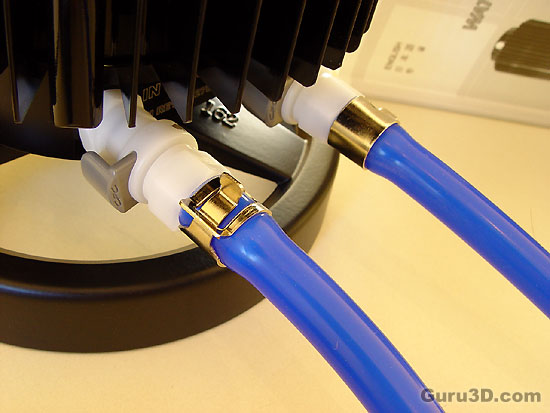
We have an inflow and an outflow. Simply push them into the reserator and we are almost done here. I say almost, as you'll receive a flow control indicator. The upper connection is the outflow and that's where you want to install that puppy.
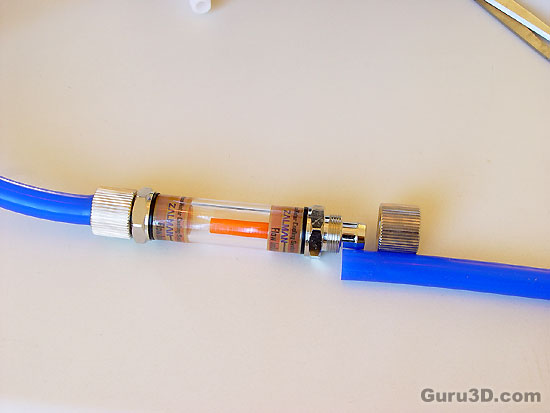
We cut the tubing with scissors and installed the flow control indicator as shown above. The little orange plastic shim on the wire should be pointing towards the outflow (read the documentation). Once there is flow it'll move around like bait on a hook. It is very wise that Zalman included this gadget as you will not hear the pump and cooling system at all. This way you can do a visual check to see if the pump is running. Simple yet very effective.
