Page 5
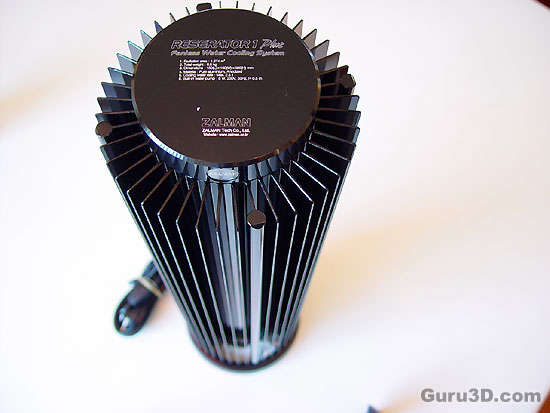
Let's have a closer look at some individual components. In the picture above is the reserator unit. It's hard to see in the photo, but the power cord actually has a switch that will enable/disable the pump, so this cooler is bypassing the system power from the power supply unit.
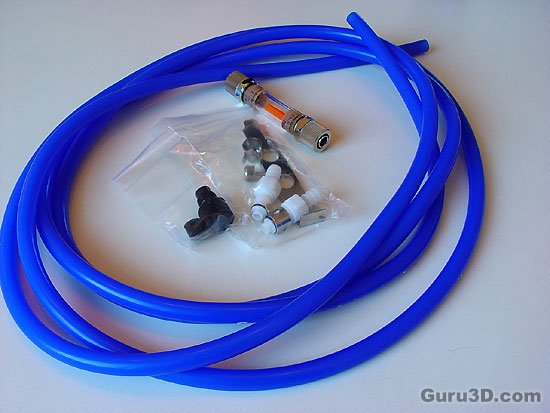
Tubing, made out of very flexible silicon, 12mm in diameter and 8mm throughput. You get 4 meters of it, that's sufficient enough. It sounds like a lot but remember that we have both an inflow and an outflow so you have roughly 2 meters available.
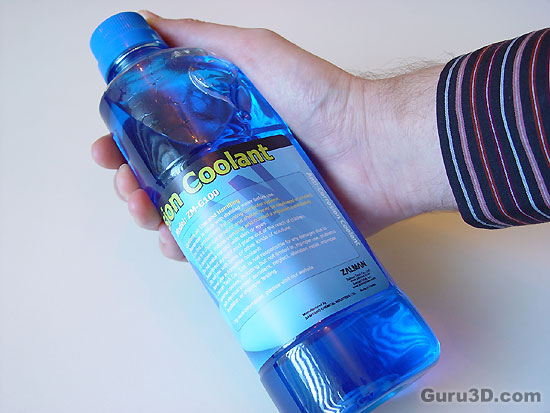
It's the anti-corrosion coolant additive. Seriously now, keep that away from kids. It prevents your pump from any damage and also prevents algae growth. You will need two liters of distilled water to fill up the reservoir though.
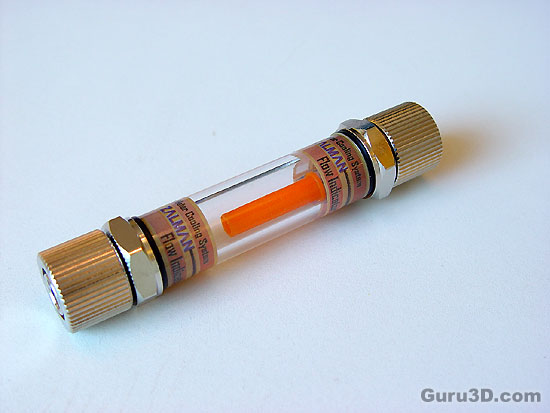
This is the flow indicator, we place it between the PC and the reserator outward's flow to monitor activity. We'll show you all that over the coming pages. It's a very important part of this package. The resorator is silent, so how can we check if the pump is working? That's right, this flow indicator.
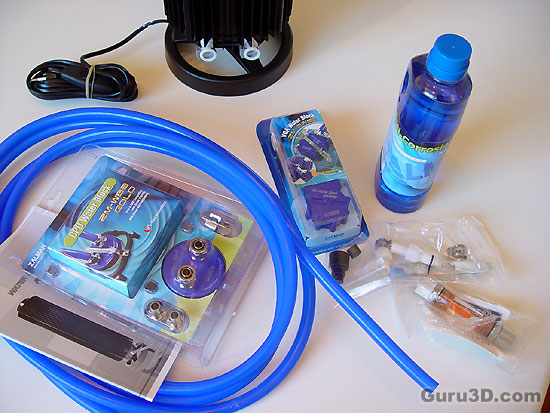
As you can see the kit contains all the required items to install it on a Pentium 4 Socket 775/478 or AMD Socket 462/754/939/940 platform. It also comes with a small tube of thermal paste and a neat case badge.
