Page 11
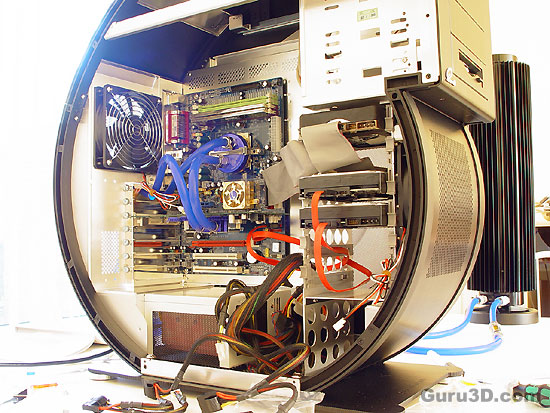
Once we complete the flow line and thus entire water circuitry, we are going to do a double-check to see if everything was fitted properly and that you have your flow-line optimal. It's now time to hook up your PC towards the rest of the peripherals.
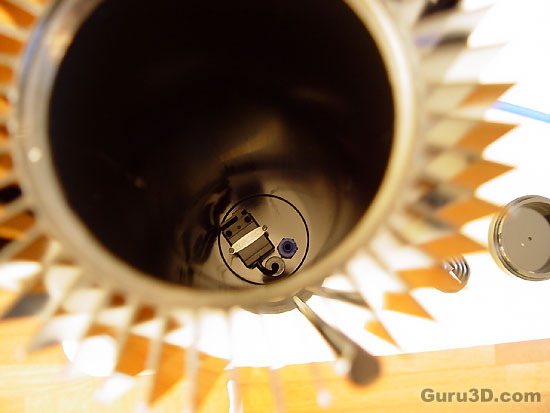
After you are confident everything is connected properly it's time to fill up the Reserator unit. We remove the top lid and hey, look all the way down there. That is the submerged pump.
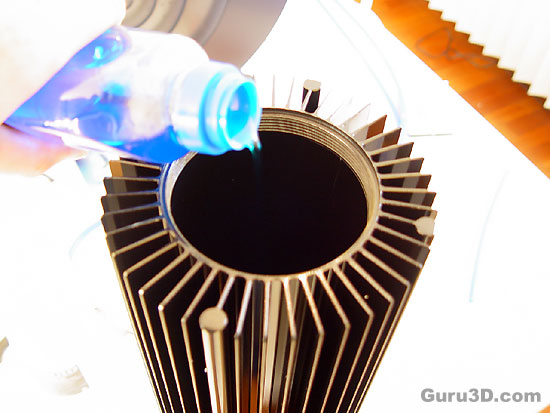
First we insert the bottle of coolant. This blue substance will prevent algae growth and corrosion. It's 0.5L, now grab 2 liters of distilled water and fill up the rest of the Reserator. If you can't get a hold of distilled water then please do not use regular tap water. It has a lot of bacteria and calcium. If you do need to use it then bring it to the boil for a couple of minutes and let it cool down. Then use that water and most calcium will be gone and most bacteria dead from the heat.
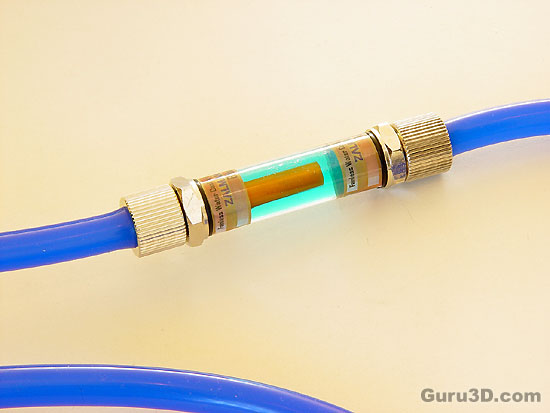
Now we do not activate the PC! Connect the Reserator power cable to the power-socket and enable the pump with the switch. Give it a minute and allow the coolant to be spread through the tubing. Monitor for air packets and turn the pump on and off a couple of times if you do not see flow. If there is proper flow then the flow control indicator will show massive movement. It literally took us 8 seconds before there was constant and air-free flow. Amazing. That's quite a pump in there. Also the sheer amount of water versus the water pressure helped a little (2.5l water in the reserator unit is located higher then the water blocks).
Check for leaks, double check and after a few minutes triple check. Once confident that all is secure you can turn on the PC. To date we have had no leakages whatsoever!
