Page 8
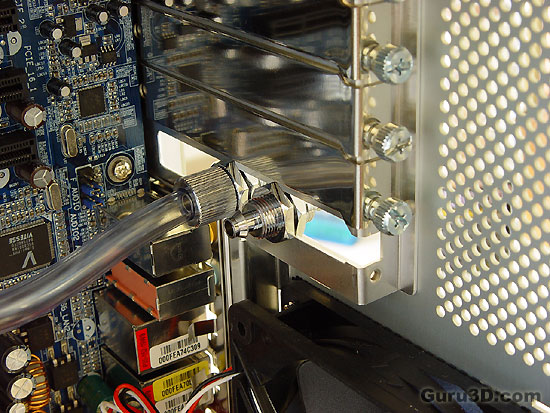
Once the mainboard is seated into the casing we need to finish up the tubing circuitry. Since we have an in- and outflow that goes outside the PC case you simply can't allow the tubing to cut itself on the sharp casing. Universal fittings are included so you can secure the tubing nice, tidy and tightly.
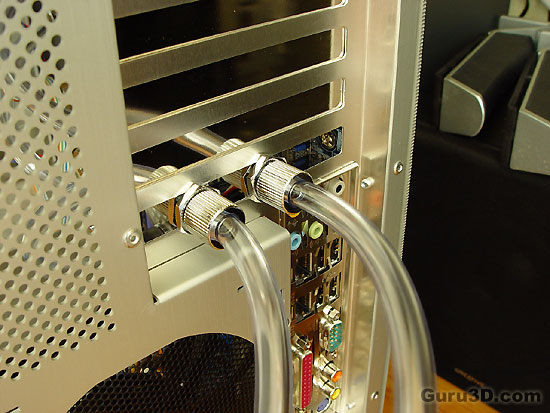
Here we look at the two universal fittings from the outside. The tubing connects to the Aquabox (reservoir + pump).
This is what you should be aiming for.
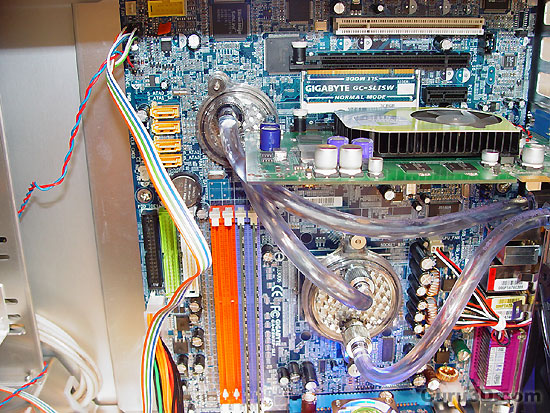
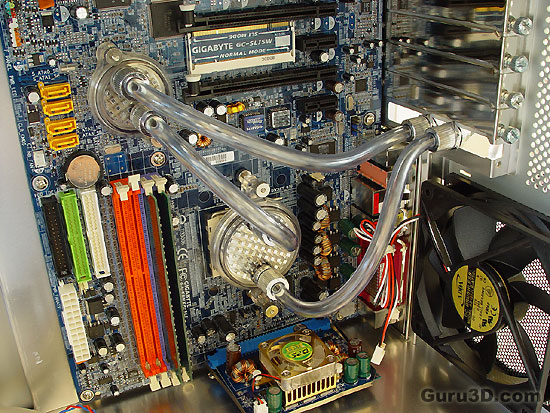
Here we prepare the rest of the tubing for the entire flow circuit. Our flow line, if we were able to use the entire kit, would be as follows:
Reservoir -> CPU -> GPU/Chipset -> Reservoir.
