Page 7

Then we place a plastic washer on the holes and insert 2 metal guides, washers and screws through the mainboard (4 for Pentium). The socket is now ready to be seated with the waterblock. But something very important needs to be dealt with first. Do you notice all that grey stuff on the CPU ?
We just cleaned the CPU from all remaining dirt, sticky thermal paste ect. It's important so that the CPU can dissolve heat evenly and rapidly over the entire surface. Once removed apply a little thermal compound (delivered with this kit).
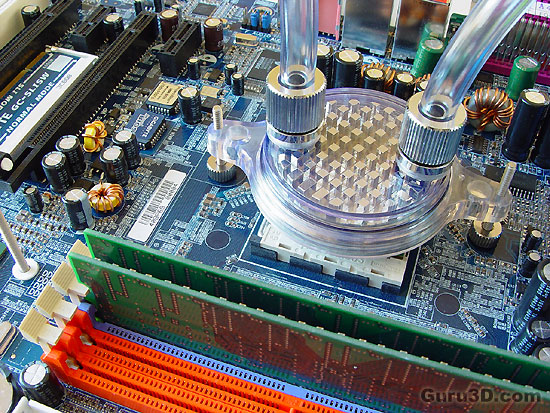
We carefully place the with tubing fitted and secured the waterblock onto the CPU.
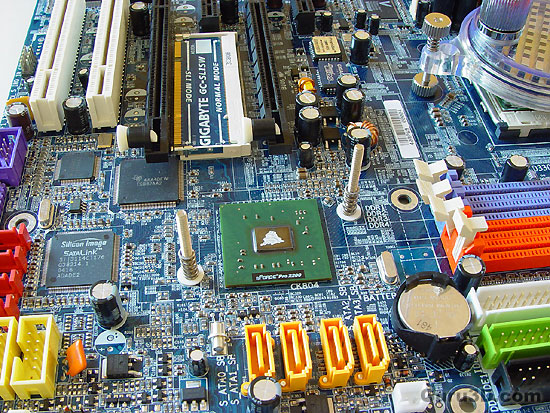
Also the chipset chip needs a little thermal paste.
The next step is to place 4 springs over the guides, and then secure the cooler with thumbscrews. Really easy stuff as it either fits, or if you've done something completely wrong, doesn't. The thumbscrews, do not screw them tight all the way down. When you feel tensions on the springs, turn it about 6-8 more times and it's secure. That is all there is to it.
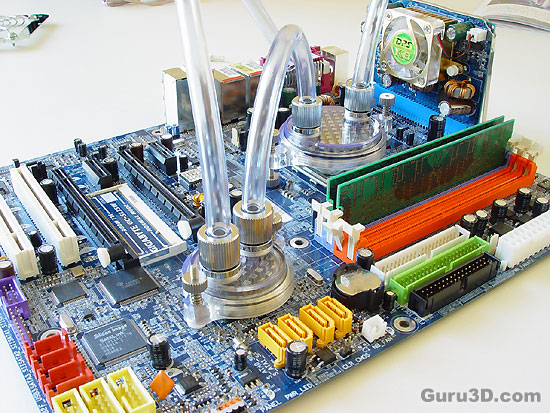
Now we place the mainboard back into the PC case.
