Configuring the storage/adding new users/groups
Configuring the storage/adding new users/groups
We are testing with the 4-bay version; you could go for a RAID setup as well. Some example setups you can manage with four bays:
- 1x 4 TB SSD for OS and APP-related functionality to get the best performance out of the NAS.
- 4x 4 TB set up in RAID5/10 for a bit of long time storage paired with redundancy (the raid array will allow for one HDD failure).
- 1x 4 TB set up as hot-spare. If one HDD dies, this hot-spare will kick in and repair the array to a normal functioning one; hence that is a little extra safety for your data.

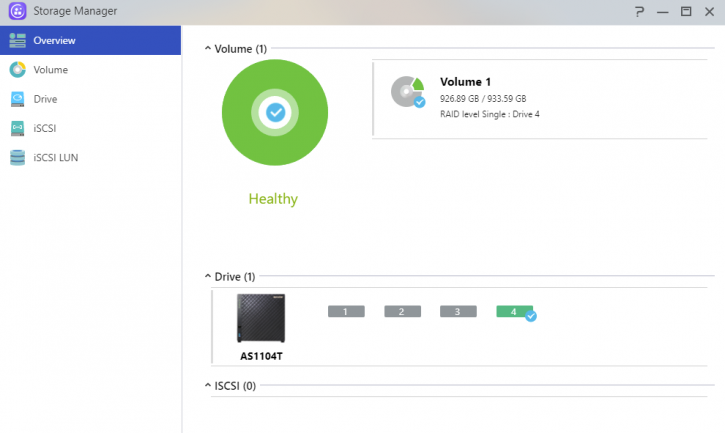
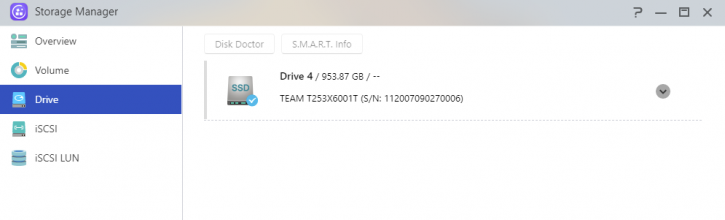
You can see the SSD storage unit listed; we have already set up the SSD. If you want to go JBOD or RAID 0/1/5, you can use the volume setup wizard here. There is a lot of flexibility; you could use 4 HDDs in RAID5 but also go for, say, RAID5 or RAID10 in a four or 3+1 hot-spare configuration so when one HDD fails, the hot-spare kicks in automatically and repairs the array. But you can also mirror and stripe (RAID 0/1) or build a huge JBOD unit and get yourself one massive volume. There are many options/choices.
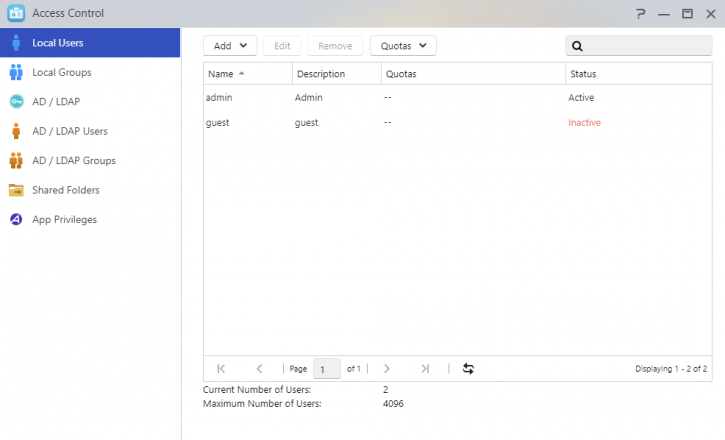
One fundamental feature of a NAS unit is that you can assign drive partitions and network shares to users and/or user groups. This greatly helps out allocating certain security and accessibility features. You can stick to your admin account or create a new user with admin rights yourself. Give it a try, see if you can access your NAS server with it.
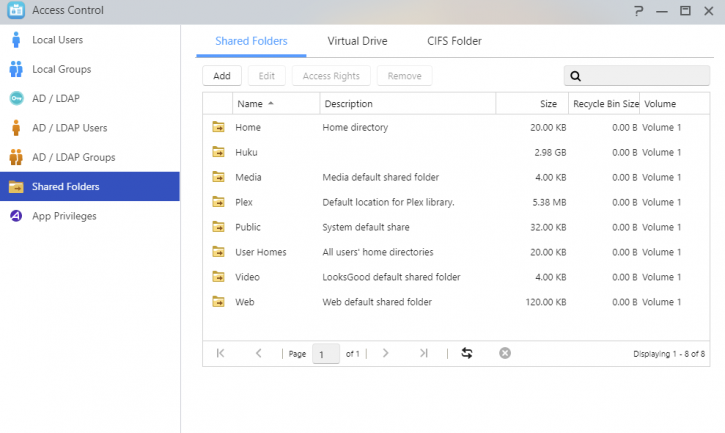
Keep in mind that after making a new directory share, you can give the USER and/or GROUPS certain permissions like no access, read-only, or full read/write capability.

Once the network share is set up with the click of a button, you can share it in Windows and assign a drive letter to it. Would you like to access a secure map in Windows and mount it? Just type \\nas2 (or enter \\ with the assigned NAS name), then enter the USER login and password assigned to it, and you can access the user-based and assigned shares.
