Software Installation
Software Installation
Getting started with the AS1104T is as easy as entering the NAS IP address provided by your network into your browser. ASUSTOR Data Master (ADM) is the operating system that runs on the box and will act much like Windows or Linux on a PC with a full desktop experience.
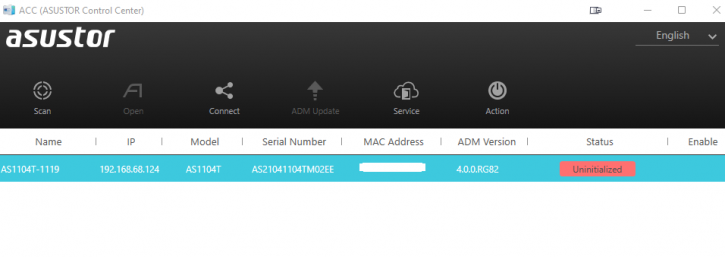
The first step is to connect NAS to the same network that your other devices will be on. The Windows software is called ASUSTOR Control Center. For this review, the unit is connected to the TP-Link Mesh System (Deco M3) and a 2.5 Gb capable switch that connects with a PC with a Z590 motherboard (which has the 2.5 Gb LAN card). I've done the initialization via an Android app called AiMaster (I'm sorry that's in Polish, but it's my native language, also I'll explain the following screens).
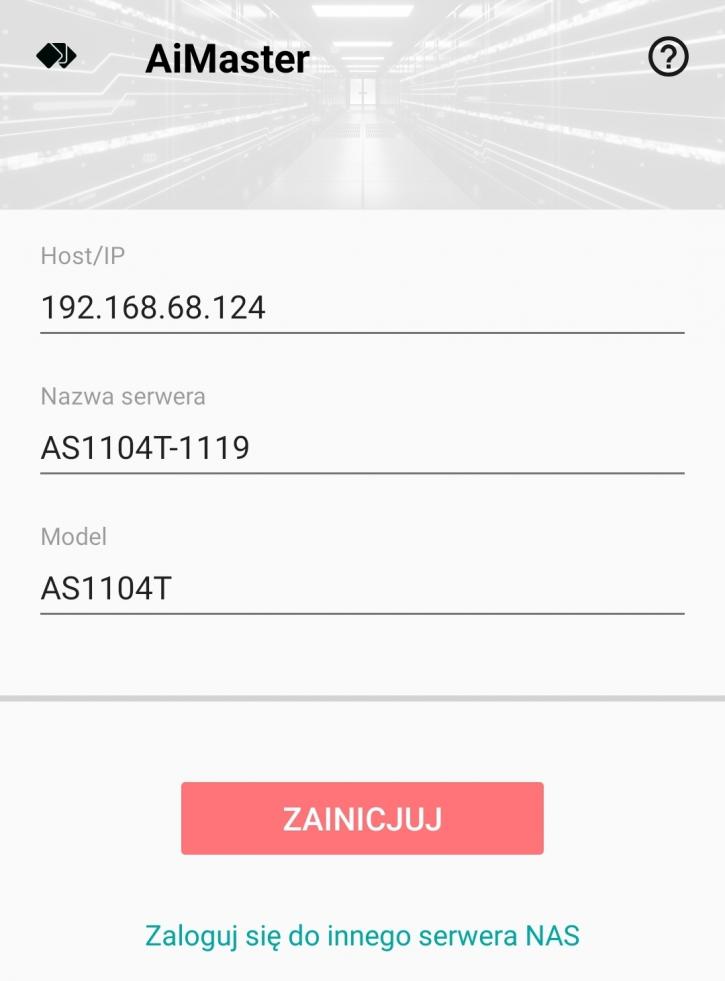
The software will immediately search for active NAS devices on the same network when the app is launched. After that, the setup is relatively straightforward. Here you can initiate the NAS or log in to another NAS server.
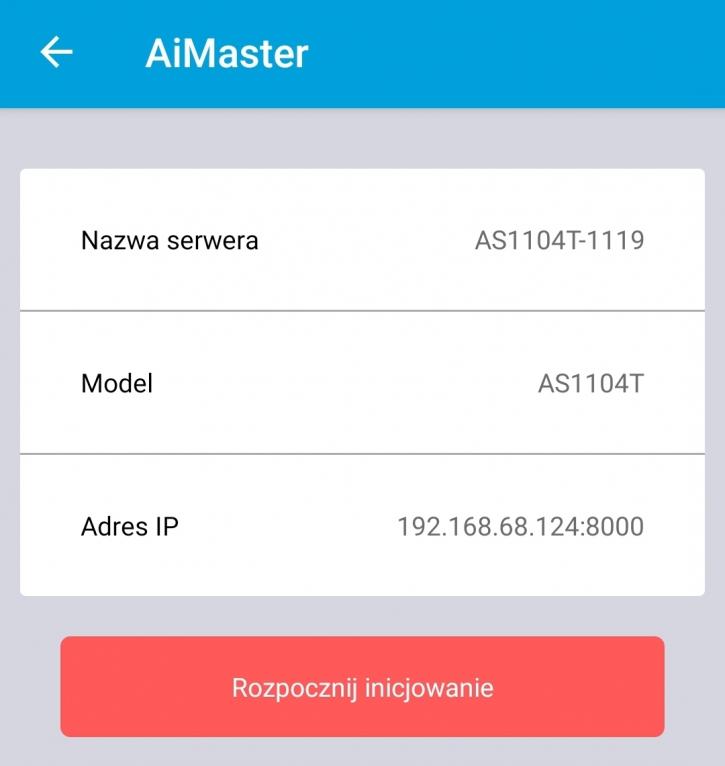
Here you can start the initiation.
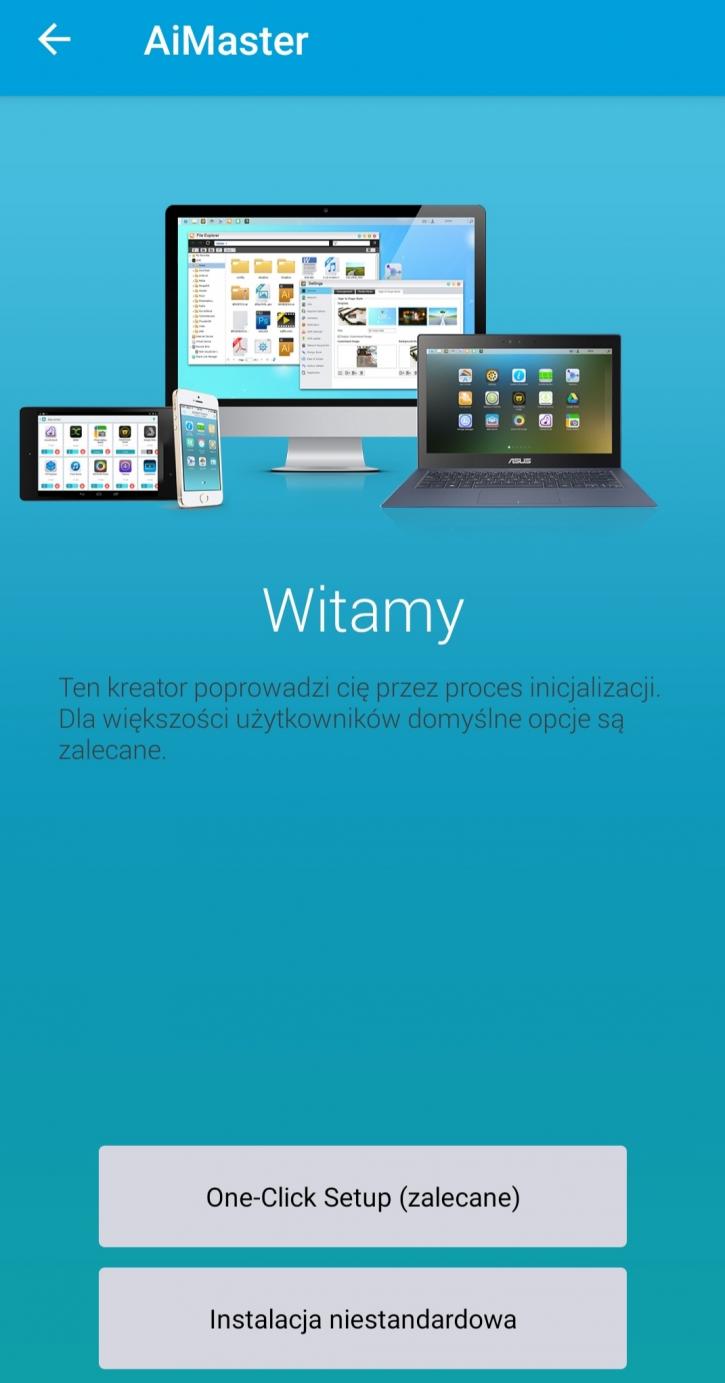
You can choose the "one-click setup" or non-standard setup.
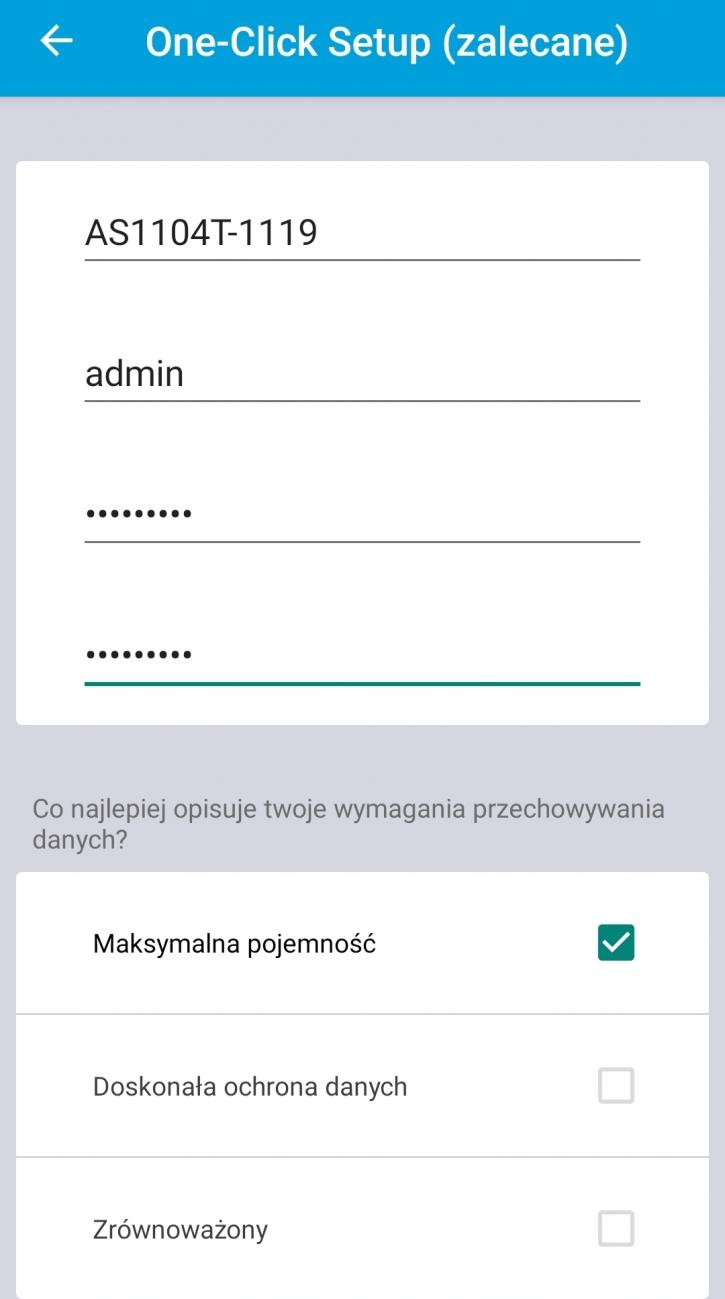
I've chosen the first option. There you can select "max capacity", "excellent data protection" or "balanced", but the real choice depends on how many drives you've used (I had one, so I had no other clickable option).
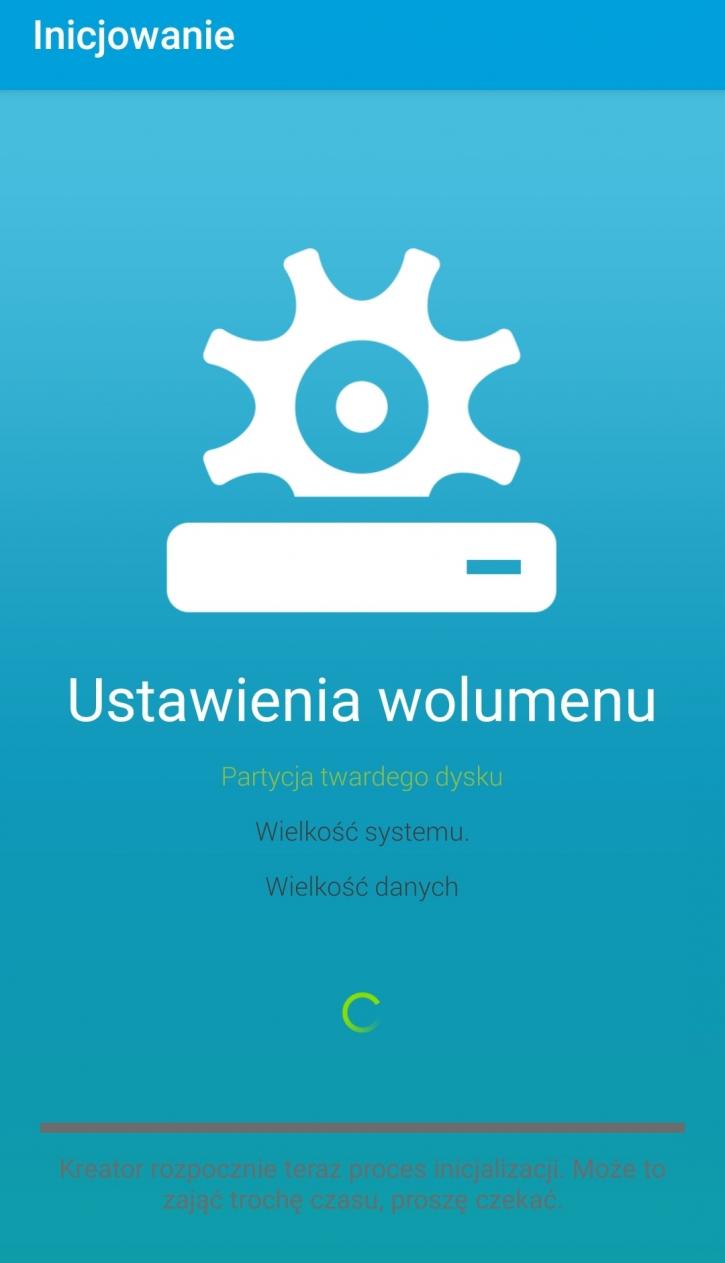
Now the soft is partitioning the drive, then adjust the system size and data size. The AS1104T supports hot-swapping of hard drives. If a user forgets to install a drive after powering the device, they can re-check from within the software.
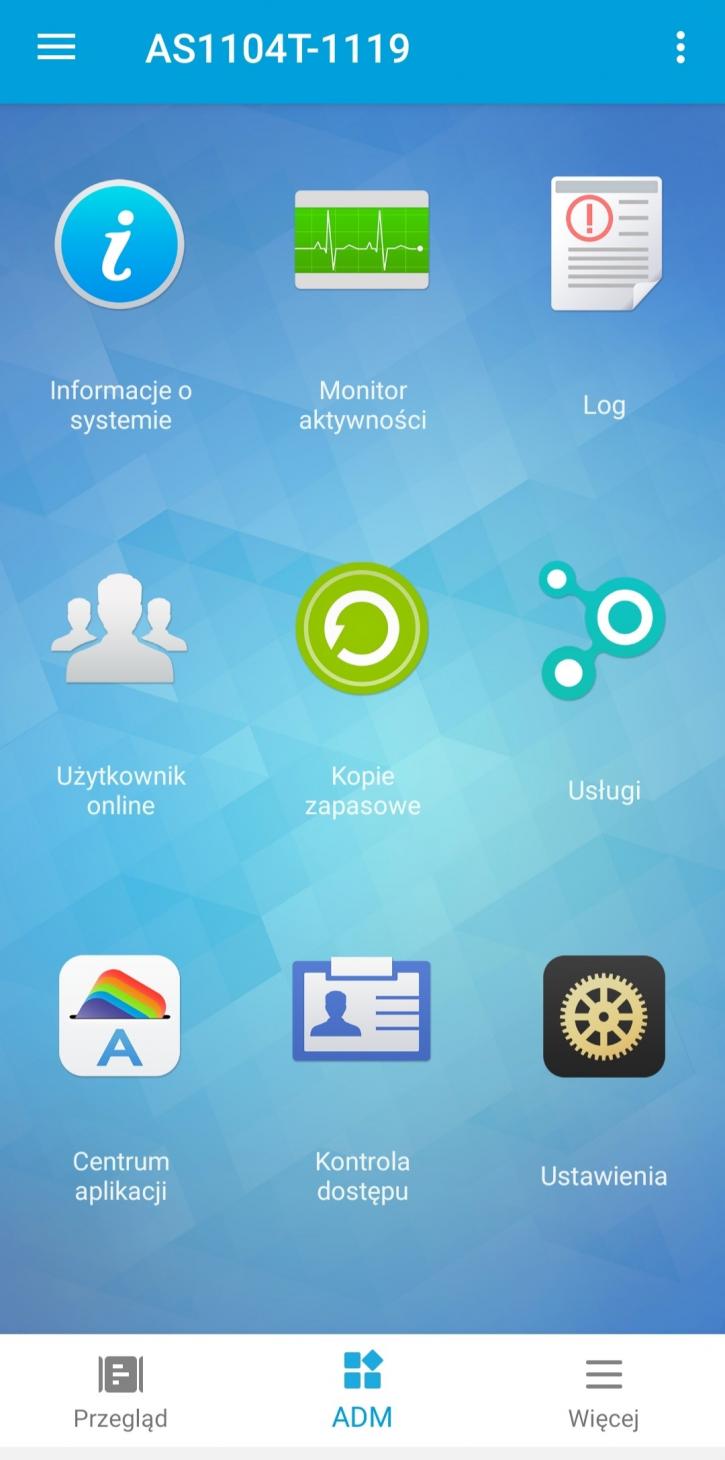
This is what you'll finally see in the smartphone app (system info, activity monitor, log, users online, backups, services, app center, access control, settings). Typically I have one SSD installed for throughput testing, which always has been fast enough for Gigabit testing. Security-wise, we’d advise you to set up a new super-user account and kill the admin account if you connect the box to an open network; for now, admin with your secure password will be just fine. On the topic of routers; should you like to have your public web content and, say, FTP available on the internet, then in the router setup, open up TCP ports 80 and 21 for IP 192.168.x.xxx / 10.0.0.xxx, after which your router will redirect all in- and outgoing requests to the assigned IP. Once the automated setup is complete, the unit will log in to the admin interface.
Once the NAS went through a couple of setup stages, we can now log in based on the logon/password we created. A beautiful ADM GUI user interface welcomes you. We recommend you register an account at ASUSTOR as you want to have access to their excellent suite of NAS APPs. A quick check reveals that the NAS has successfully set up a 2.5 Gigabit connection towards our 2.5 Gigabit switch. That is a requirement; of course, your LAN infrastructure needs to be compatible. Over time, when you need a new switch, start thinking and upgrading towards 10 GigE devices. This will make the investment over time less painful for your wallet.
