Product Gallery
Product Gallery
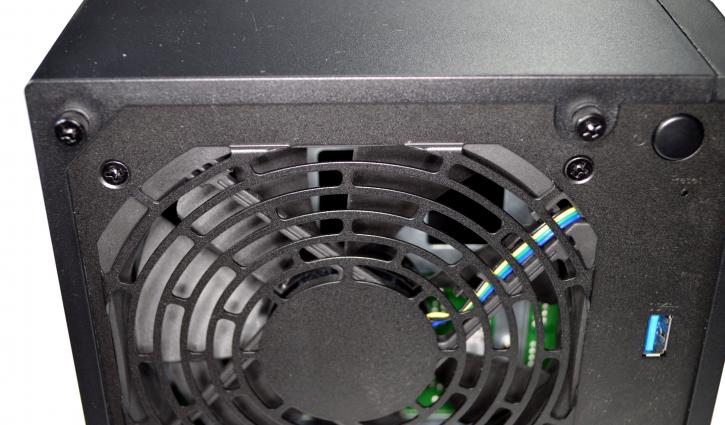
As for drive installation, you need to unscrew four thumbscrews and take off the top metal cover, which hides 80% of the NAS. Here, you can see the 120 fan unit. Will it do its job as it should? We’ll find out later in the review.
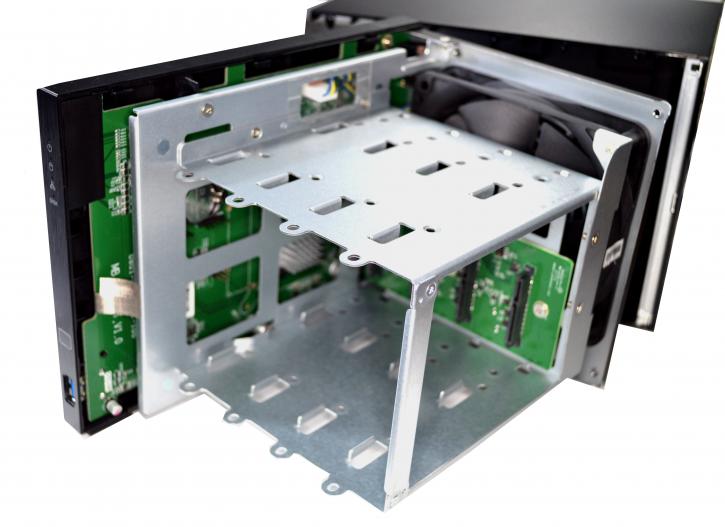
The thing is hardly complicated.

At the rear of the NAS, we see the SATA3 connectors, four of them. If you are going to install HDDs, please check the ASUSTOR QVL list of supported units. You insert the HDD/SSD into the tray and then secure the drive using the provided screws. It’s good that the thumbscrews are used here, so it makes the installation easier/faster.
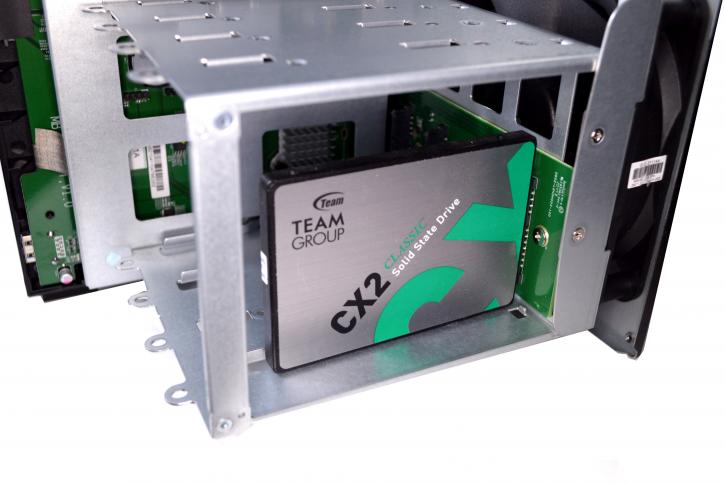
It is possible to put 2.5-inch units, but it will be necessary to have its screws and accept that the disks are held only on one side (but as there are no moving parts – that shouldn’t be an issue).
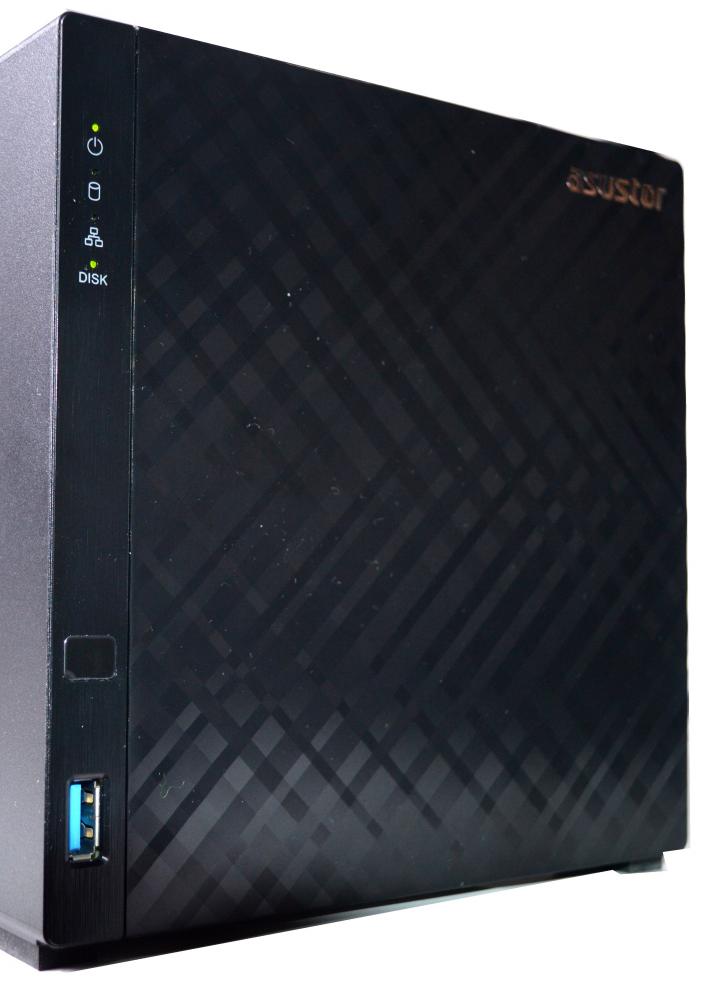
After powering on, the NAS initializes each disk, and you will see a solid green light when it’s ready. Detailed information is available in a web-based GUI. The unit as a whole does look great and sleek, even for a home setup (which is aimed at). There’s no way to change settings on the front panel, but you can do that in the web-based GUI. Let’s start up the software installation of ADM, after which we configure the NAS for all the needs and requirements you wish for.
