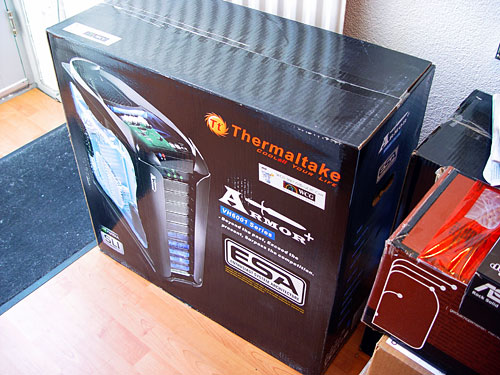
Page 13 - Photos ESA Thermaltake Armor chassis
And yes, an ESA ready chassis
The next ESA device we received is the actual chassis. Now clearly that doesn't make that much sense when you first think about it. But when you think about it a little more ... it will. All the way at the top of the chassis a little ESA control unit is located. Here we can connect thermal probes to the fans and then read them and control them. Pretty cool. I think even the water-cooling unit could be connected ... but due to time constraints I haven't gotten that far. Let's have a look at the chassis itself though.
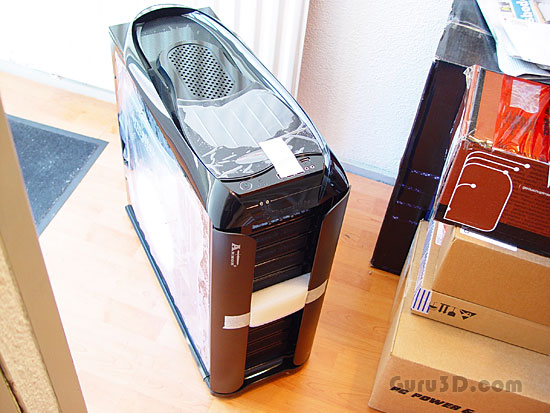
This is the new model Thermaltake Armor+ case. This ESA version comes with the leading features of 10 PCI slots [Ed - Or just slots for PCIe/PCI], sliding motherboard tray with cable management and independent thermal management, good stuff. There's a plethora of features here that should satisfy just about any PC enthusiast - five fans (one of which is a massive 250mm), room for 11 drives, liquid cooling readiness, and a front control panel that can be moved to any area of the front bezel. It's a heavy beast of a case though, so it won't be the best choice for taking to a LAN. And it's huge.
Anyway, let's build us a gaming rig.
Building a high-end rig
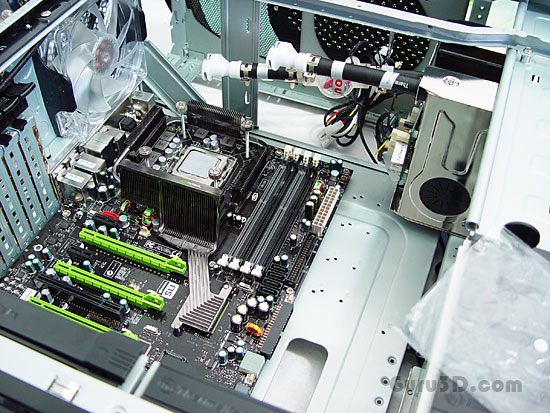
Okay no more formal introduction on the components. We have to speed up here, everybody knows the TV series "24", right? This applied to me while making this review. So little time so much to do. Call me Hilbert Bauwer, sorry Jack.
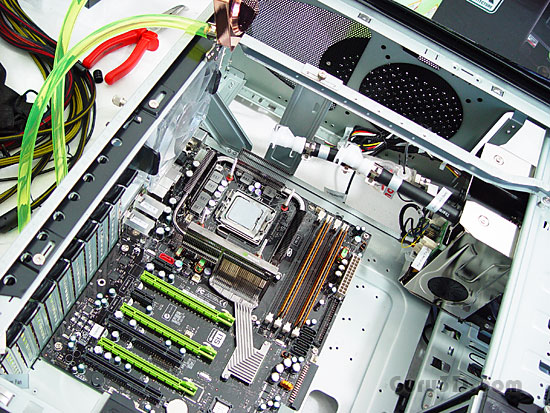
First thing I did was prepare the mainboard. We slap the water-cooling backplate on the back of the mainboard (and by slapping I do mean carefully place). At this time it's probably a good idea to figure out how you will place the tubing, for an optimal flow-line of the coolant and you need to decide how that wiring should run. Try to go behind the mainboard tray as there's dedicated space for that. Tight fit, but I think most cabling can be routed that way.
