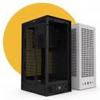
Product Showcase - Exterior
Product Showcase - Exterior
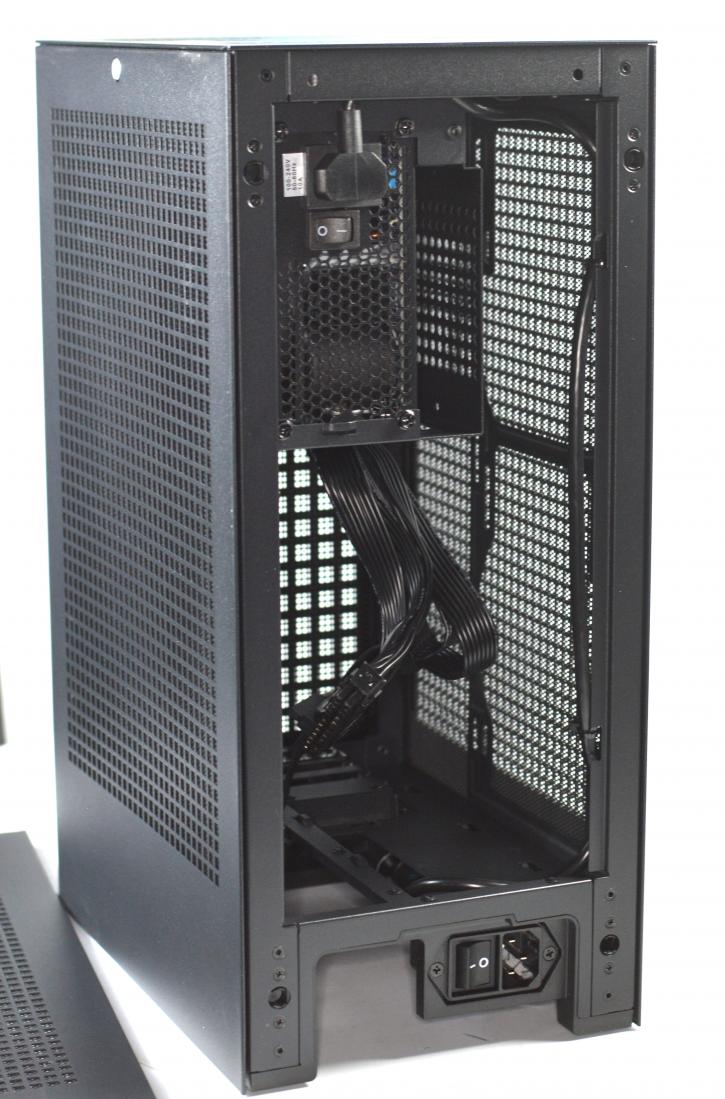
When you look at the rear – you can see classic, round holes. On the bottom is an opening for you to route your cables through as the motherboard backplate faces downward within the chassis. An ATX power connector has been routed to this position, and HYTE has included an on/off switch.
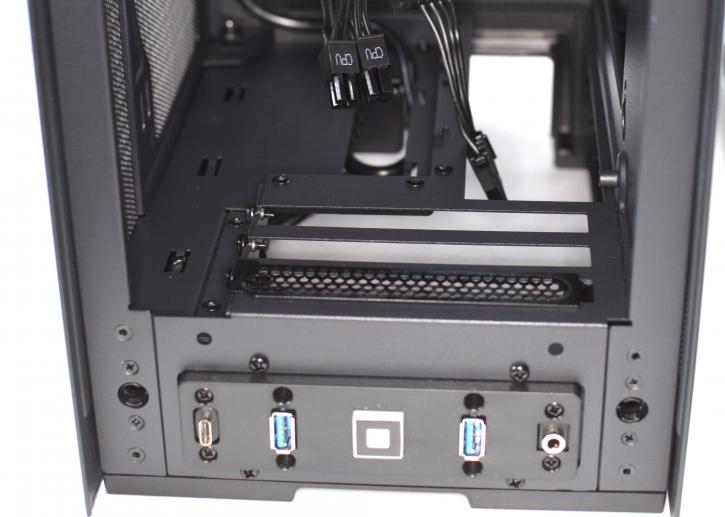
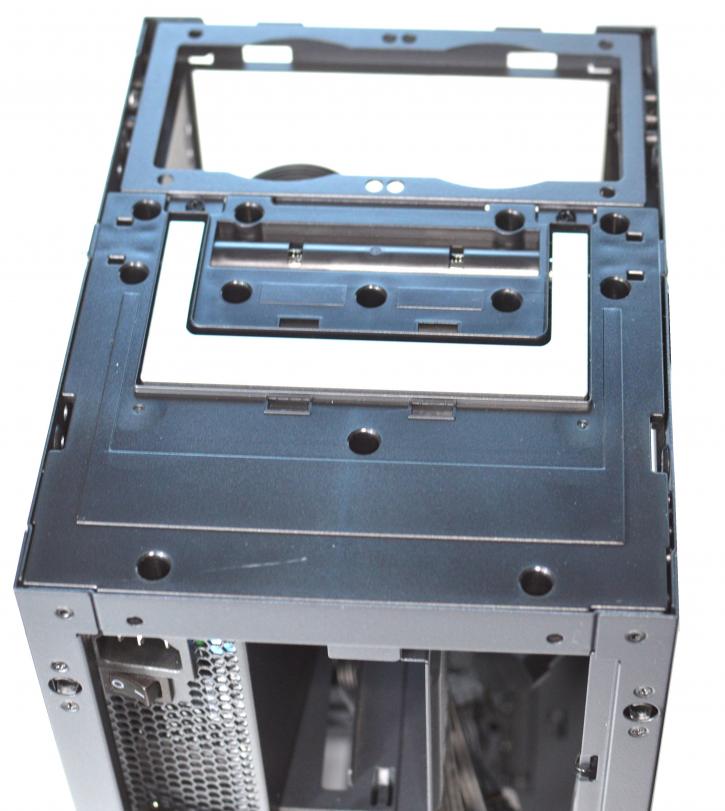
In Hyte Revolt 3, you’ll get three horizontal expansion slots. With the Revolt 3, the graphics card is connected directly to the mainboard, so there’s no need to use a riser cable.
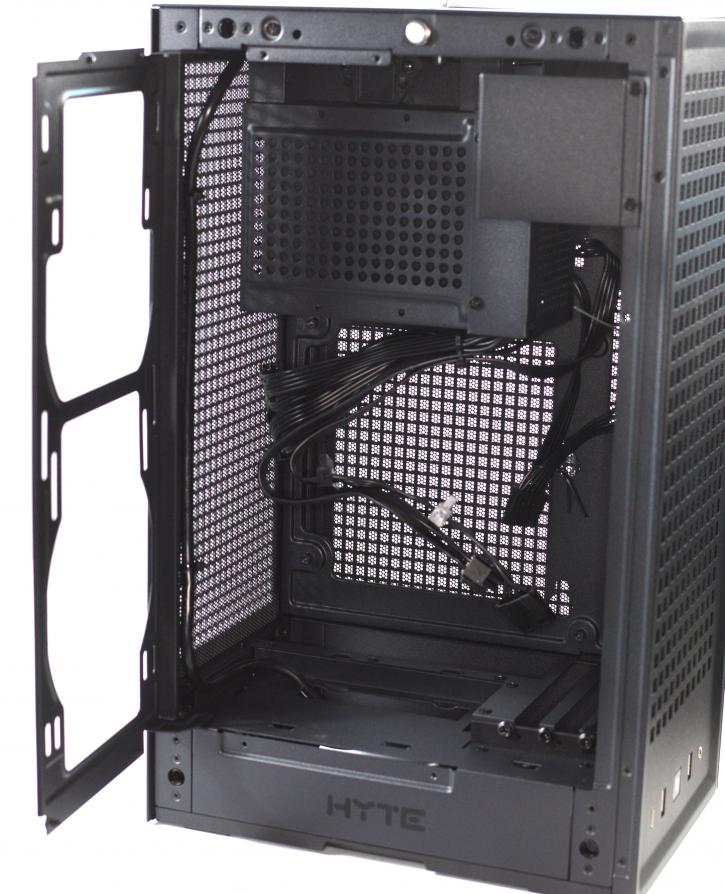
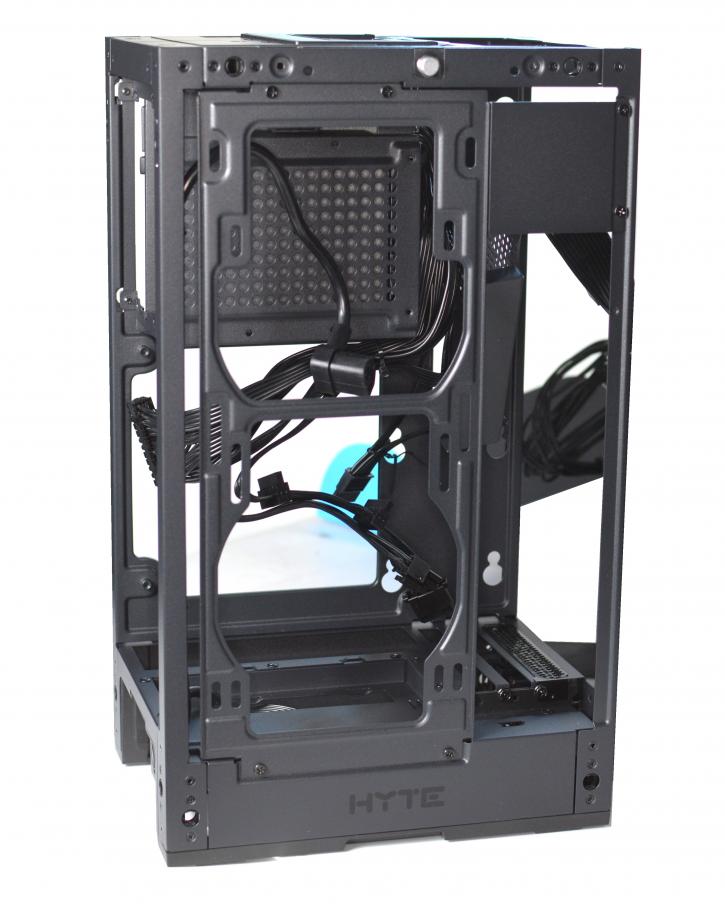
If you opt for the variant with the included 700W SFX-L 80 Plus Gold power supply, it will come pre-installed with all its cables pre-routed to the correct locations. The cables are all the right length, and there are precise as many connectors as you can fit devices in the chassis. It is a solid reason to opt for this version.
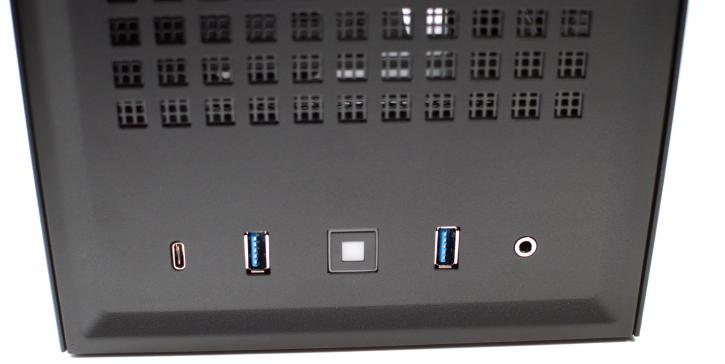
You’ll find a standard front I/O panel on the bottom side of the front of the case. The selection is broad while we’re at it, with two USB 3.0 ports, one USB 3.1 Type-C, an audio jack, and a button to power your system on/off. This is a good solution for people who keep their cases on the desk, as reaching the ports will be easier in a setup like that.
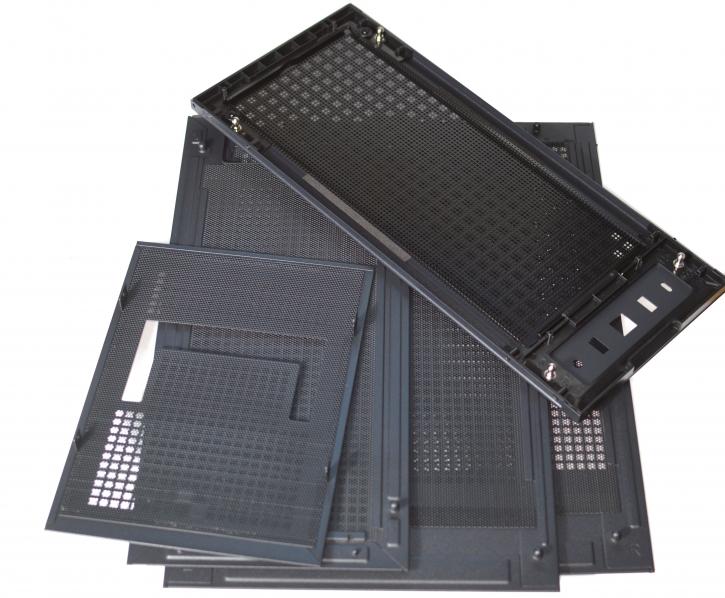
Removing all the panels from the Revolt 3 is easy—the rear, side, and front panels all pop right off. However, you’ll need to pull the side panels off before getting a grip on the front panel.
The top panel is secured with four screws, but there shouldn’t be any reason you want to remove it.
