Page 8
Once we filled the kit with fluid, you do not want to turn on your system !
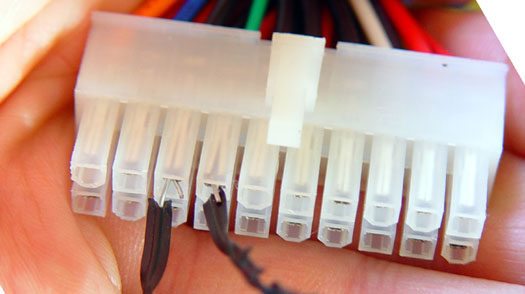
First make sure the water is flowing though the tubing and check that there is no air on the hose ! Simply disconnect your ATX plug and remaining 4-pin power plug from your mainboard.
Now here's a trick I'm going to teach you, Guru style.
Make sure that the only thing connected to the PSU is the water cooling pump/controller unit. Then take the ATX power connector that normally mounts to your mainboard (see above picture) and bridge pin 13 and 14 (Black/Green) with a wire.
What happens is this, your PSU will now activate itself and your pump will start working. Shake the tubing, fill the reservoir with more water, etc. Do what you need to do to make sure there is no air in there and that the water is flowing. How can you check water flow? Look at the next photo.
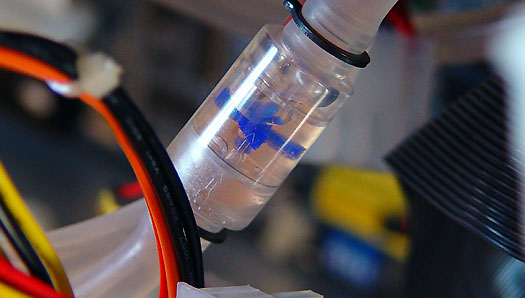
Evercool supplied a flow meter in the tubing. Make sure it's connected properly e.g. water should not flow from the wrong direction. Once it starts to turn/rotate you'll know there is water flow. Leave it running this way for 15 mins to make sure there is no remaining air in the water circuit and check everything for leakage.
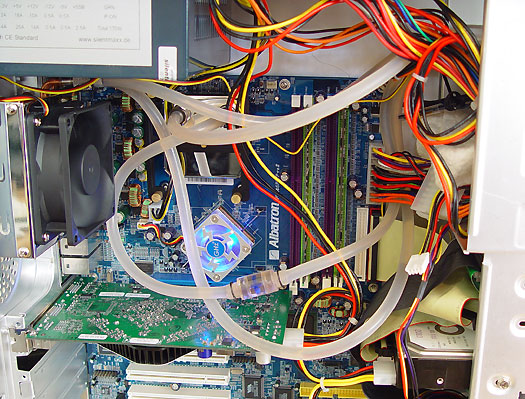
Once your are confident that nothing is leaking and working properly it's time to reconnect the ATX cables to your mainboard and other gear and fire the beast up.
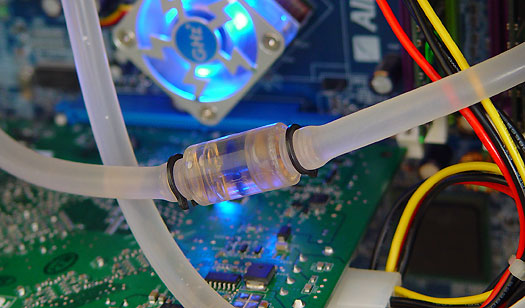
Again, check that flow ! Don't be afraid to twist and pull the tubing a little, you want to make sure everything is secure, leakage cannot be an option!
