Page 7
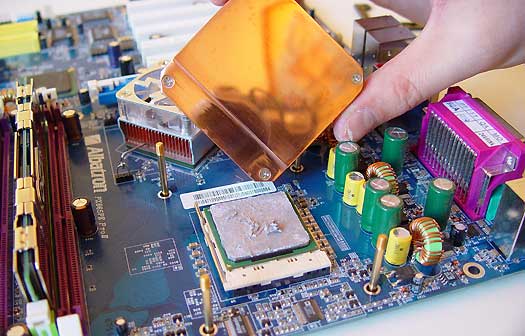
Now we need to clamp the waterblock to the CPU. Make sure you don't forget to apply a little thermal compound on the CPU and place the block on the guides where it's nicely nested.
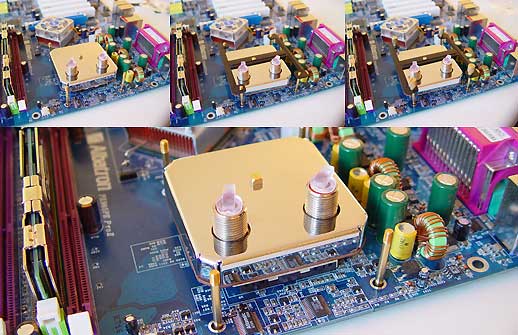
Now we place the second clamp on the waterblock and secure it. Not too tight, but make sure there is some tension.
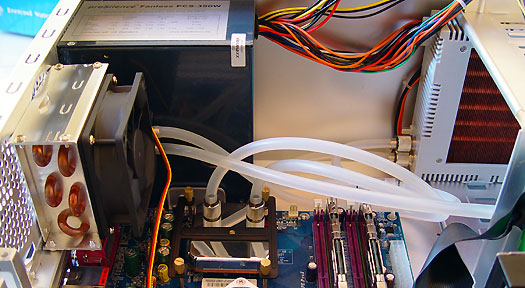
Now we mount the secondary radiator and connect all tubing. We already inserted the controller unit in the driver bay. It's time to fill her up and start testing. But first let me show you the control unit.
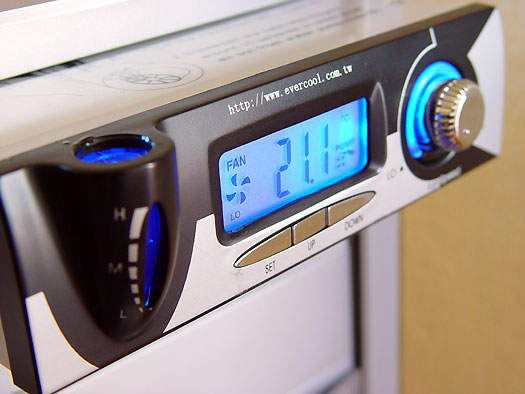
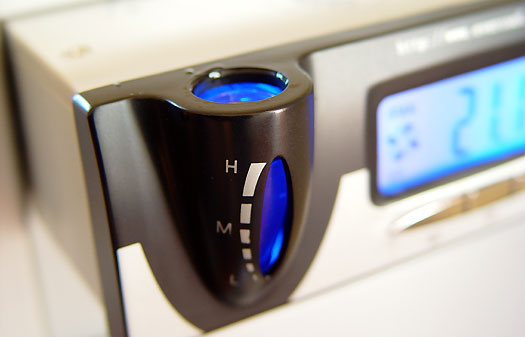
The controller (aka pump and and primary radiator). To your right that silver dial that allows manual adjustment of the fan speed. In the middle a control panel (LCD) with temperatures, and rotational speeds, the pump active etc.
Anyway, time to add some fluid, this is the fill plug with a window so adding and monitoring fluid is not difficult. First you insert the cooling fluid, then preferably distilled water. Or simply bring water to the boil for a few seconds, cool it down and use that. That will limit the amount of calcium in the water and will eliminate most bacteria, algae etc.
