Product Showcase CPU cooling (installation)

So we have now prepped the graphics card PCB. now is a good time to insert fittings. REMEMBER, at the opposing side of the fittings you need to insert two screws (plugs) as well. If you forget that then you can let your components swim and drown. These two screws are not inserted at default, and I do wish EK would do so. Basically they are there so that you can choose if you want to route your tubing at either the front or backside or bridge two cooling blocks for SLI.
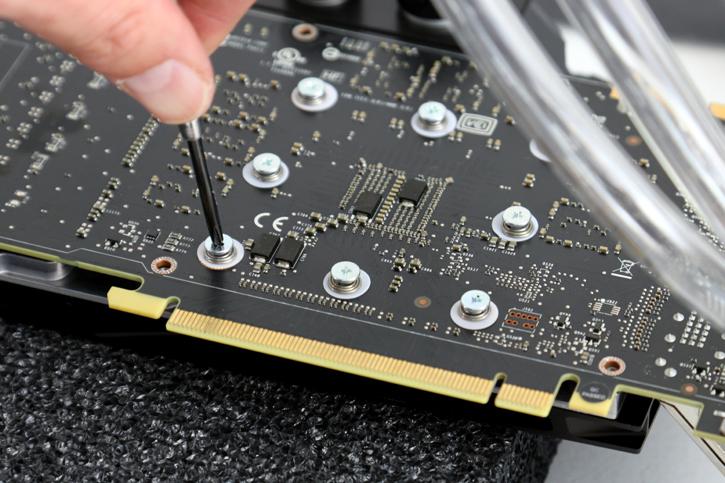
Once you've applied thermal paste to the GPU and the thermal padding is in place, you can now place the PCB onto the water-block. Simply align the screw-holes and start with the holes surrounding the GPU. Use the included screws, but do not forget to apply a plastic washer (shown in the above photo) to each screw, ok? Use the ALU spring tension screws here. And yes, the ALU color looks like fairly annoying combined with the black backplate you'll see on the next photo.
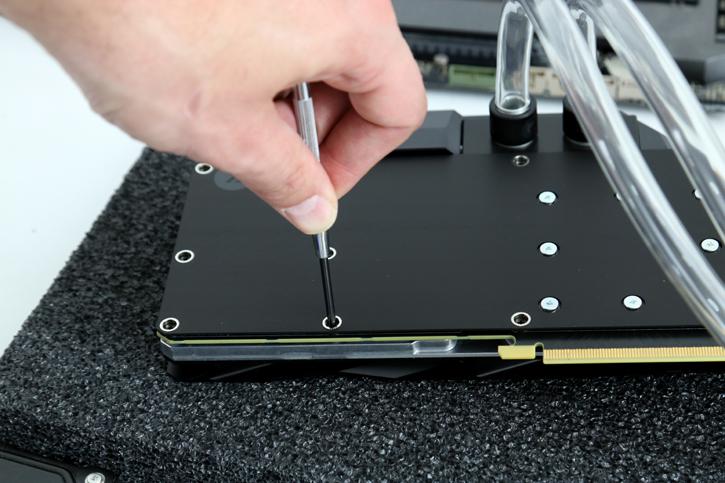
Use screws on all holes that line up with the water-block. We are now are close to the end-result of the graphics card, do not forget the front-side screws for the IO bracket as well as the backside plating screws. Installation of the GPU was the most hideous part really. The reference cards have a ton of screws.
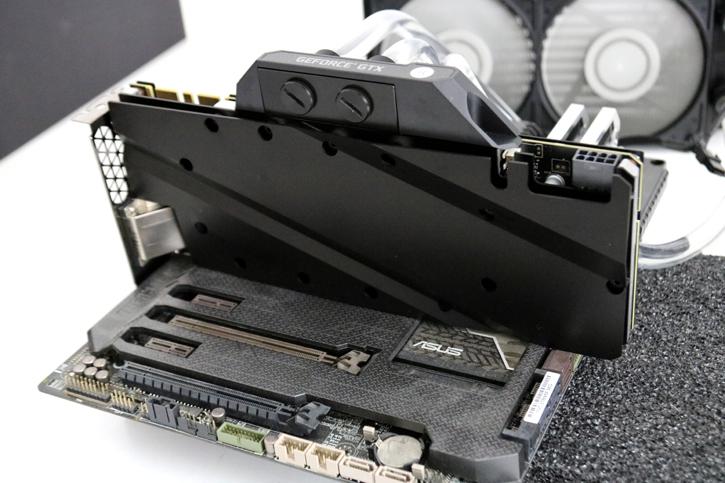
The only tip I'd like to give you is a simple one: "take your time", it's really a 30 minute job, tops. Once converted we now have a single slot water-cooled GTX 1080.
