Product Showcase VGA cooling (installation)
Product Showcase - CPU & GPU cooling (installation)
So here's the part of the review where we will add a graphics card into the cooling loop.
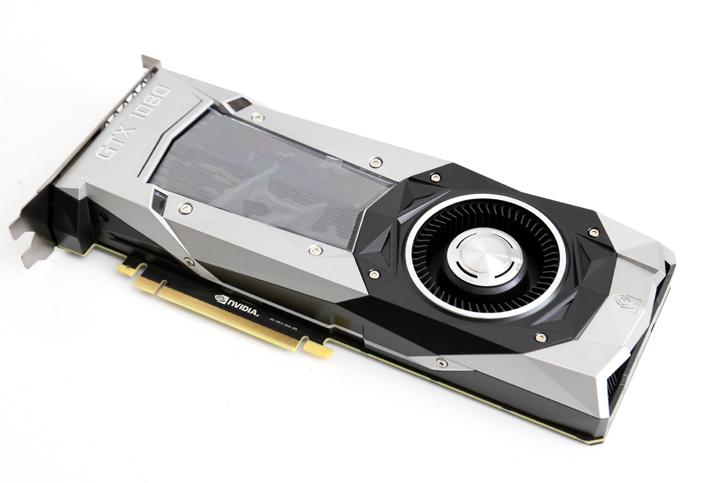
We will be using a reference GeForce GTX 1080. This graphics card should be a fun one to see on liquid cooling. It's a bit of a bitch though to remove the actual cooler. So let me talk you through the process. We take the 500 EURO graphics card and need to remove screws at the backside backplate first, lots of them and all of them - starting with the IO bracket and all screws at the back-plate. You will need a mini Philips screwdriver there. Easily found in any hardware store.

Then once the backplate was removed, I had an ah crap moment. The cooler is secured with a gazllion nuts. It gets even worse, it's a nut size that is unusually small. You'll need a size 4mm inverted hex-key to remove all these nuts, these are the ones keeping the cooler in place.
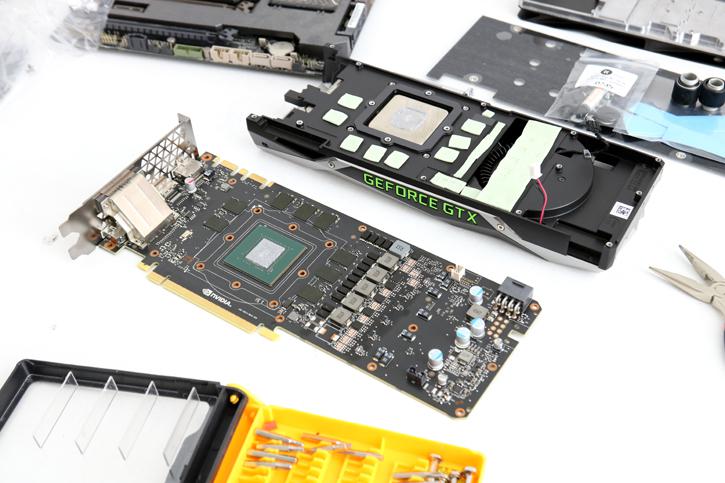
Once all screws and nuts have been remove, gently wiggle the PCB loose from the cooler. Mind you that there are two LED light cables you will need to unplug. Once you have it uncovered the graphics processor needs some cleaning. Please remove all residual thermal paste as we do not want galvanic corrosion eating away in the GPU die.
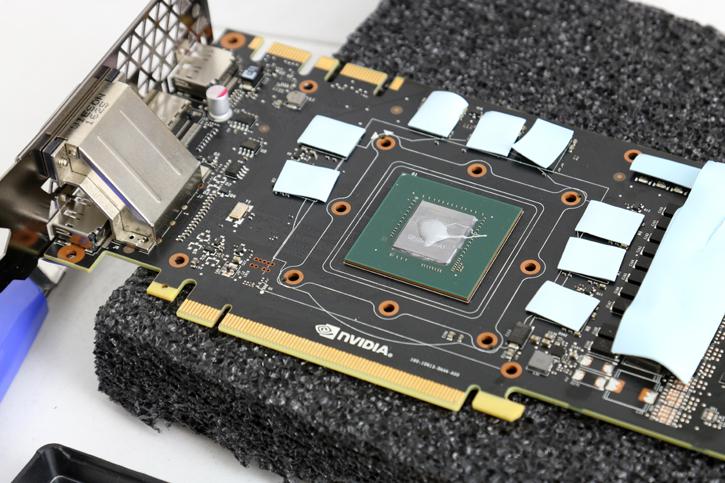
We now replace the padding supplied by EK. We reapply thermal paste using the included TIM that EK delivers with the kit. Do not forget to cover up the VRM area with thermal padding, as well as the memory ICs.
