Product Installation
So then, installation is relatively easy, but not the easiest thing alright. You need to follow a precise sequence:
- Install the PSU
- Install the motherboard backplate + frontside CPU block mounting standoffs
- Seat the motherboard and secure it with the big 90 degree shaped retention clip
- Mount standoffs on the retention clip
- Arrange all wiring leading to your motherboard
- Mount the CPU block
- Mount the radiator block
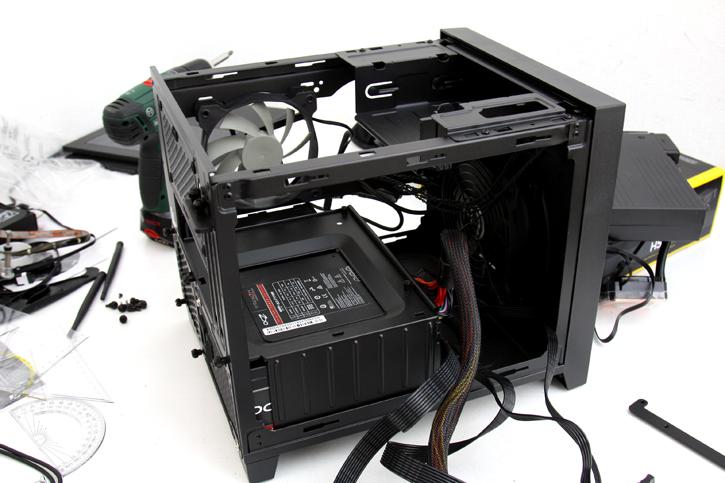
Let me take you through it step by step with photos or ya'll still not understand what the heck I am rambling about, eh?
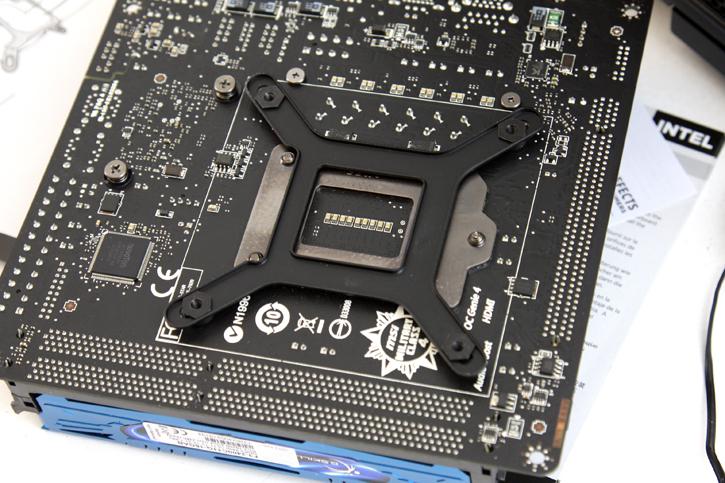
After we seat the PSU in the 250D you will already need to think about wiring everything. Lead the cables to where they need to be. The motherboard then, you first prepare the back plate, nuts need to be aligned with the holes by shifting them into position. Look closely to the left, you'll notice that there is an indentation for two screws that the motherboard socket has. You can and should position the back-plate 100% similar to shown above, that's the only right way.
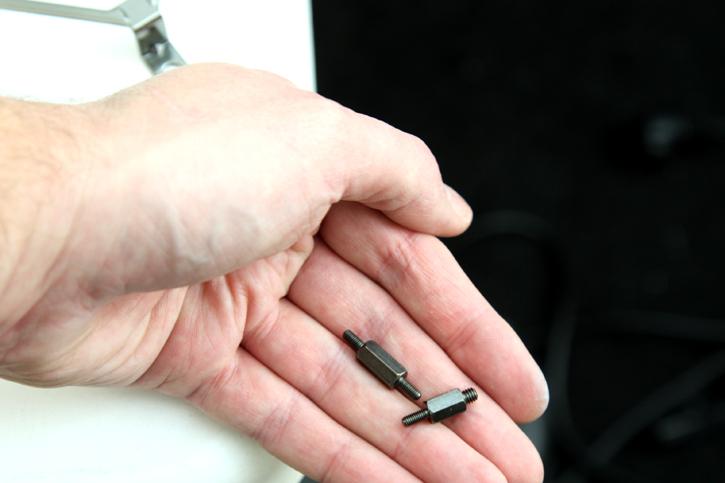
We now need to mount four standoff screws (studs) for the CPU block mounting. Corsair delivers two sets of four, the one with the short and thick threading on one side is for socket 2011, the ones with equally long threading on each side is need for the more regular Socket LGA 115x, which we need to use.
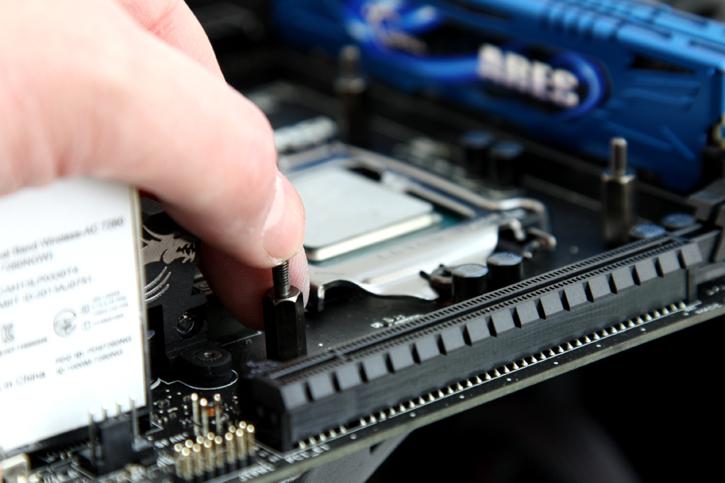
We flip around the motherboard, and secure the four screws/standoffs. Once tightened, the back-plate is now in place and at the front-side we are ready for the CPU block installation, but that part is managed later on as we need to focus on some other stuff first, hey you do remember the master-plan I have shown you at the top of this article page right??
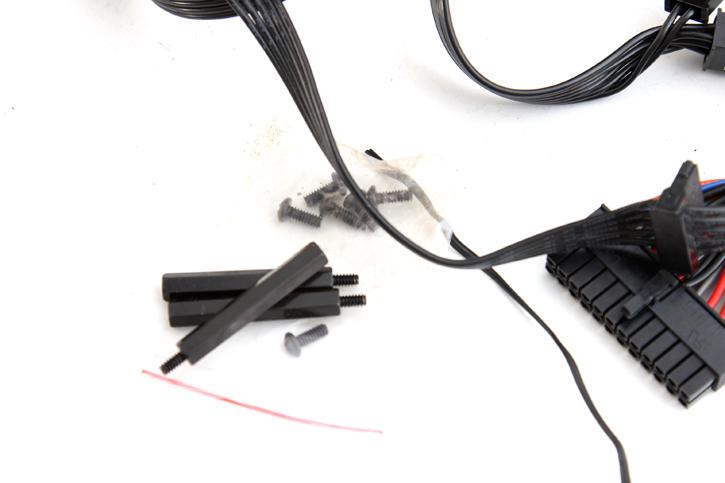
See the three long standoff screws .... grab them bro! You mount them on the 90-degree angled mounting bracket we need to mount onto the motherboard.
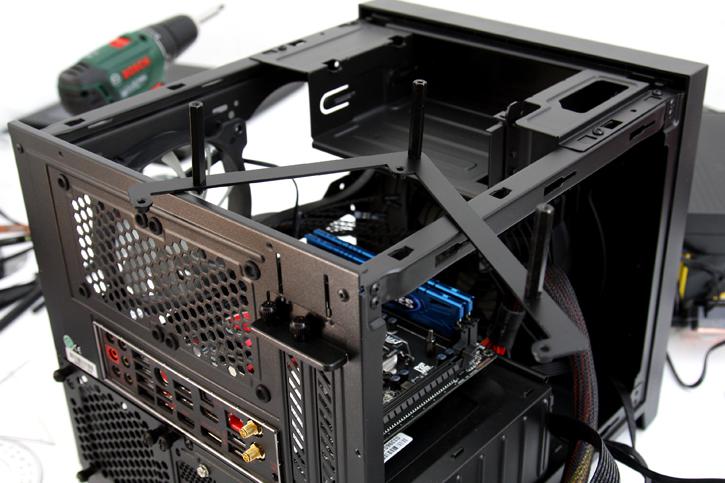
So you now take the 90-degrees angle mounting clip shown in above photo resting on the chassis (you missed it at first look didn't you). You now position the motherboard in placed in-between the motherboard mounts and screws you position this bracket. Use the long screws that Corsair supplied to tighten the motherboard secure.
It is a bit of a gnarly (hey I like that word somehow) photo as everything is so dark. But look closely at the screws that secure the motherboard onto the motherboard back-plate, here's where the new mounting bracket now sits secured. Combined with the three long standoff screws that is the rest where the radiator will sit on top on.
