Product Showcase
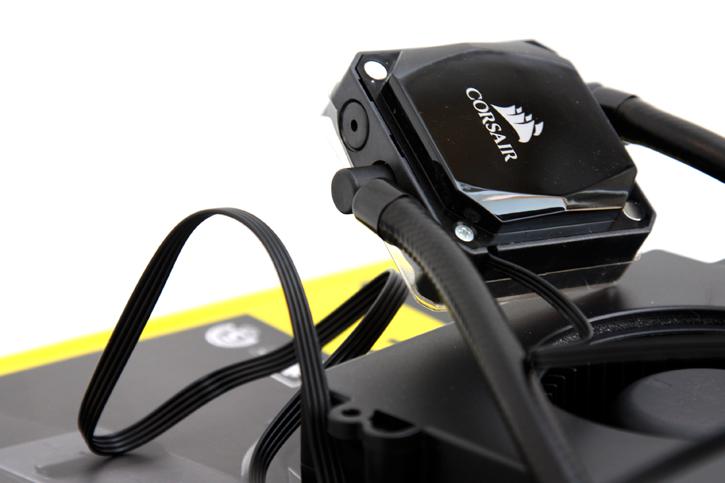
Here we have the top side of the cooling block. The actual pump is located in there, tubing is already connected and the entire unit is already injected with coolant and air drained - so ready to use.
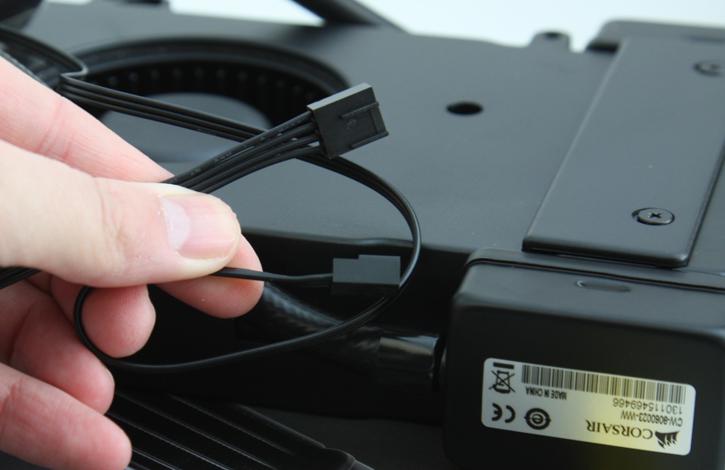
You connect the three/four pin fan connector to the a FAN headers on the motherboard, you can connect the fan header located on the radiator unit to the CPU FAN harder on your motherboard. So your motherboard can regulate the fan RPM and control pump flow. All modern age motherboards allow extensive configuration of this. Typically we say go 50% on power on the pump and just apply the default delta settings for the fan RPM.
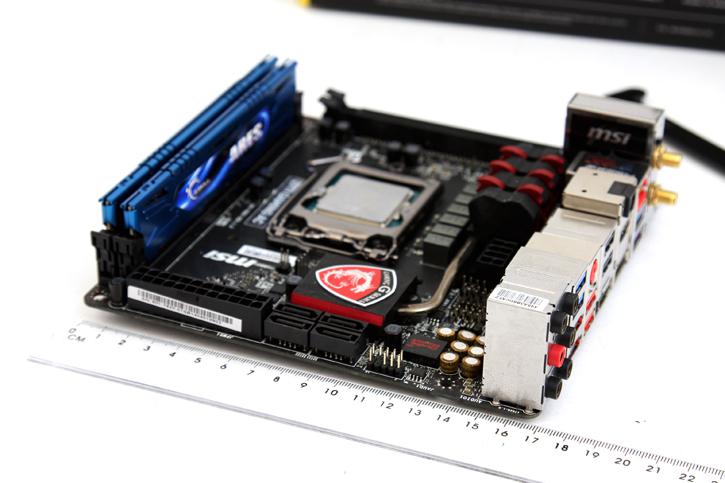
To remind you again on sizes and what we are dealing with here ... that's Mini ITX folks. I'll be using a Z97I Gaming AC from MSI. That's 17x17cm.
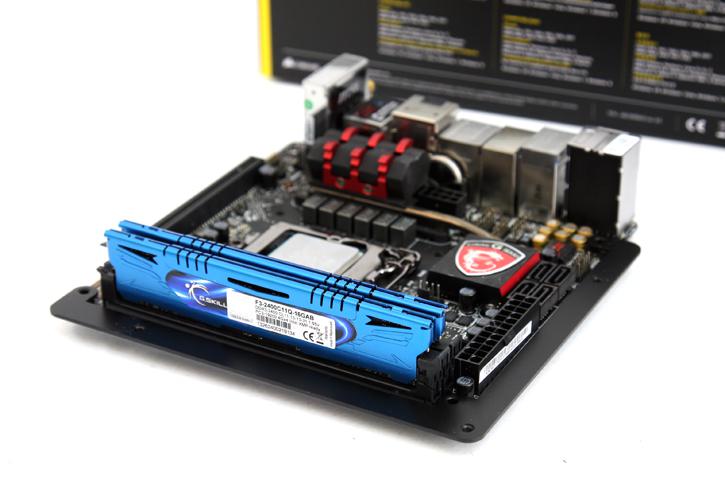
17x17cm or not, we are plasting the fracker with fitted 16GB of memory and popped that cherry with a Core i7 4790K processor. So that should be plenty for a nice test run to see if the cooling solution can keep up with our demands - booyah !
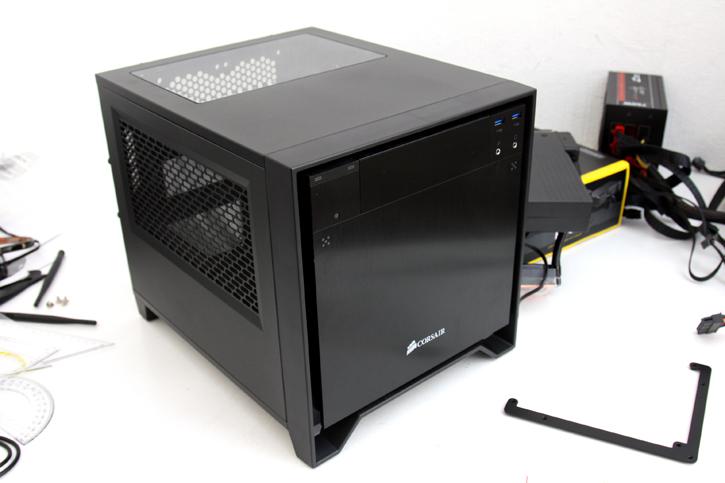
Chassis wise the Corsair Obsidian 250D is perfect, this compact chassis allows you to build anything from a simple HTPC towards a Z87/Z97/Z170 mini ITX motherboard with Core i7 processor, liquid cool that processor and then even add a GeForce GTX 980 Ti or Radeon R9 Fury X in there. Hey it is all possible albeit sure, space is not a luxurious commodity alright.
