Product Installation
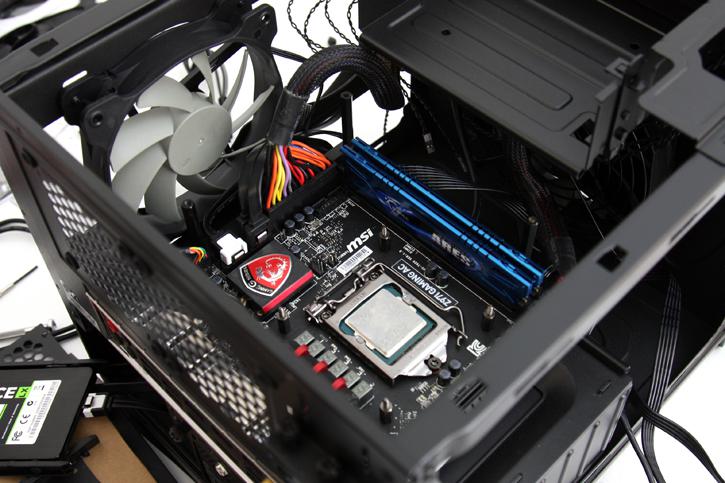
So with the mounting bracket in place and the back-plate installed we are getting close to mounting the actual water-block and radiator unit. Now would be a very good time to finish up your wiring. Connect the power cables, your power/on/reset/hdd and stuff like USB connectors.
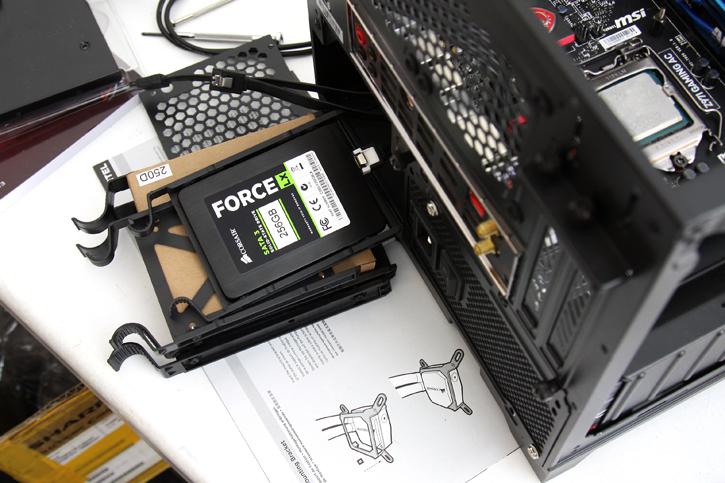
Also it's a good time to already position your storage units and get the wiring ready and done and routed. As once that radiator gets installed, the space from the top side will be blocked and thus it'll be immensely hard to reach anything on your 17x17cm motherboard.
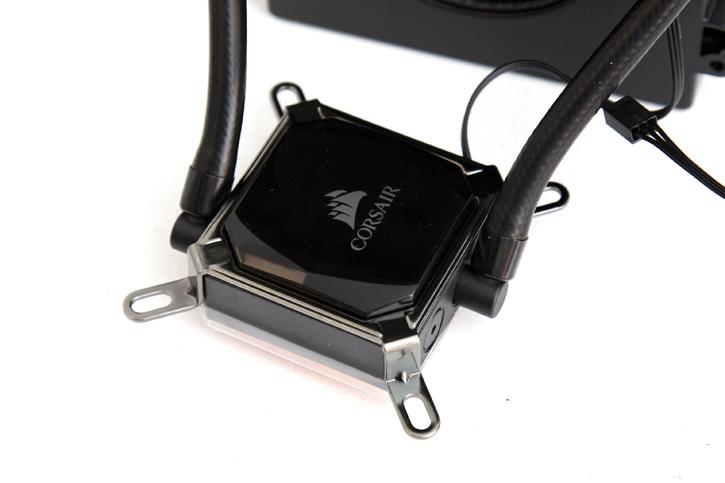
With all the cables installed and routed we now move to the cooling block, one bracket needs to be installed. You simply slide it on top of the unit and it is ready to be secure. Don't forget to remove the plastic cap that covers the bottom copper plate and the pre-applied thermal paste.
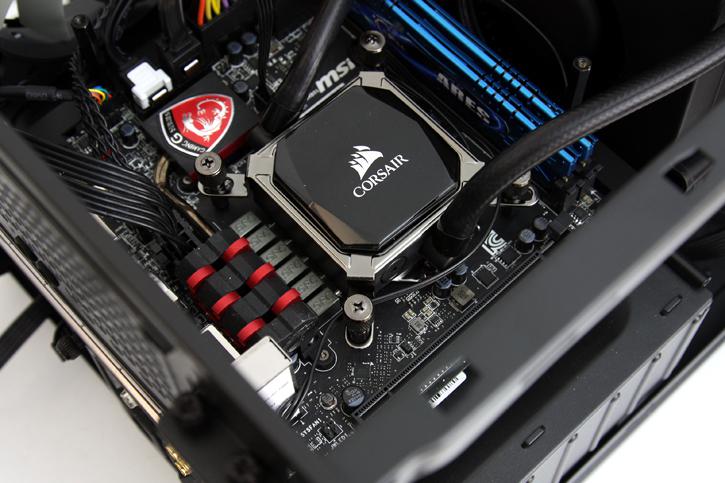
We carefully seat the water-block into position. You can only position it only one way, e.g. the tubing needs to line up with the radiator properly, remember that radiator exhaust hot air at the rear end. We secure the block with the four thumbscrews. Turn them until tightened, that's all. You may now connect the pump power cable towards one of the fan headers on your motherboard. Located at the radiator is one more wire from the fan, this one you will want to lead towards your motherboard CPU FAN header for optimal control in your BIOS. Two wires are a bit of a tricky thing, our Z97 motherboard for example only has two FAN headers. So if we want to use more cooling fans located inside the chassis, we'll need to use Y-splitter cables (not included). That is the one downside with Mini ITX motherboards, nothing is plentiful connectivity wise.
What the .. I just noticed the Z97 motherboard has no M.2. slot. Oh My Gawd Becky, that's like sooooo 2015.
