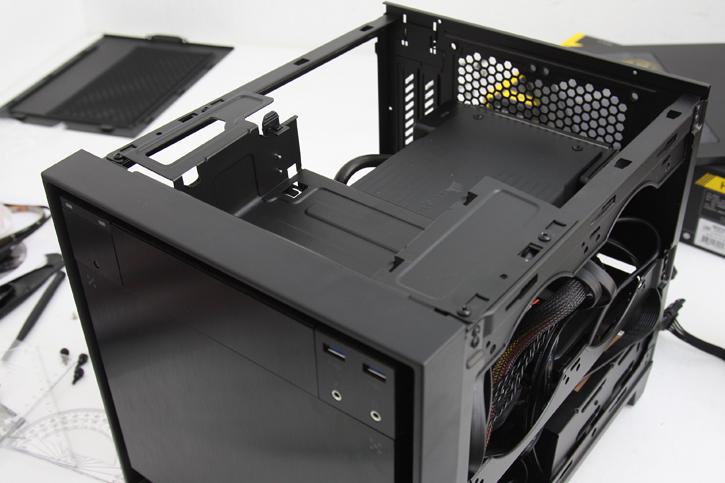
Product Installation
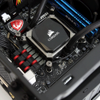
One last check before we mount it shut, have all the cables been connected?, is the water-block properly installed? Good we can now seat the radiator block. One tip, see that tubing leading from the water-block connects?, these can rotate. Push the tubing fitting position in a 30 degree angle backwards so that the radiator block will not be pushed upwards. The tubing is quite stiff. As you can see it is likely that the tubing will touch the backside of any installed videocard, that's a fairly tight fit for sure.
Once the radiator unit is in position, we can use three included screws to secure it. Note that the radiator exhaust obviously needs to point at the rear/backside of the chassis so that it can actually exhaust warm air.
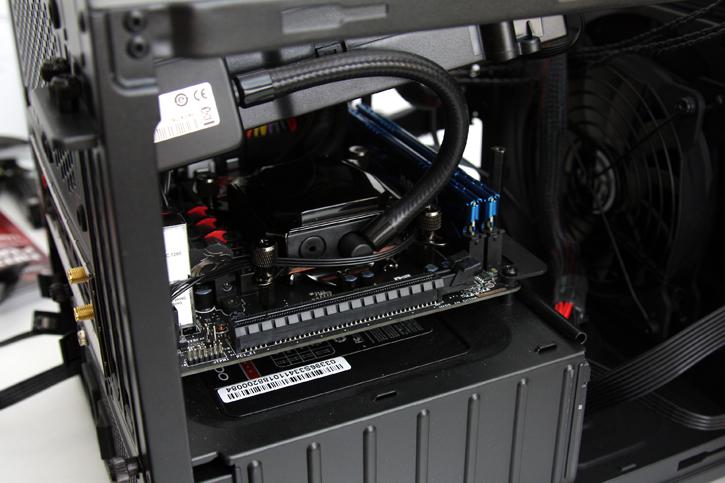
With the 250D we bumped into an issue on the left side of the chassis. There is a fan located here at default, it was putting too much pressure on the wiring and in the end the radiator and motherboard as with this motherboard everything comes routed from the left. We simply removed the fan and then where able to mount everything with enough clearance.
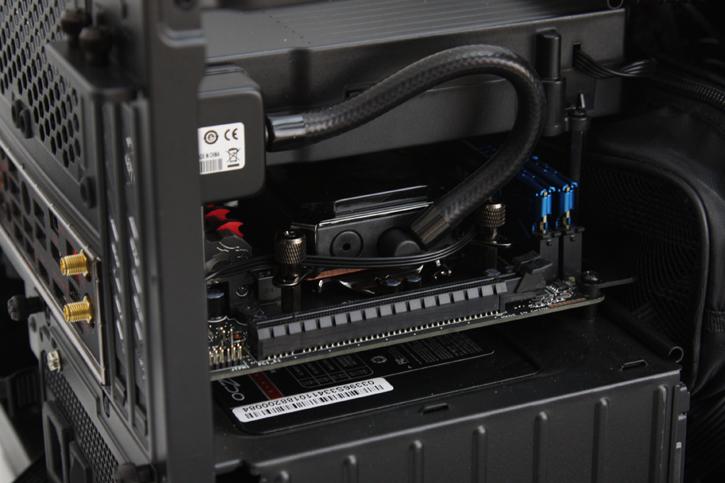
Here you can see that the Corsair Hydro H5 SF is positioned properly and mounted secure. All this happens in a 17cm x ~15cm spacing, And heck it all even fits.
Looking at the top side view here, the radiator unit is definitely blocking the view and sure, direct access to the motherboard. Then again, you do get some dandy cooling for that annoyance in return eh?
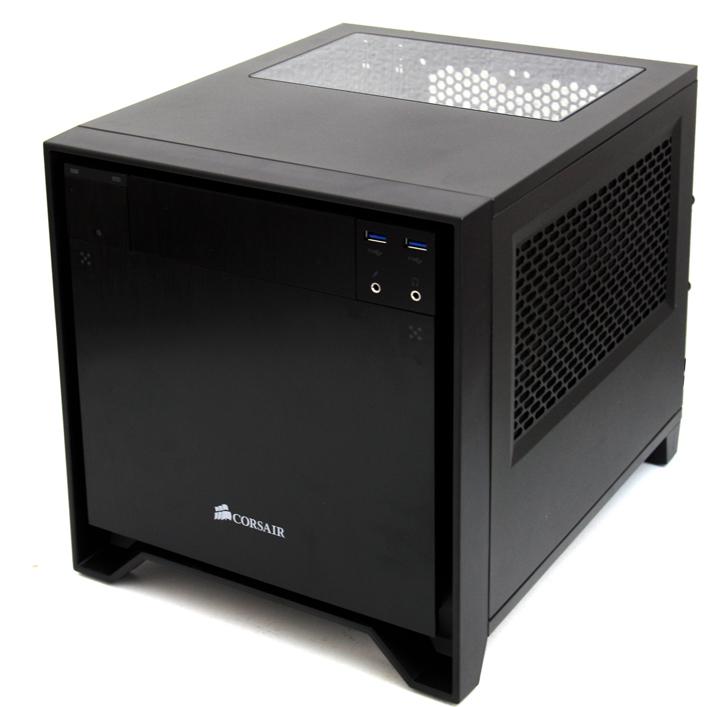
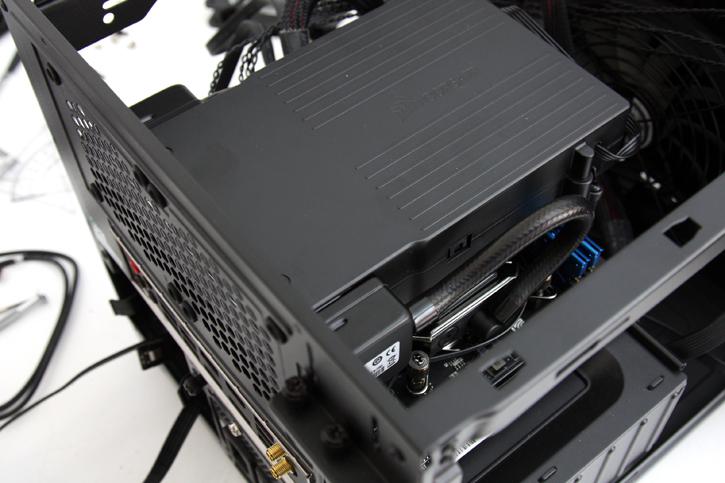
Dude, that box is like 290mm (H) x 277mm (W) x 351mm (D) ... (13.8 x 10.9 x 11.4 inches). Right, who's ready for some temperature testing?
