Product Showcase

We will now begin the phase in which the installation kit will be assembled. First, we attach the fans to the radiator with four screws each, and remember that the Corsair sticker on your PC case points downwards.
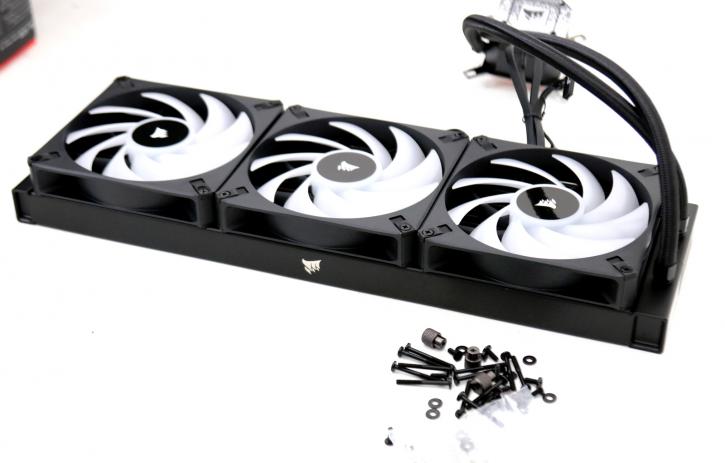
Once done, you need to decide where to position your radiator and how the tubing and wiring will be managed. The three fans have connectors connected leading to the Node Commander. The commander is crucial here because it now provides much nicer cable routing.
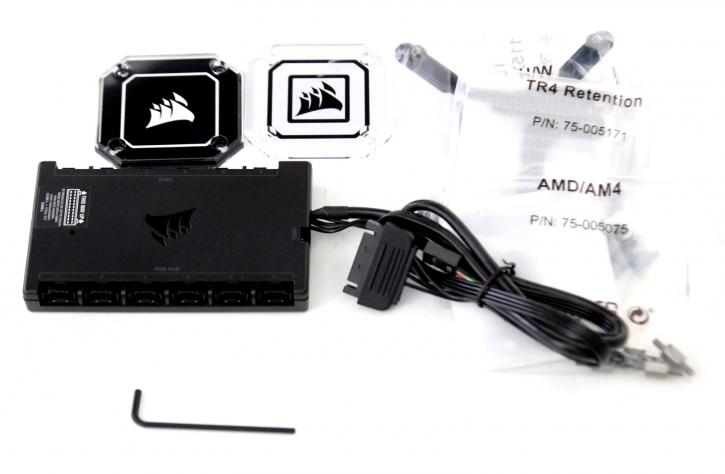
Above the NODE, responsible for fan and RGB connectivity as well as leading towards the PUMP and USB. I'm going to make a small detour here on the faceplate; please look at the image below.
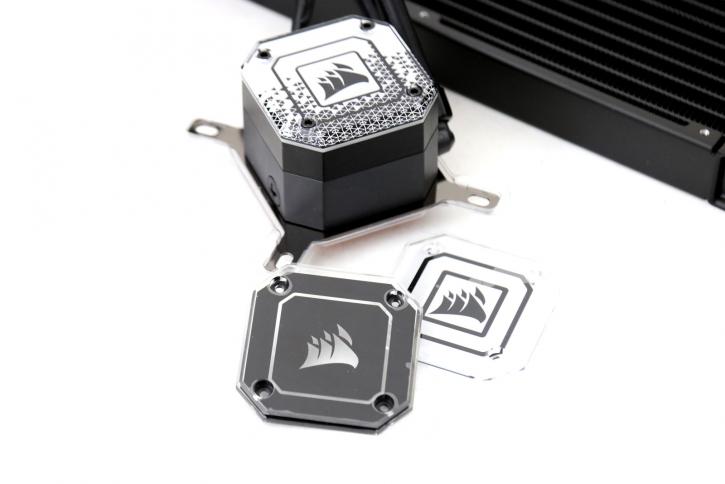
The base unit features a cooling block faceplate that can be replaced with a transparent one and a dark one included by Corsair.
