User Groups & Users
This NAS server, essentially a low-power computer, comes with its own specialized Linux-based operating system known as Asustor Data Master (ADM). ADM is equipped with all the essential NAS functionalities like backup and FTP services, file sharing, storage management, and access permissions. It also features 'App Central' for enhancing the NAS capabilities with additional applications such as surveillance tools, cloud backup solutions, and multimedia servers. Once logged into the NAS, you'll enter the ADM admin panel, where you can customize the server to meet your specific needs. From setting up FTP and web servers to configuring SSH and various applications like content management systems and Usenet, everything is manageable from this interface. You can also establish new network shares and manage user and group permissions here.
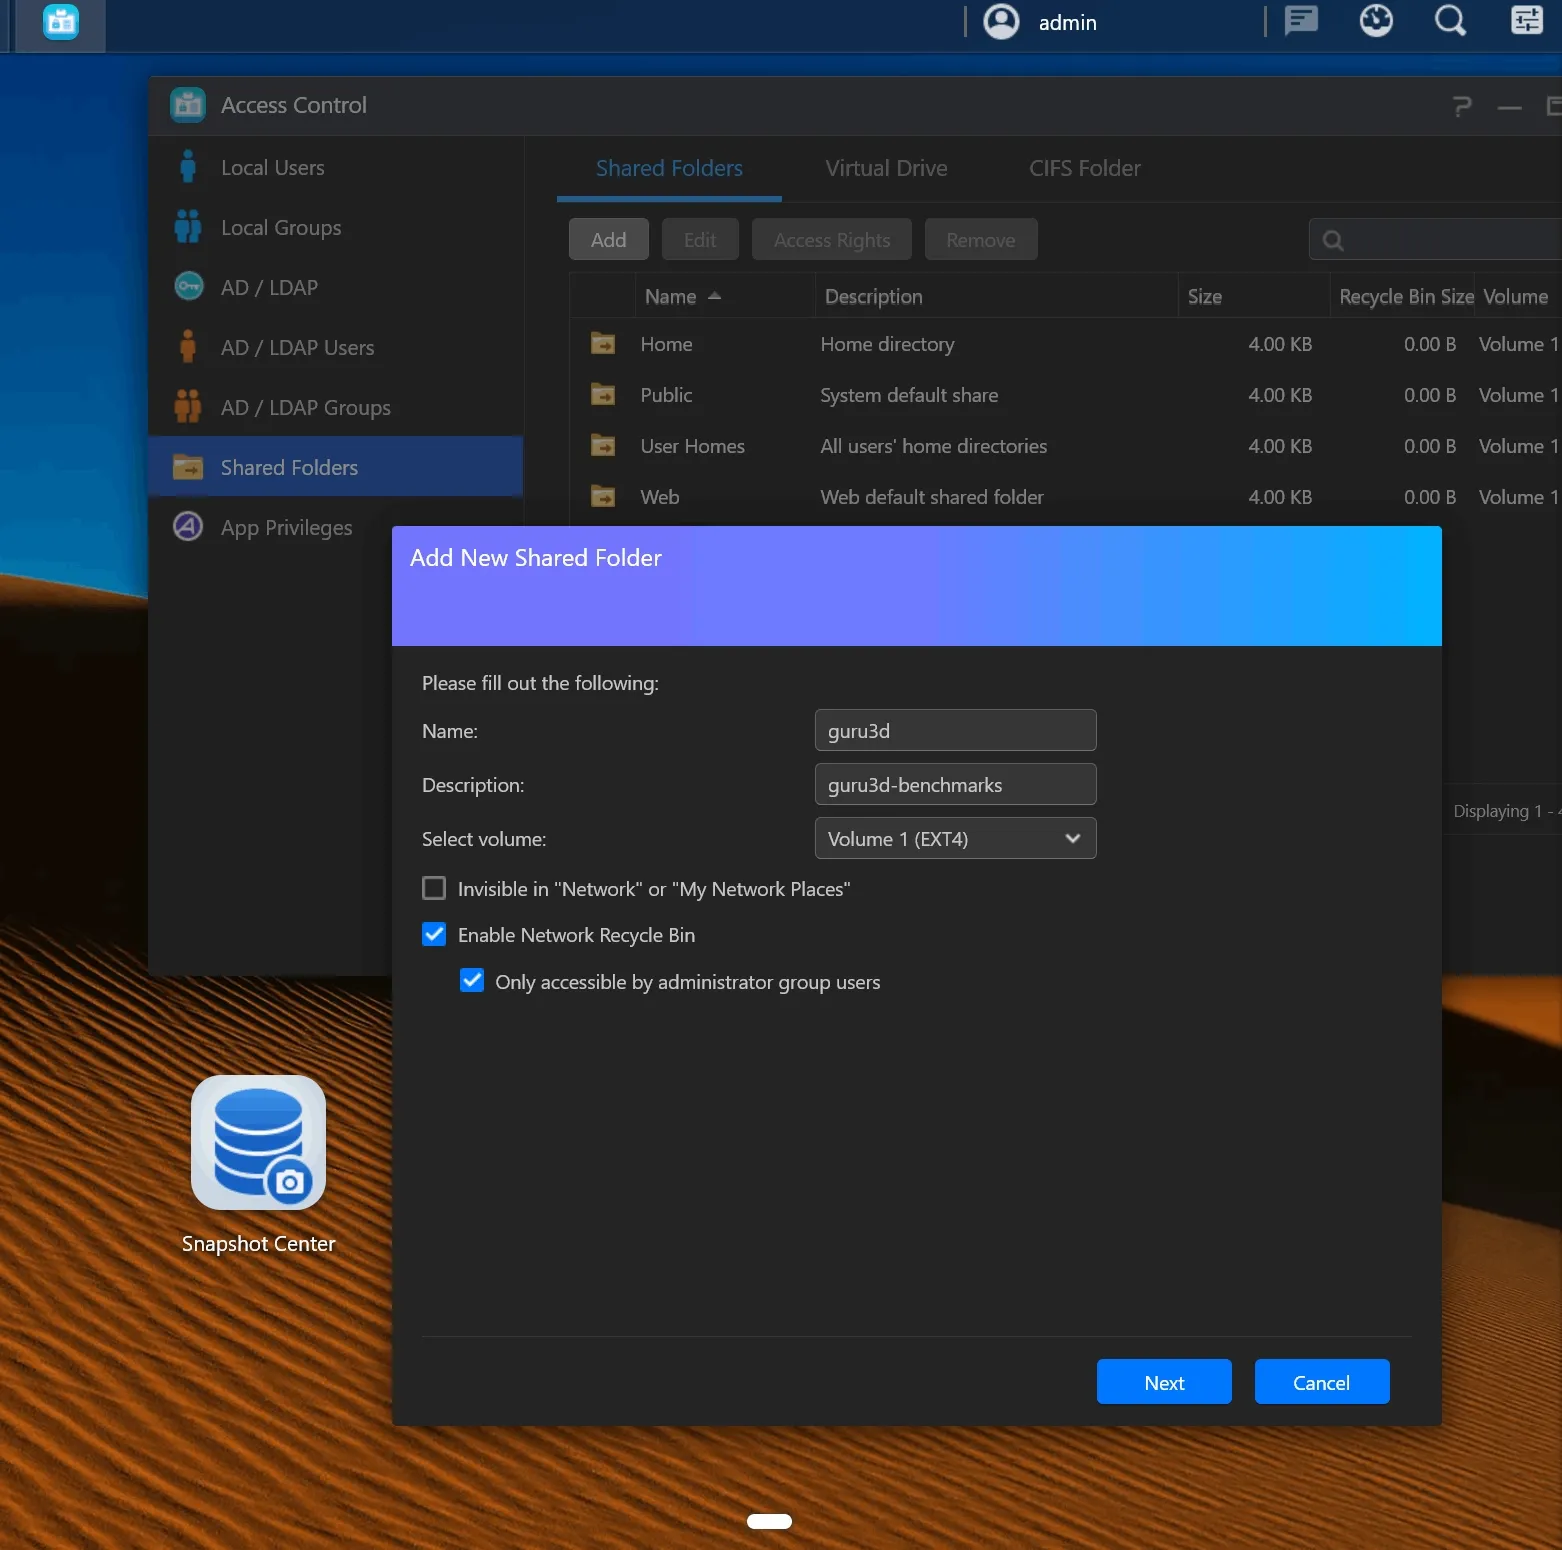
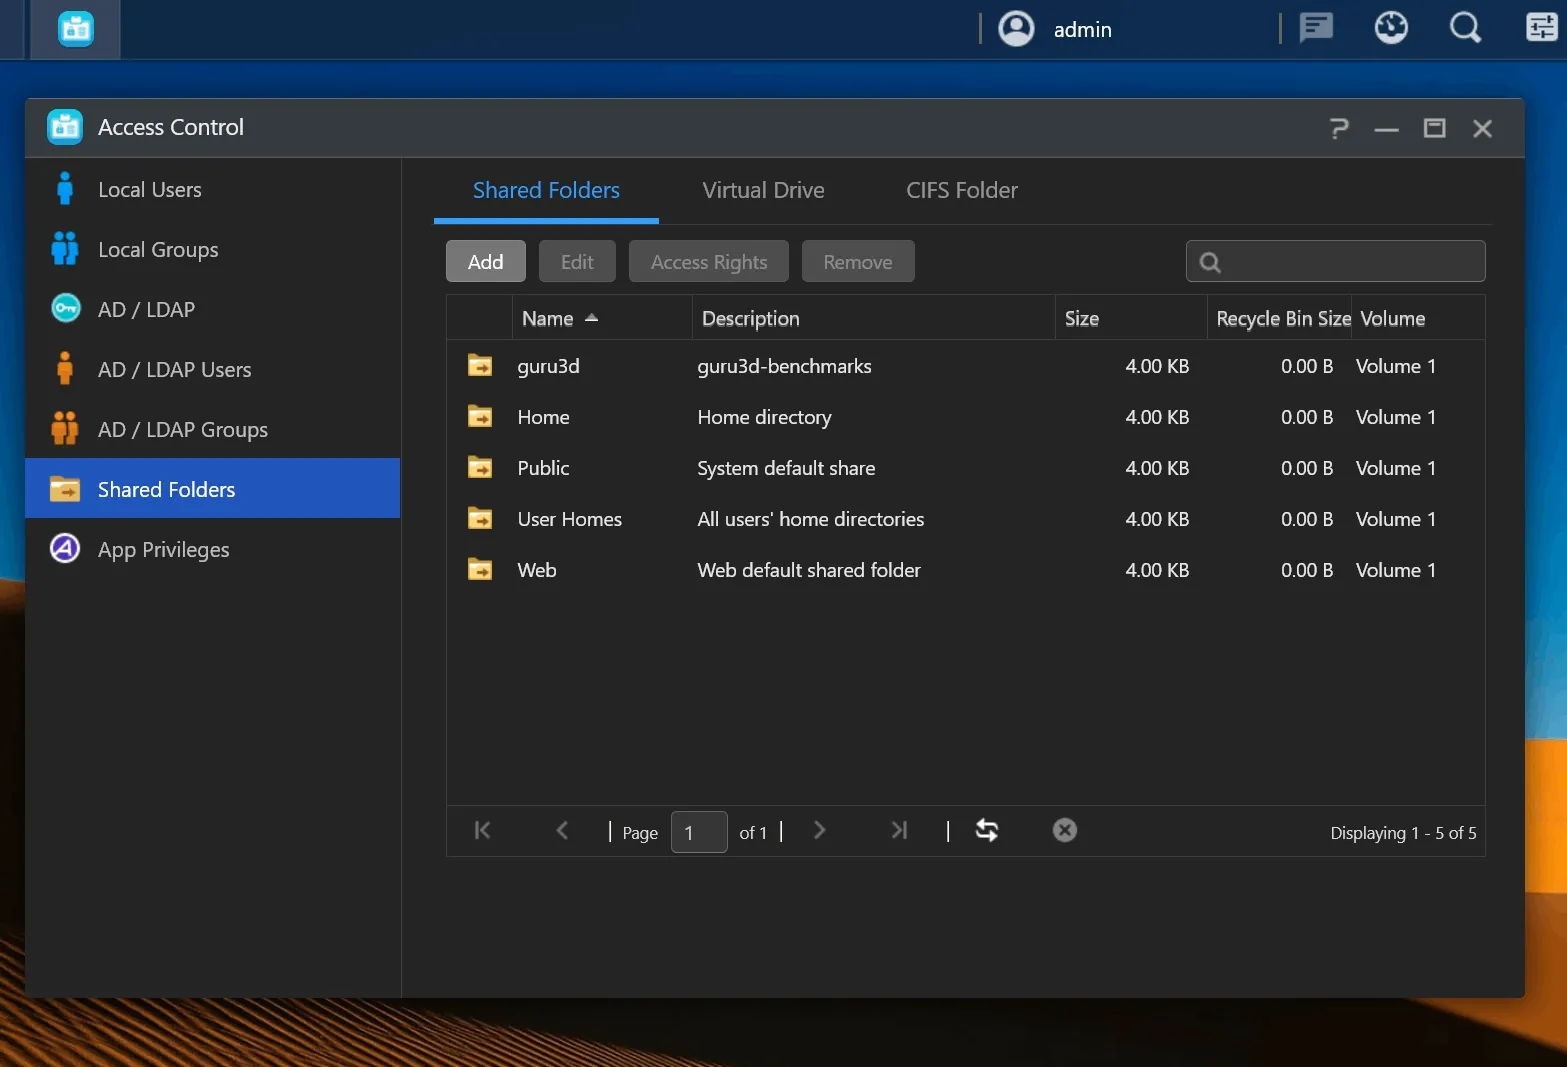
Navigating the user interface, let's begin with managing user permissions. You'll notice that the NAS comes pre-configured with several shared directories, accessible by both admin and guest users. We've also added a special share just for benchmark testing.

A key aspect of NAS functionality is the ability to allocate drive partitions and network shares to specific users or groups, enhancing security and access control. You can use the default admin account or create a new one with admin privileges to test access to the NAS server.
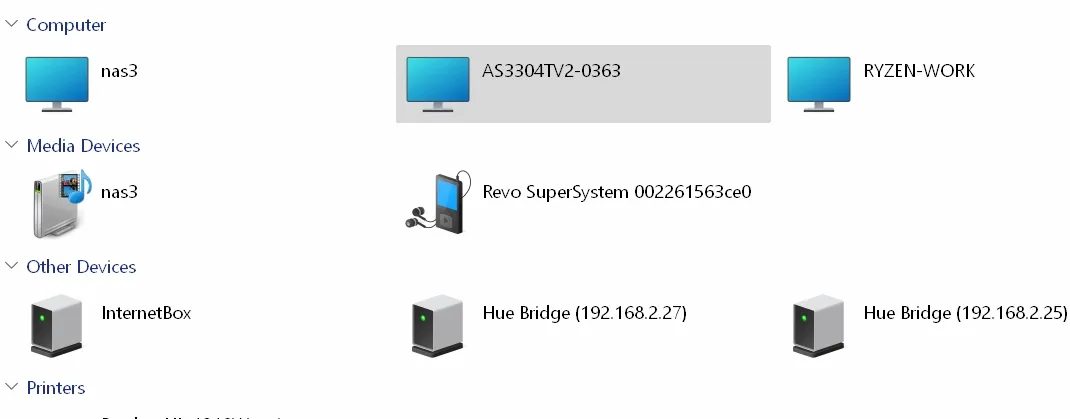
For instance, if our Asustor NAS is named NAS3, you should be able to access it using the designated login and password, provided you've correctly set up the name, password, and any specific paths for your account or group. If the NAS isn't immediately detected, you can try accessing it via the Windows prompt by typing \\NAS2 or \\192.168.0.43, substituting with your NAS's actual IP address or name.
Remember, when creating a new shared directory, you can assign specific permissions to USERS and/or GROUPS, such as no access, read-only, or full read/write privileges. Setting up a network share is straightforward, and with a single click, you can share it on Windows and assign a drive letter. To access a secured folder in Windows and mount it, simply type \\nas3 (or use the assigned NAS name), enter the USER login and password, and you'll gain access to the shares designated for that user.
