Product Gallery
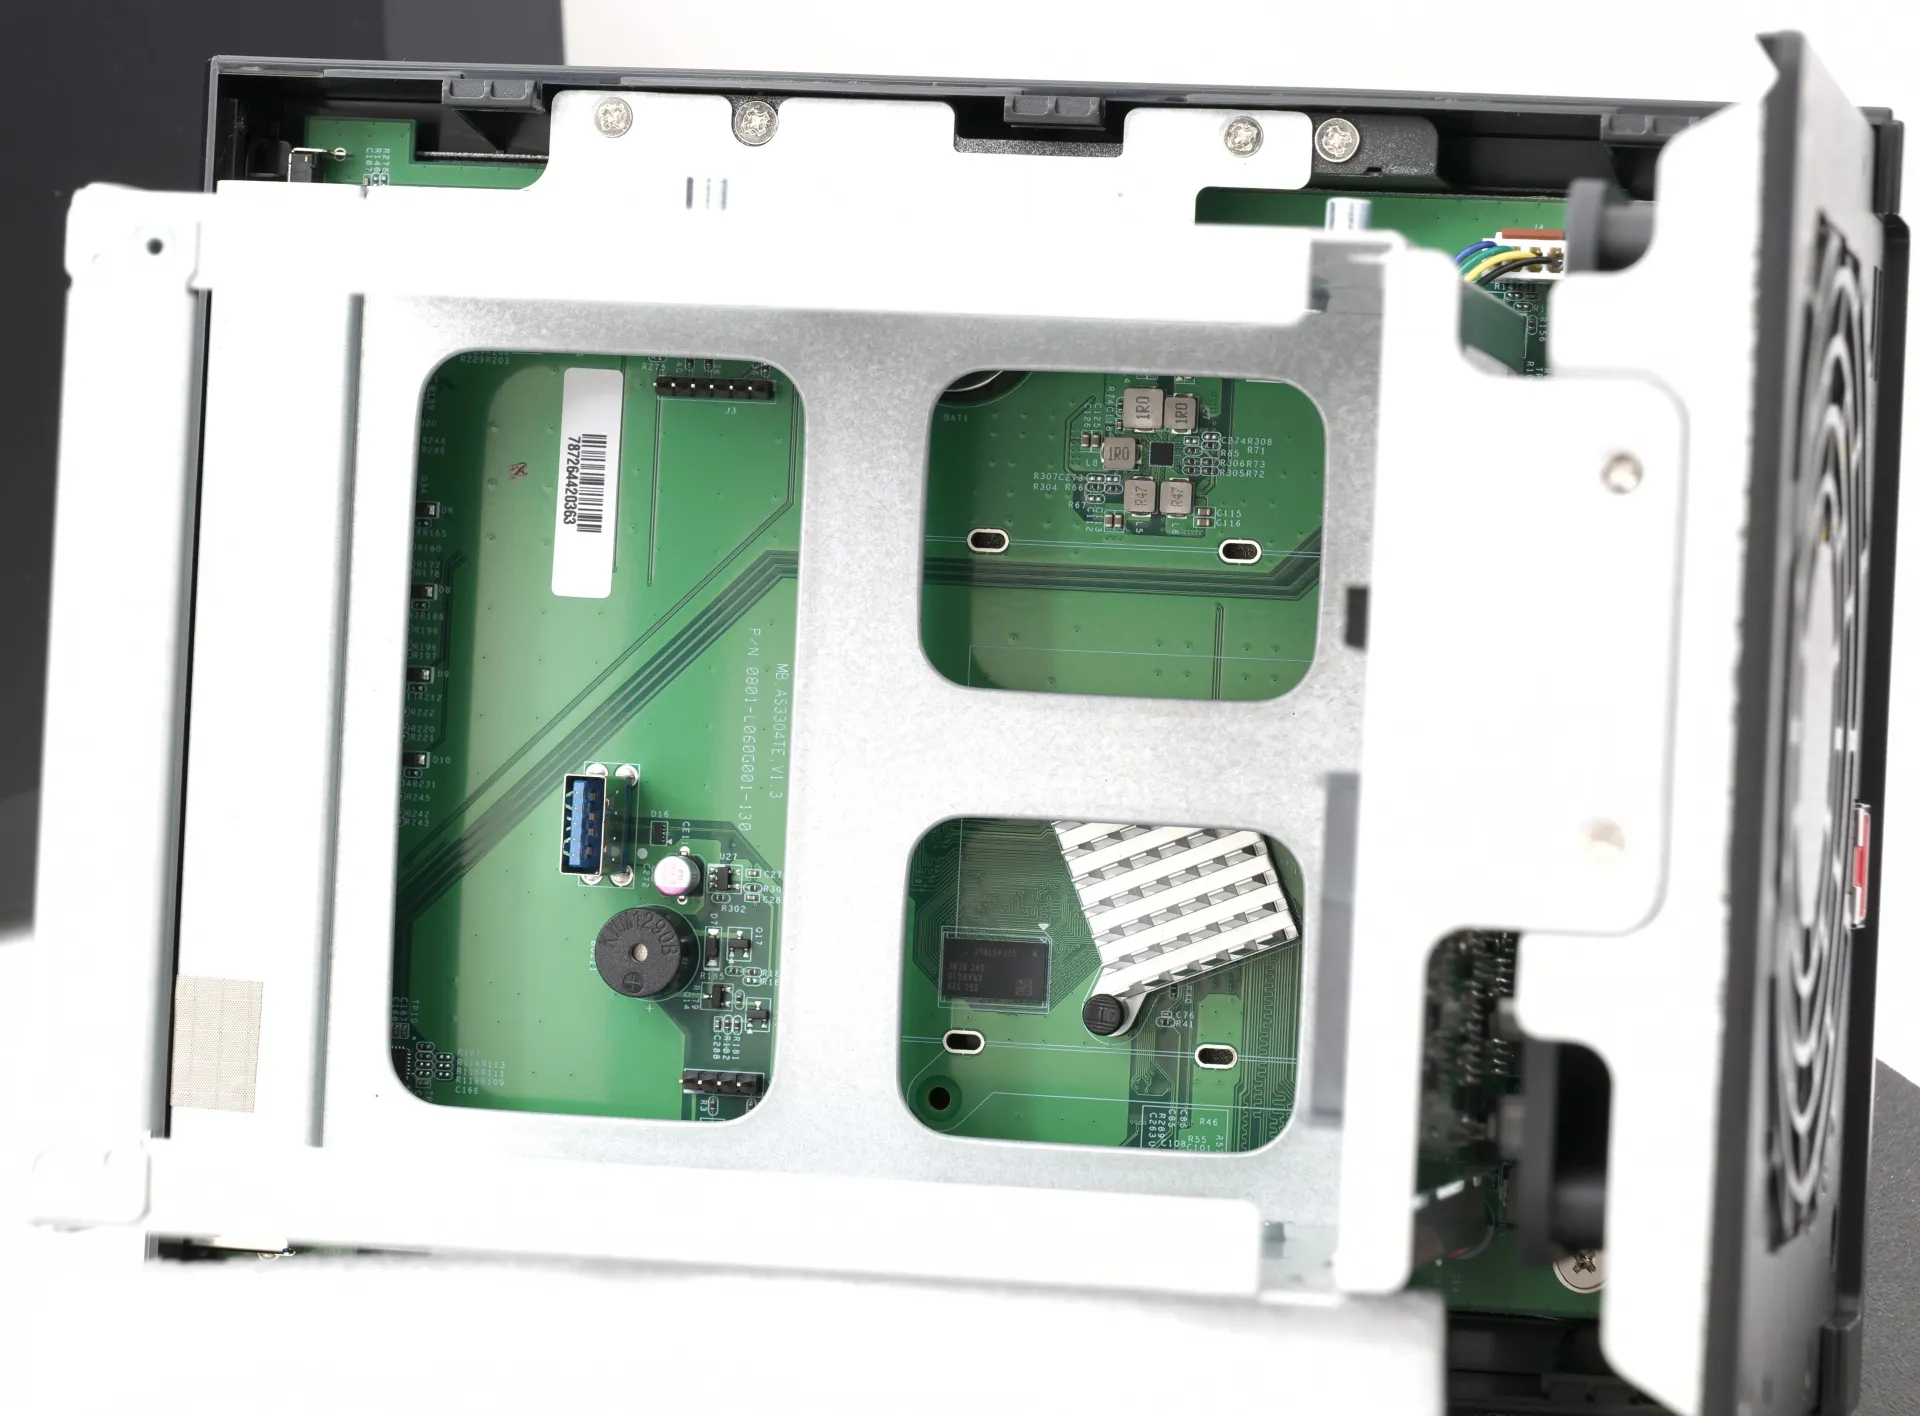
When you take out all the drive trays, on the left side, you'll spot the motherboard or PCB. It's pretty straightforward here, except for the heatsink that keeps the processor cool. It's a passive cooling system, relying on a fan at the back of the NAS to keep things chill.
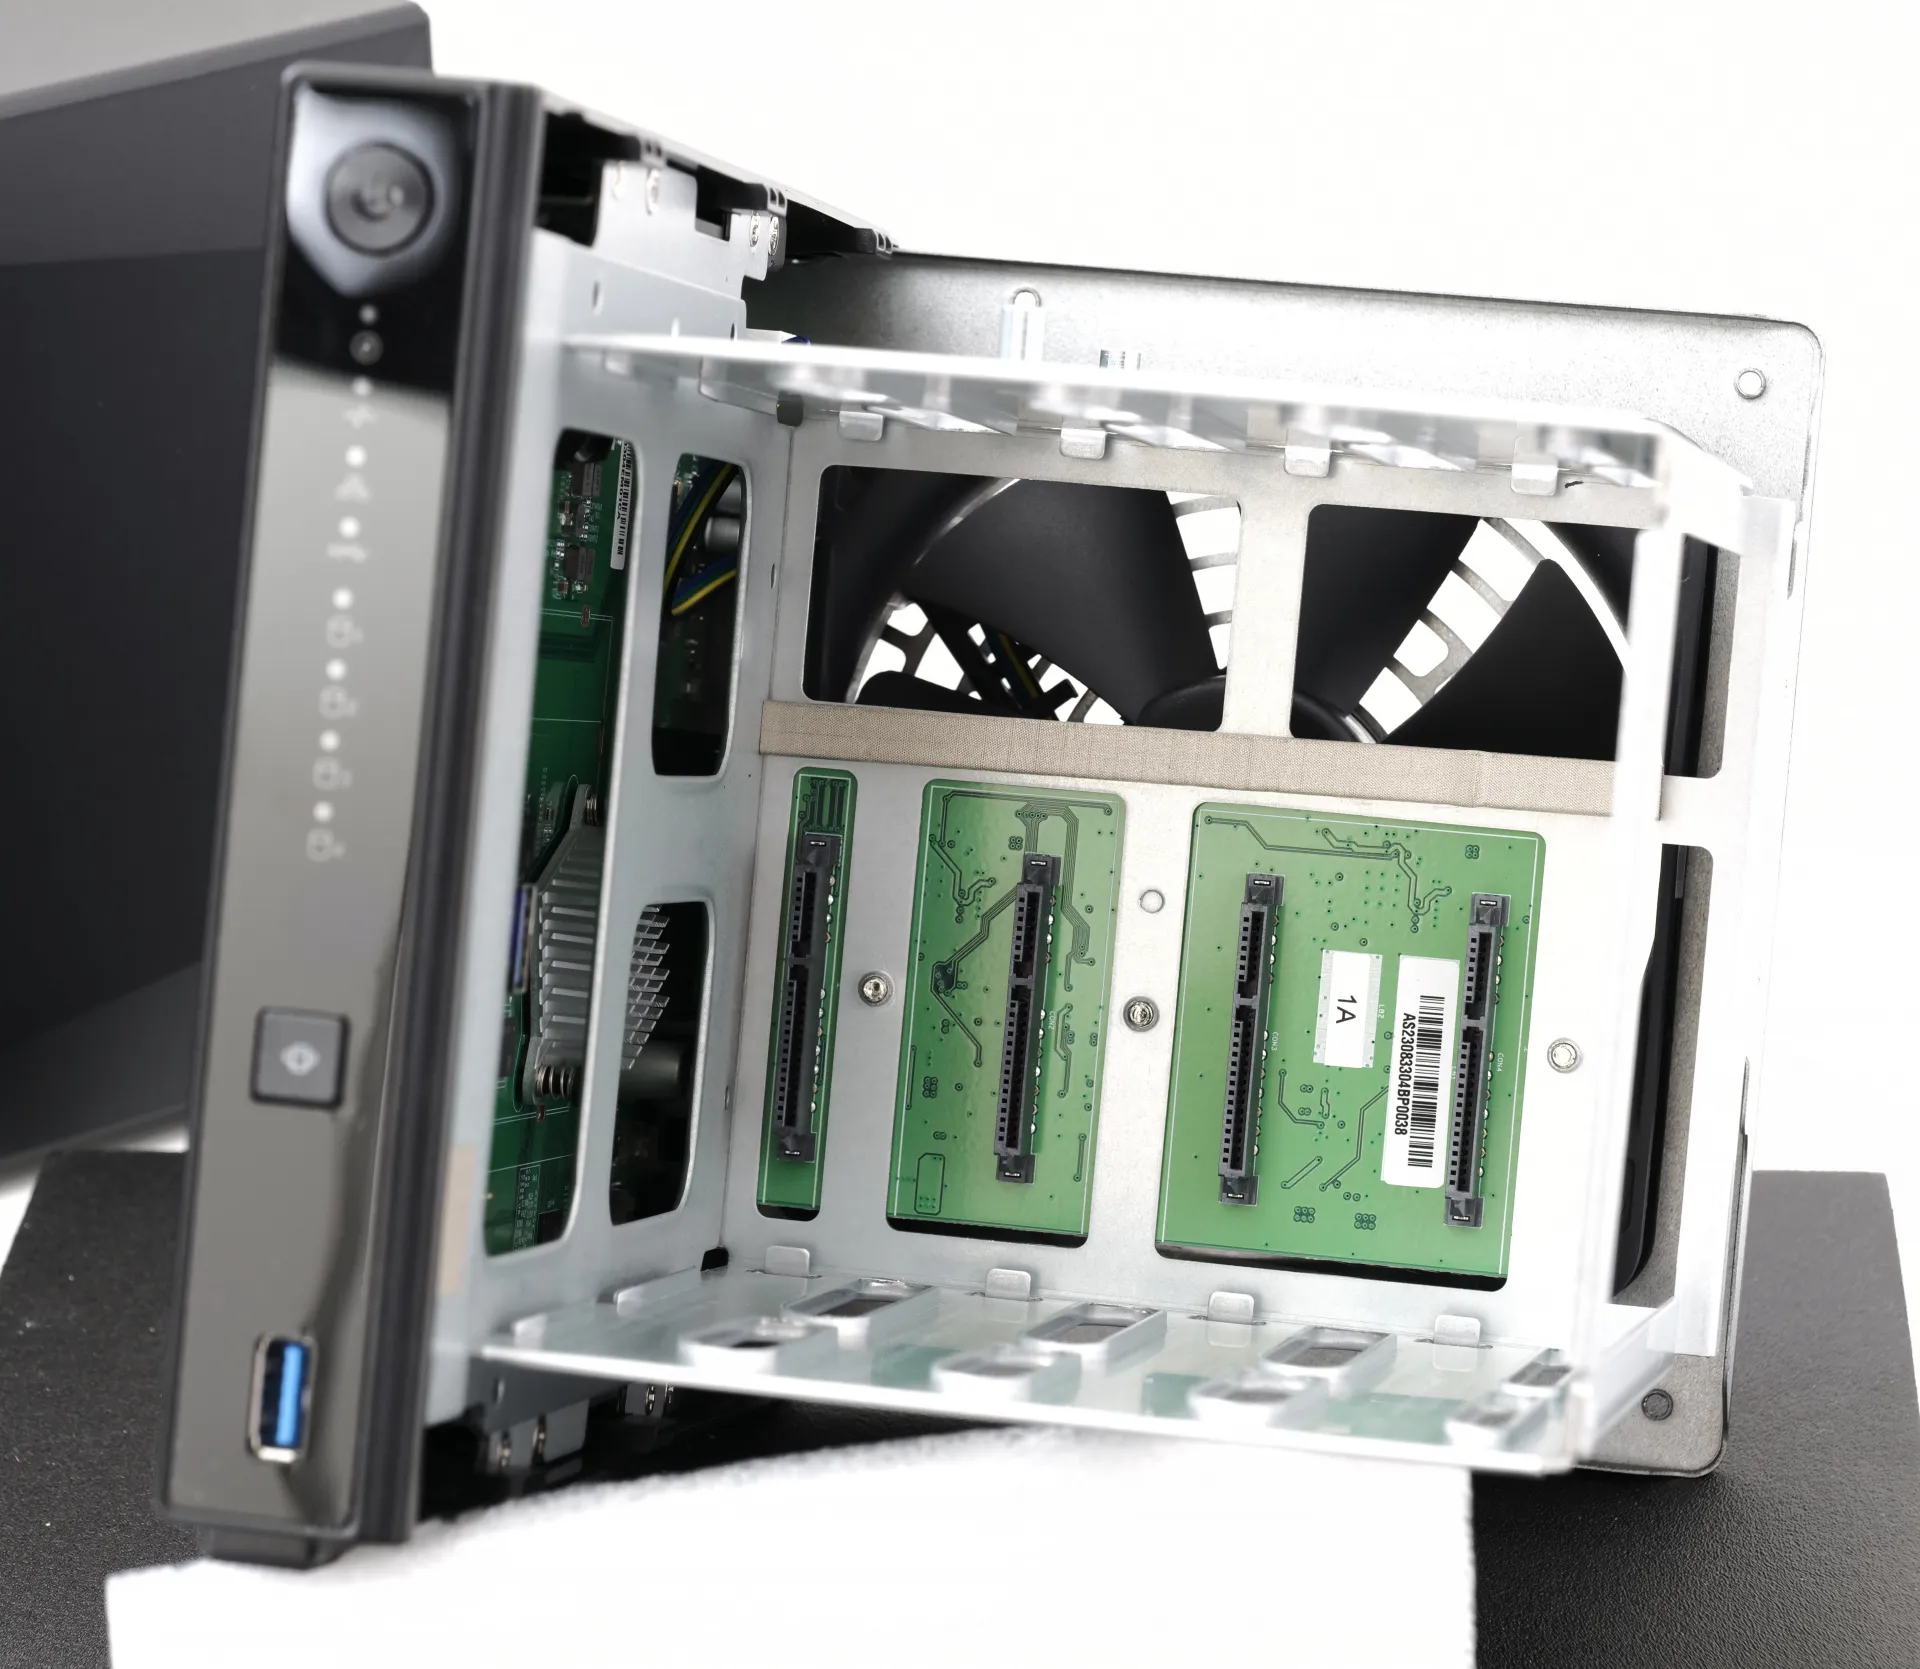
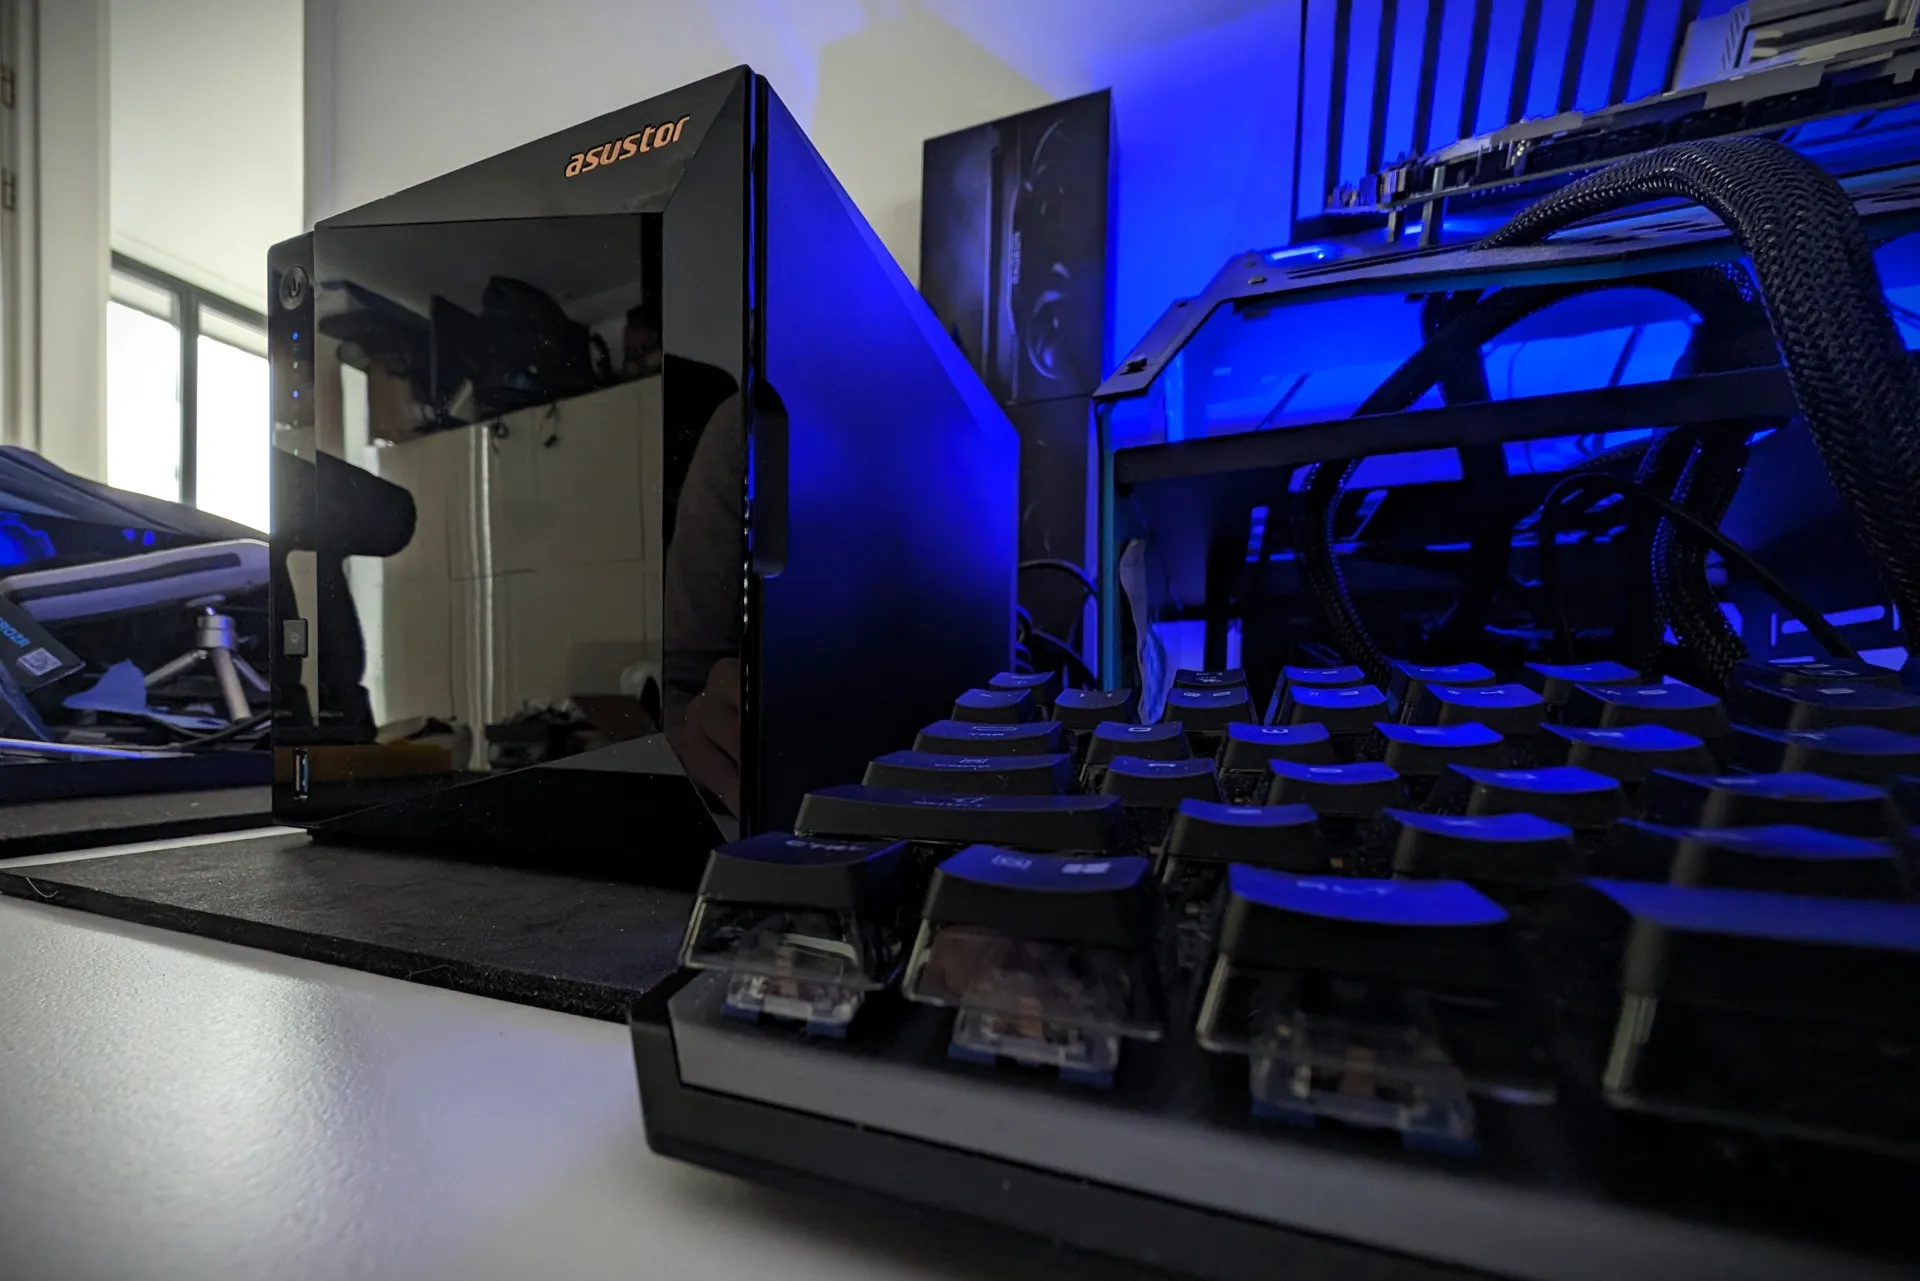
Around the back, you'll find four SATA3 ports. If you're thinking of adding hard drives, it's wise to consult ASUSTOR's compatibility list to ensure they play nice, especially since drives up to 20 TB usually work without a hitch. I recall using some ancient hard drives once; they made all sorts of odd sounds when waking from sleep mode. Two snapped back to life, but one got stuck in a limbo of sorts. That wasn't on ASUSTOR, just a reminder to stick to the recommended list of drives.
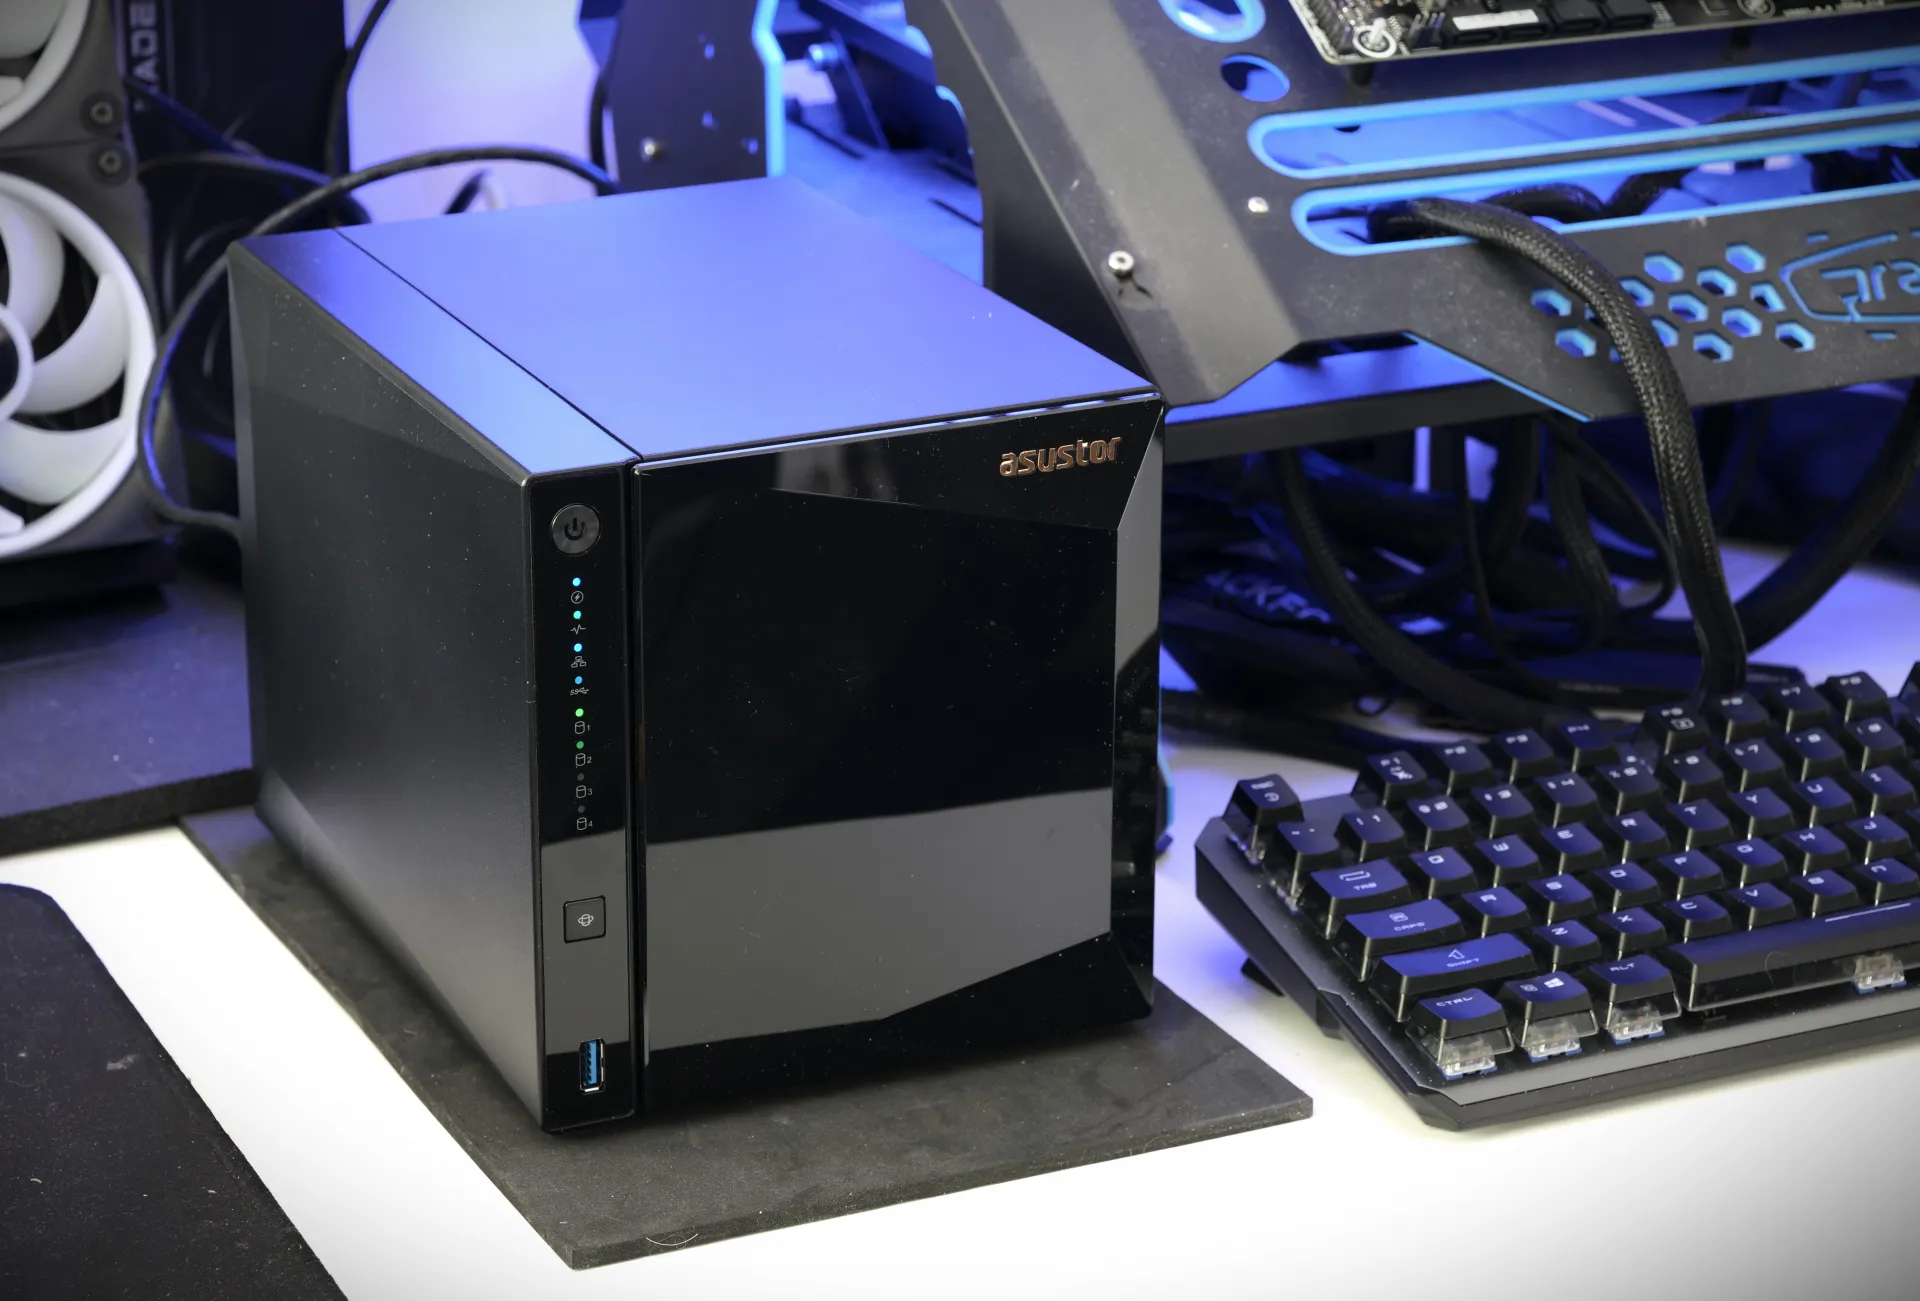
The NAS sits on rubber feet, which helps dampen any vibration noise. Overall, it's pretty quiet. For our tests, we're using SSDs to push the SATA3 connection to its 2.5 Gbps limit. The NAS allows for hot-swapping drives, and the trays come with locks for security.
If you're into SATA3 SSDs, they're an option too. Just remove the side panels, secure the SSD with four screws at the tray's bottom, and slide them in ready for use.
I think we're set. Let's kick off the ADM software setup and get the NAS tailored to your specific needs and wants.
