Product Gallery
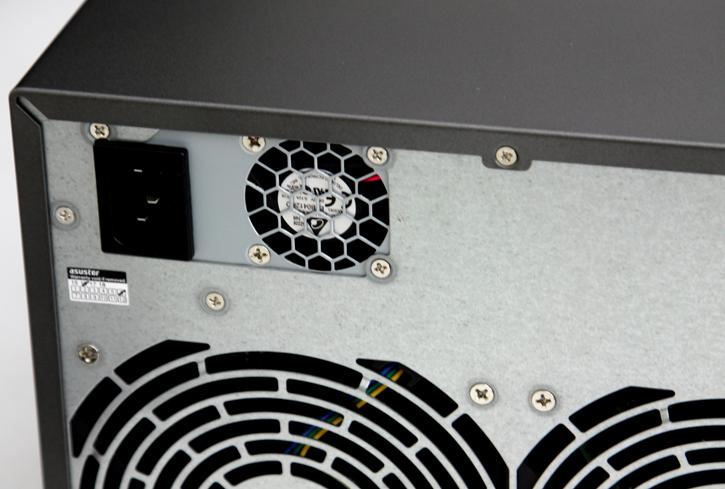
To install the storage units you need to remove four thumbscrews at the backside. You then push the shell backwards and it can now be removed.
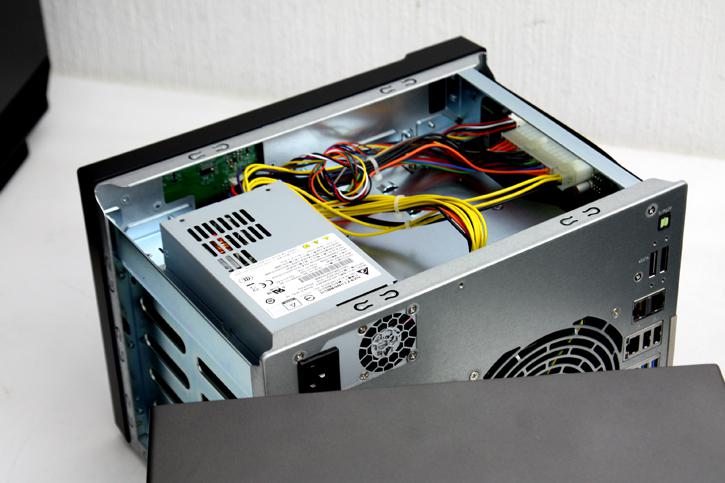
Directly located into the top you will stumble into a power supply, this would be a 250W Flex ATX power supply.
Located at the left side you can see actual motherboard PCB. Nothing much is going on there aside you can see a heat-sink that cools the Celeron processor. It's clearly passive and thus makes use of the two fan cooling housed in the back of the NAS.

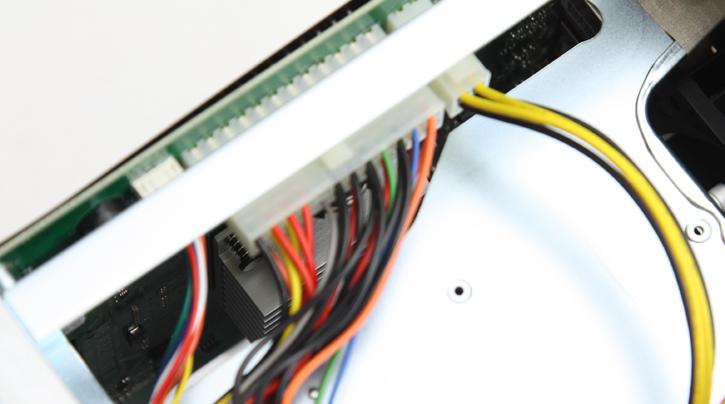
Zooming in at the PCB, that would be the a DDR3L SODIMM RAM system memory chip, Samsung chips. You can upgrade this slot to 8GB but honestly the ASUSTOR units are incredibly efficient with memory management. However you could also add another DIMM:
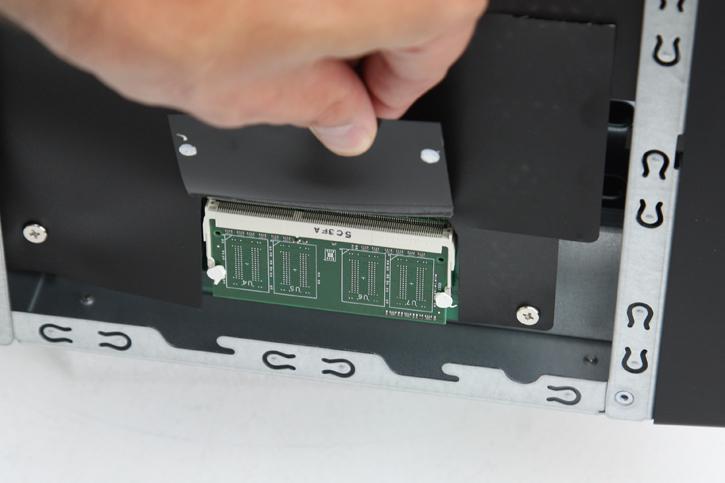
When you move a bit to the lower end of the PCB and lift up that flap, you'll notice another SODIMM slot that is un-populated. You can insert another 4 GB DDR3L SODIMM and get 8 GB at dual-channel rocking.
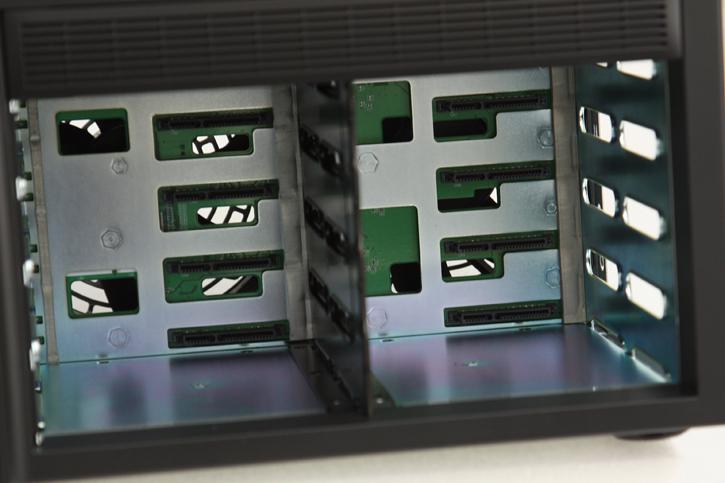
Here you can see the SATA3 bridges, just slide in a 3.5" HDD and then tray. The NAS rests on rubber feet which will help against resonating noises. The loudest thing you'll hear from this NAS is in fact the purring from your HDD. The NAS itself is totally silent (aside from boot-up). For our testing we are mounting an SSD as well as a RAID5 setup.
