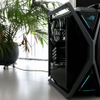
Product Showcase - Interior
Product Showcase - Interior
The GR701 casing has plenty of room for E-ATX motherboards, providing sufficient clearance. A minor issue is that an E-ATX motherboard might partially obscure the rubber grommet for the 24-pin ATX connection. Nevertheless, this is a minor inconvenience. ASUS has thoughtfully included a shield for the SATA and other connectors located beneath the 24-pin ATX connector. This inclusion not only hides unattractive cables but also adds to the overall neatness of the setup.

Furthermore, two GPU support brackets come attached to the shield. These brackets effectively eliminate GPU sag for almost all graphics cards, regardless of whether they are installed in a horizontal or vertical orientation.

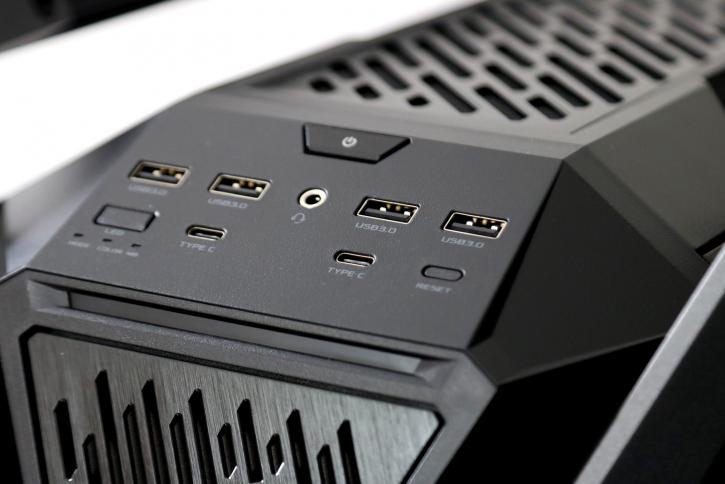
By opening the glass cover on the right-hand side, you can expose the cable openings located at the back and the mounting points for three 120mm fans. These fans can be easily fitted after removing the ARGB plaque. The ASUS ROG Hyperion GR701 has another hidden feature that is located discreetly at the bottom of the casing.

Furthermore, there are two 2.5-inch drive trays located to the right and two more trays that can accommodate both 2.5- and 3.5-inch drives in a cage beneath the side fan mount.


The bottom rear corner has a fan and ARGB lighting hub. Additionally, the power supply cover is equipped with a sliding compartment that can hide tools and accessories, including a pop-down drawer that could easily conceal a bag of screws. The assembly is held in place by screws located inside the main compartment and above the drawer, along with a sliding tab on the opposite end.


To install the power supply, you need to follow three steps. First, remove the drawer assembly from the power supply cover. Second, remove the glass cover on the back of the motherboard tray to access one of the two screws securing the PSU cover to the motherboard tray. Finally, remove those two screws from the back of the motherboard tray to slide the power supply cover forward and out from the case's interior. Underneath all that, there is ample clearance of 12 inches between the power supply mount and 3.5-inch drive cage.

A hidden tray is concealed on the PSU shroud, which slides out to the left, providing users with a convenient storage space for screws, PCIE cutouts, and other small-sized items. It seems that the designers at ASUS are fond of incorporating hide-and-seek elements in their products.
