Software Installation
Software Installation
We have already been through this briefly, but only skin deep. Now it's time to actually set up the NAS, its software, and put it through the wringer (or so to speak). After installing your HDDs/SSDs (and waiting for them to correctly initialize).
First up, connect your NAS to the same network that your devices are going to be on. TerraMaster does state this in their setup procedure, and it's probably safe that they do so. After all, never underestimate the potential lack of common sense that some end users may have. I have, at least, learned something in my years of IT service. In my case, I will be plugging the device into the spare port on my TP-Link WiFi extender and powerline unit, which effectively acts as a WAP repeater and hard point for additional Ethernet devices. My main PC is wired into this unit, and all devices that I own with internet capability use it is a WAP.
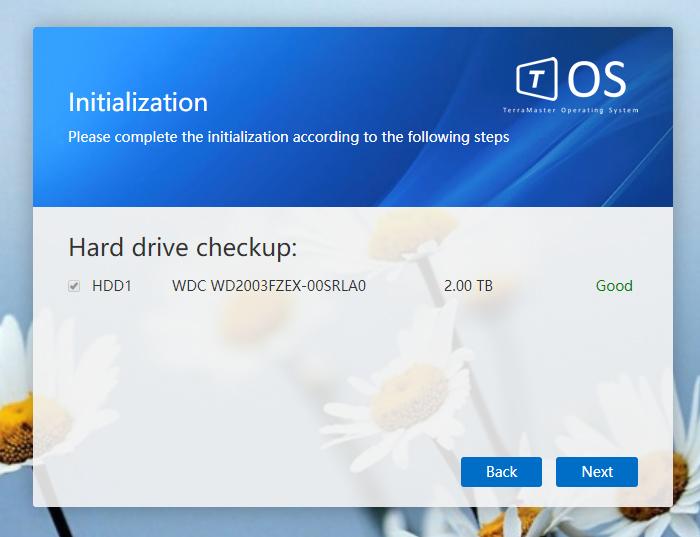
Terra Master offer a placard in the box with a URL for new users of the F4-220 to go to. It offers a direct download to Windows PC users, and a re-direct to open the link in the MacOS App Store for Macintosh users. On opening the application on either platform, the software will immediately begin searching for active NAS devices on the same network. From here, setup is relatively straightforward and is almost entirely done through the TNAS and TOS software. Because the F4-220 supports the hot swapping of hard drives, if a user forgets to install a drive after powering the device on, he/she can do so and simply run 're-check' from within TNAS software. This will re-scan the NAS and initialize the disks, and if the NAS detects that drive status for all installed units is 'good', the process can continue. A note, however. It may worry first time users, but on first installing TOS, the software will check your drive status. This can take a while (around 2m for me), and I was initially concerned that something was wrong with the WD Black 2TB I was using. Never fear, however. All was ok.
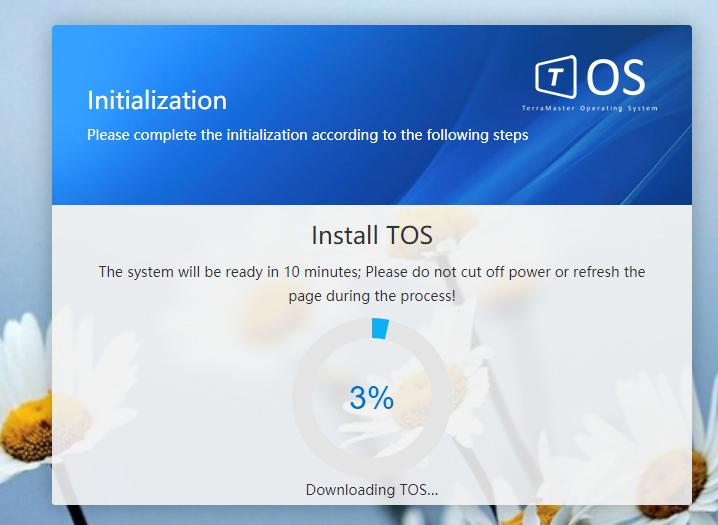
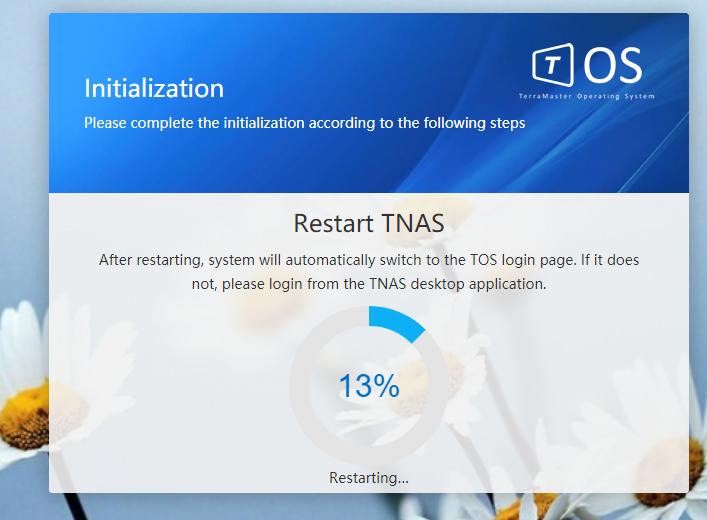
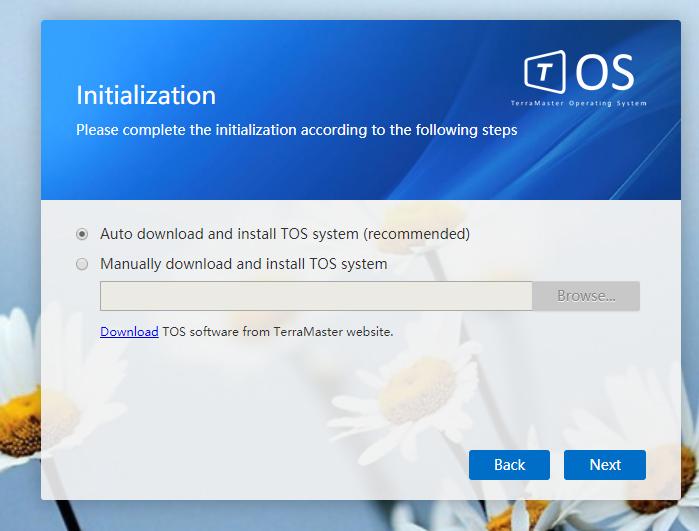
Installation of TOS is now started, and can be done either using an automatic detection method or manually using a package available on Terra Master's website. Naturally, to keep things easy, just use the automatic version (as that is what I did because I am all about the easy life). Once this is done and configured, TNAS will automatically restart. This takes several minutes, and on two occasions I was a little concerned that something had gone wrong, with the install seemingly freezing at two separate points. However, it seems that Terra Master knows about this, as such a problem (if you can call it that) is listed on their FAQ placard. For sure, this will teach me to read all included material a little more thoroughly. It's a normal part of the process, and in my case the install/setup was eventually completed. After TNAS is restarted, the setup will automatically go to the next step. Up to this point, I have to say, the whole process was exceptionally seamless, and I was suitably impressed.
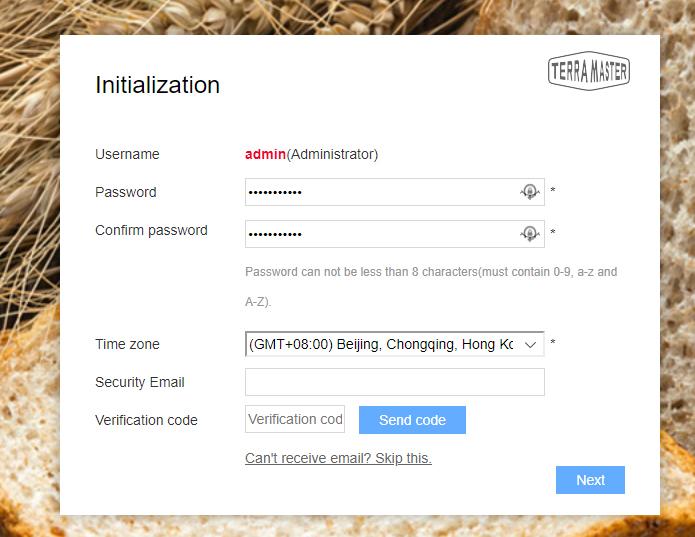
Some basic settings for the NAS/TNAS are required here, including a password, device name, and time zone, namely. Once done, clicking 'next' will keep the setup moving. Administrator settings are next, with a mailbox required to receive a code to continue and finish off the rest of the administrator setup. I used my main email for this without issue.
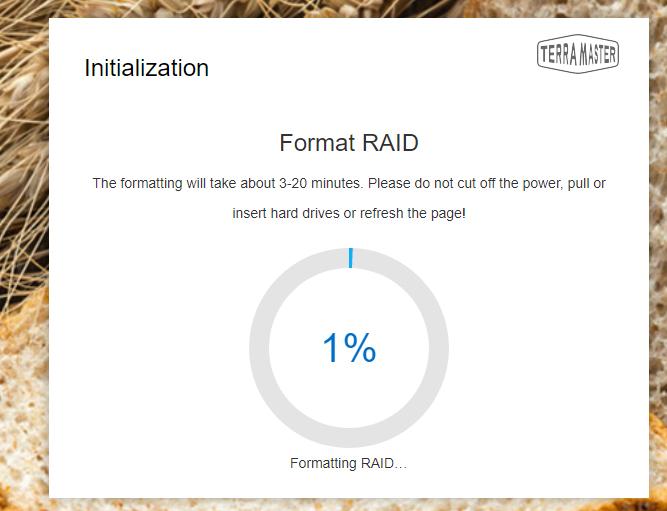
Once this is complete, you can choose to set up a RAID. Here, you can choose which type of RAID configuration you want to have (naturally if you have sufficient drives installed in the unit). After this, the NAS is all set to go. In total, from plugging the unit into power to having it totally ready to go, we were talking (at most) around 10m, and that is generous. More like 7-8. The ease of setup was really something to be impressed by and impressed I was. Networking hardware can be finicky at the best of times, so to run into a process that was so easy was very refreshing.