Backup & Services
As you would expect for a device custom built to keep your data safe and accessible, the F4-220 offers a fairly wide array of backup options. We shall be focusing on the ones that come already installed, but will touch on other methods.
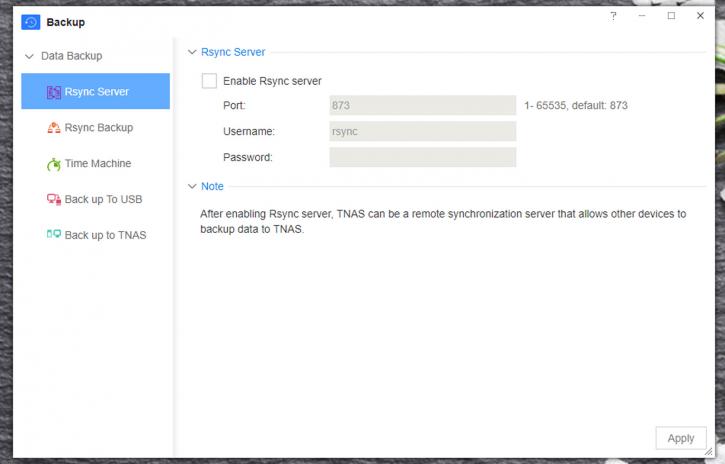
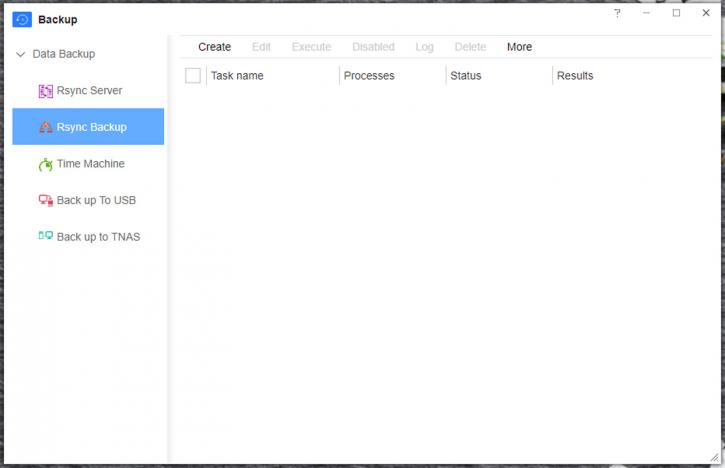
'Backup' is an option already present on the desktop, and I like that. Makes it fairly clear what you should be doing... Anyway, opening it gives us 5 options. The first two are related, and are known as 'Rsync.' This, essentially, allows the NAS to act as a backup hub for other TNAS that can access it, and doing so is fairly simple. Enable it on the NAS, set the port and RSync server name/password, and that's it. Once this is done, you can then schedule a backup for your NAS to backup to another RSync enabled NAS. Naturally, this could be very useful for a local network of NAS(es) that all need to support each other, perhaps in a small business that isn't ready or really needs to go fully enterprise with its storage. Either way, it's a good feature.
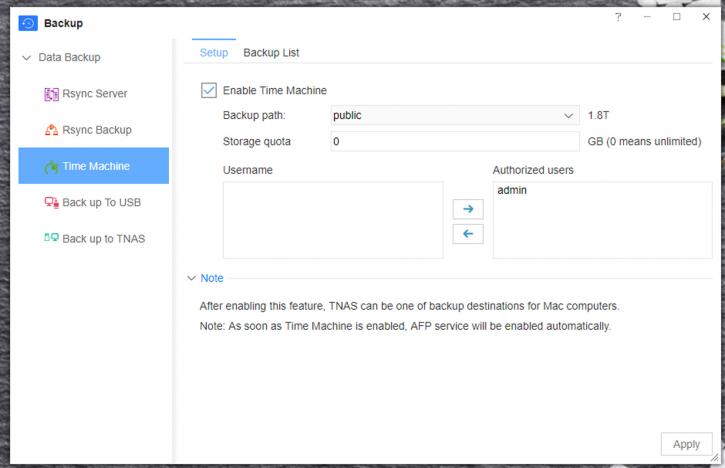
The next options might be more familiar to us, however. MacOS users will be very pleased to see the inclusion of Time Machine capable backups with the F4-220. Simply enable Time Machine, select a backup path, storage quota (and list of allowed users) and then connect your Mac to the same network. Go to Time Machine, and the NAS will be available as a backup point. Please note that you will need to connect to the TNAS as your authenticated user, and not user accounts on your Mac. It's easy to see why Terra Master has included this feature, as MacOS is a favorite platform for the home-based content creator or creative professional, and therefore having safe/reliable network backups of their machines must be good for peace of mind.
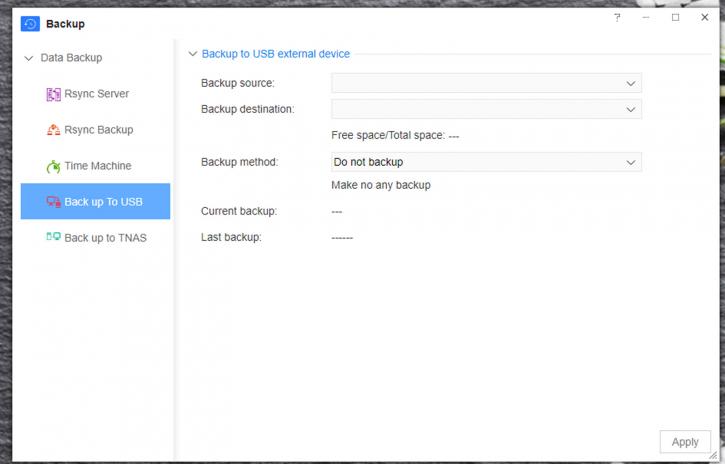
The final two options are perhaps the easiest to get your head around. Backup to USB is... well, just that. A very quick and dirty way of backing up the NAS to any local storage attached via the 2 USB ports on the rear IO of the unit. Select a source, select a destination, and away you go. There is, naturally (as there is for all of these), an option to either immediately backup, or backup on a schedule, or even automatically. This is, again, an expected feature, but it's good to see nonetheless.
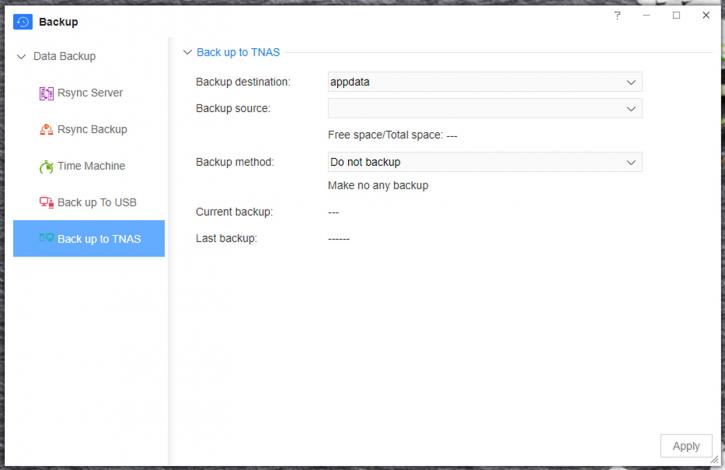
Finally, we have 'backup to drives installed on the NAS itself' option. I don't think I need to explain this one, do I?
There are also other options available that aren't natively installed on TOS. First, there is a 'Snapshot' application, which essentially does what it says on the tin, though I have to say booting up the application didn't actually appear to do... well, anything, which is something I will come onto later (i.e. in terms of software and application range or reliability).
There is, as previously mentioned, support for MySQL through MariaDB, though I feel like this will only be useful to more advanced or enterprising users. It's slightly beyond my level, for sure, but its presence I am sure will be of comfort for those in the market. Excellent functionality here, and full marks to Terra Master. The help document included on the GUI of the TOS should help anybody unfamiliar with the various backup methods get up to speed reasonably quickly.