Product Showcase
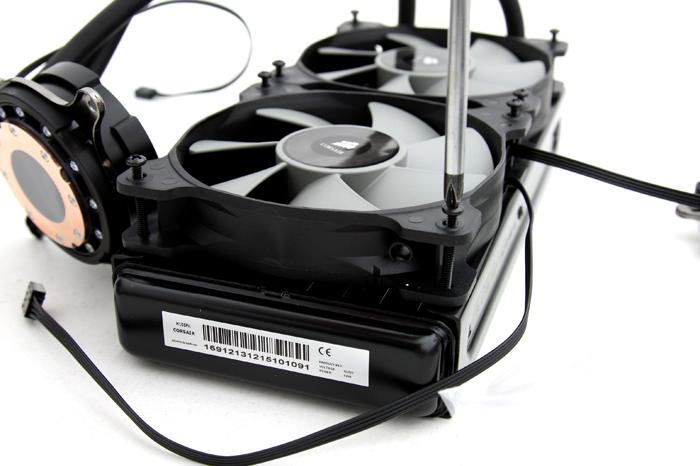
So here is the phase where we slowly start assembling a test setup. First we mount the fans towards the radiator, four screws per fan and it's in place. Basically you want to mount the fans inwards and have the push the (exhaust) the hot air at the top of your PC.
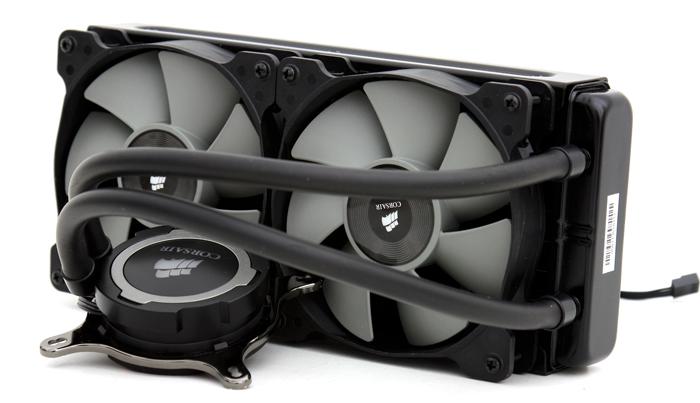
Typically you push the screws through your chassis, then the fans and then secure it all on the radiator. We test externally hence we mount the fan directly to the radiator. In the early stages you need to decide where you'll be positioning your radiator and how the tubing and wiring will be managed. The two fans have connectors you can merge them together with a splitter cable that is included and leads towards the cooling block. Once done you need to decide where you'll be positioning your radiator and how the tubing and wiring will be managed. The fan has connectors you can connect towards your motherboard fan header.
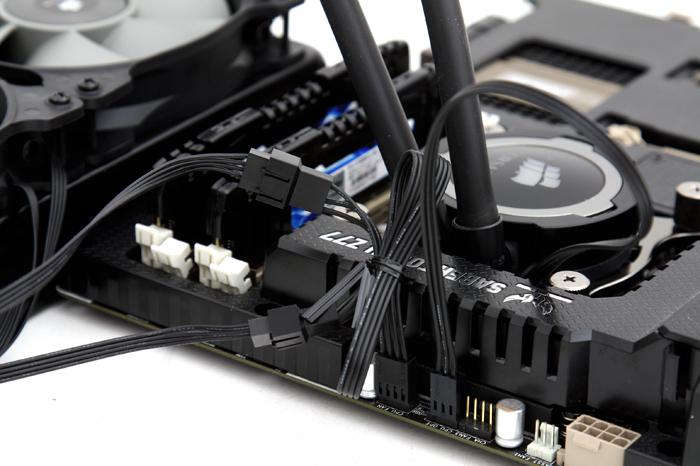
Let me show you that a little more in-depth. The pump you connect to an optional fan header and the FANs towards the CPU FAN header, that way you can regulate RPM in the BIOS. We recommend you to have the motherboard BIOS set at normal instead of quiet as these fans hardly can be heard under normal operation.
