Product Gallery
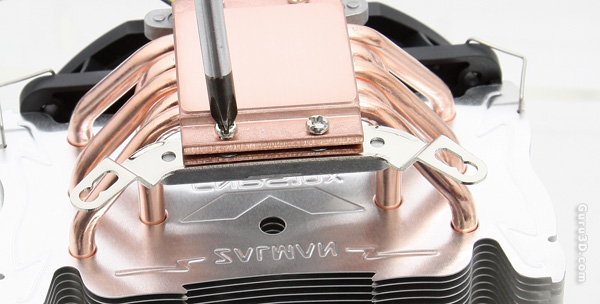
We first slightly loosen the screws holding the cooler base upper and lower halves, and insert retention clips for Intel processors. Make sure that the clips are pushed deep into the inner part of the base, then very tightly secure the screws again. Please do use some force here.
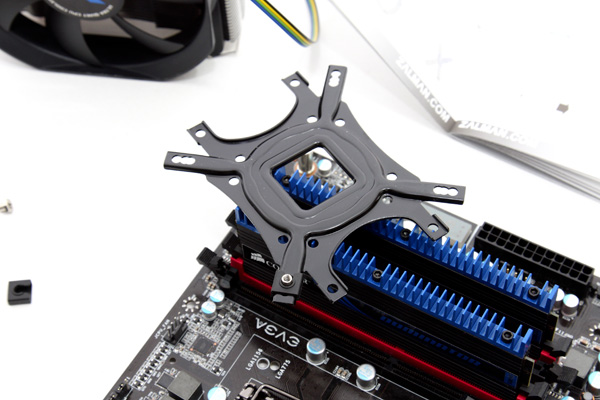
At the backside of the motherboard we'll need to put in place a backplate holding and securing down the cooling unit. You'll spot that there are three holes in each corner of this bracket, the outer hole is for LGA 1366, the center hole is for LGA 1156 and the inner hole is for LGA 775.
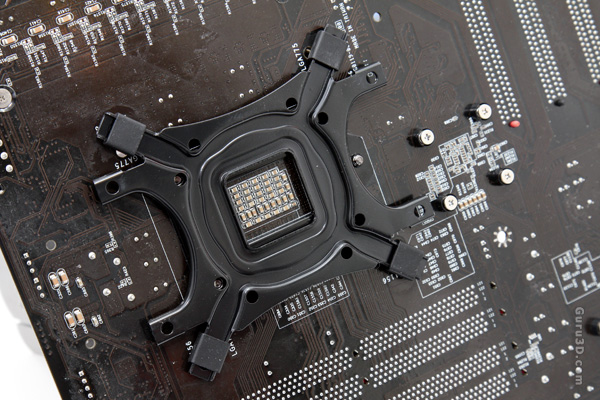
In each corner we install one nut, with the hex side placed into the inside of the backplate, and we then hold the nut firmly in place with a plastic cap. Now we apply double sided tape on the inner side of the blackplate, and install is at the bottom of the motherboard. Like so:
The downside the 10X really has -- it has to have an actual installation. You need to take out the motherboard completely, unless you have one of the newer funky chassis's on the market with an opening in the motherboard tray.
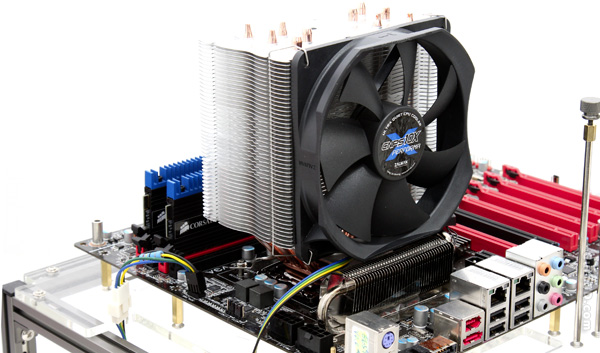
We now apply the TIM (thermal paste) onto the processor, put the cooler in place and secure it with four screws. All we need to do now is connect the 4-pin power header on the motherboard and that's it. Mind you that installing the fan is the last thing you want to do, install it too early and you will not be able to reach and secure the mounting screws.
