Nighthawk X6S EX80000 Setup
Extender and Router Setup
We'll be testing the router as a standalone device, but also add the extender to create a two-zone mesh. On this page, I wanted to show you how to set that up. Mind you, you can create a mesh with the routers combined together over wired ethernet, which is preferred of course. However considering that the people who create a mesh do so because they cannot get wired ethernet to a certain location, we will create the mesh over WIFI for a more accurate representation of WIFI network stability.
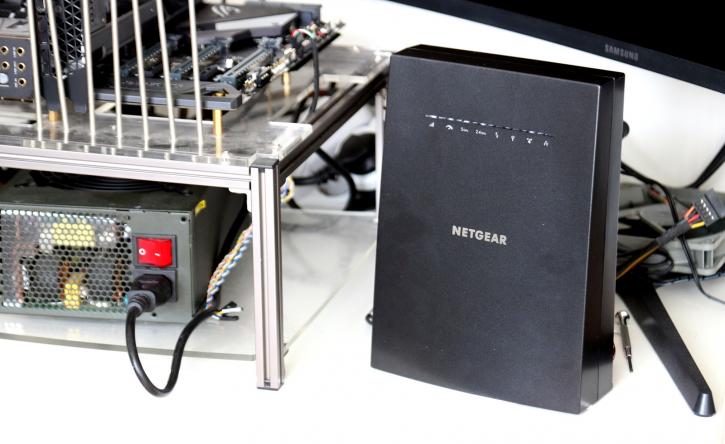
The setup of the extender is easy. Place it close to the router. Once the repeater is powered on, wait a minute or two so that it has gone through its startup cycle. Now, on both the router and extender press the WPS button. For the router, you can do this through the operating system. After two minutes the two will be paired. You can now power off the extender and place it at a preferred location. If you have three levels in your house, place the router at floor one, the extender at floor two. Keep in mind, we extend through the active WIFI range, not wired.
With the extender now at a good location (signal range LED white) we can further configure the unit.
- On a PC connected to your network type: http://mywifiext which will load up the navigation menu for the EX8000.
- Should this not work: make sure to pair the router and extender again.
- If still not working, on your smartphone install FING, scan your network and see at what IP the extender is located.
- Type in that IP, you'll now be able to access the range extender.
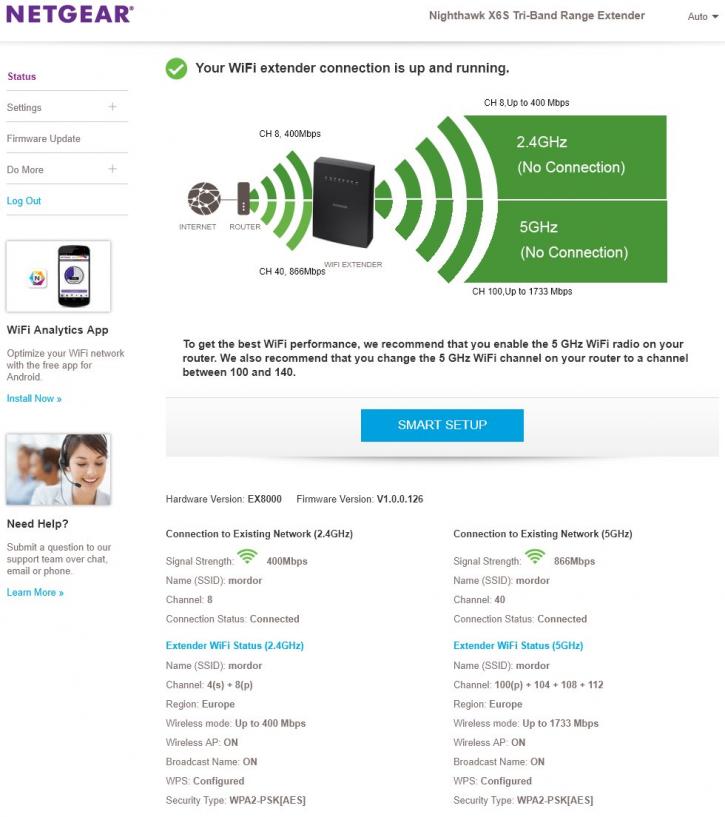
If things went right, the extender is already fully configured in the WPS process. However, I recommend you to do a smart setup. If you are using 2.4G and 5G on the same SSID (WIFI network identifier name, in our case Mordor), the Extender will detect that in the router and forward it.
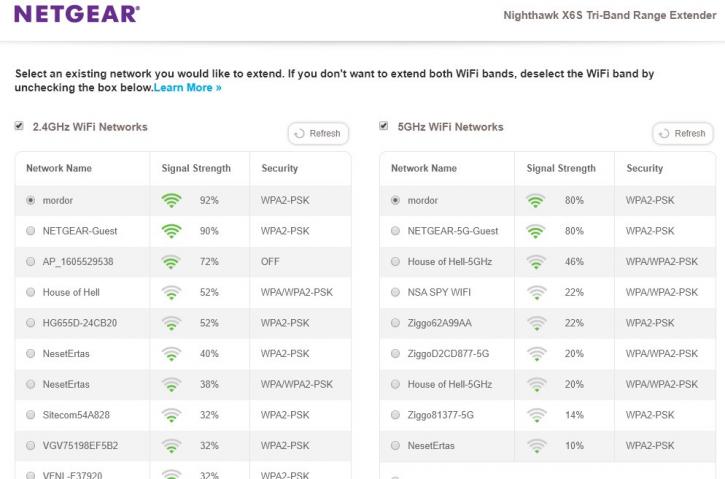
If you have a separate 2.4G and 5G SSID, you can manually select them, insert a password and you are good to go after a few clicks. It's that simple.
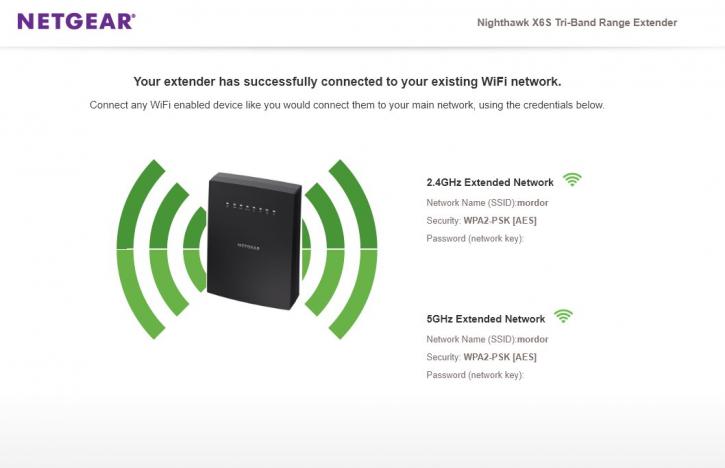
In the final process, you will see a notice that the range extender is active and working on your preferred WIFI networks. That's all. BTW you can also configure this extender as an access point with a wired connection, so you can pull your WAN/LAN from the ethernet jack and allow WIFI devices to log in to this unit.
