Product Installation
The process of installation is described in the included manual, but you can also find it on Deepcool’s website.
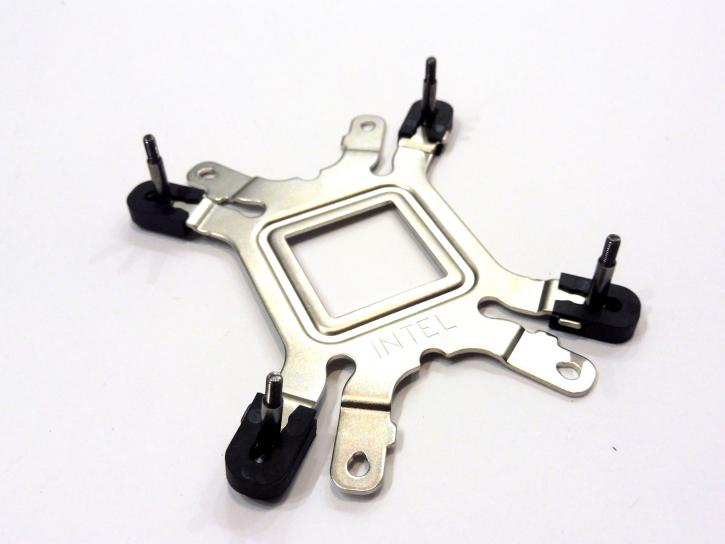
Mounting this kit on a socket 115x platform is much like with any other All-In-One product. First up is the backplate.
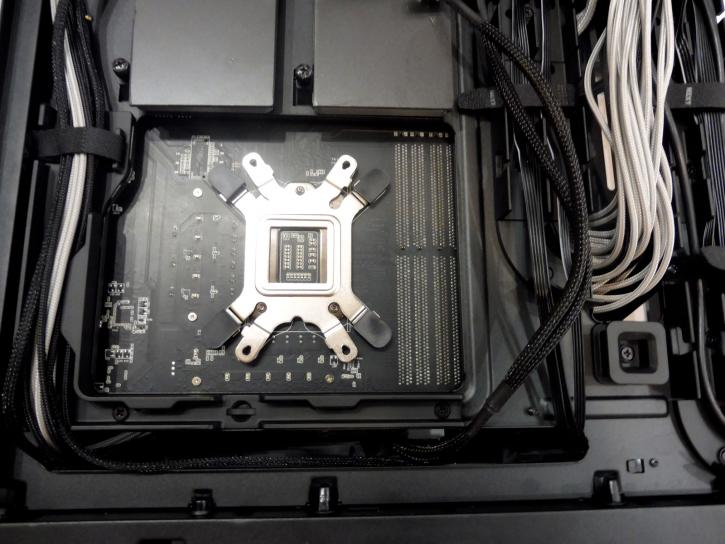
The NZXT H700 has a big cut-out for CPU cooling, so there was no need to pull the motherboard out to install the backplate. The nuts need to be aligned with the holes in the board. Next up is the mounting bracket that needs to be secured by a total of four screws.
Give the CPU some thermal paste (I prefer Thermal Grizzly Kryonaut), and….
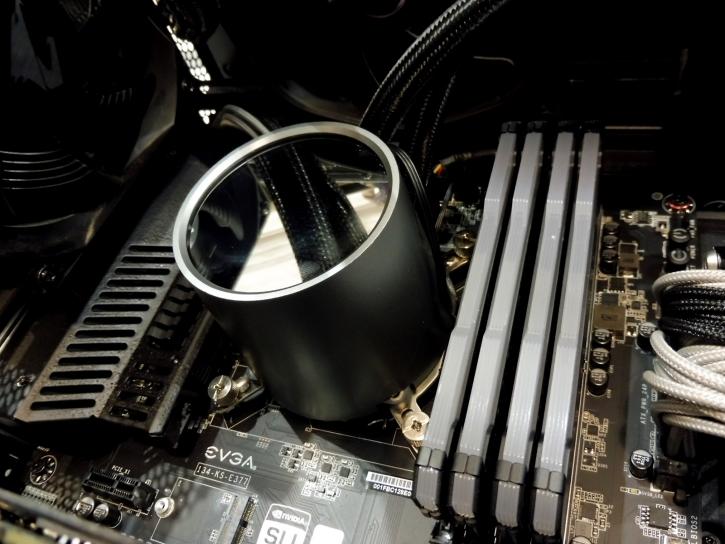
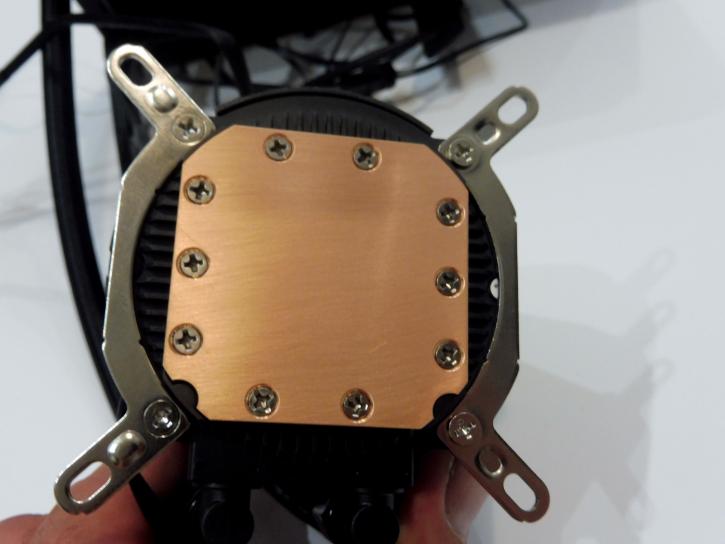
The last step is to secure the pump/block on standoff screws with four nuts. You will need to use a Phillips screwdriver, and tighten the screws diagonally. After that, connect the cables like the block’s power wire to the CPU FAN header and you should be ready to go. Of course don’t forget to plug the RGB wires into the controller or the RGB header and provide it with “juice” via a SATA cable.
The pressure of the block is more than sufficient. The tubing is quite flexible, and allows for adjustments of its position. Another positive aspect is that there are not so many cables sticking out from the pump like, for example, the NZXT Kraken.
