Product showcase – Interior
Product Showcase - Interior
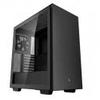
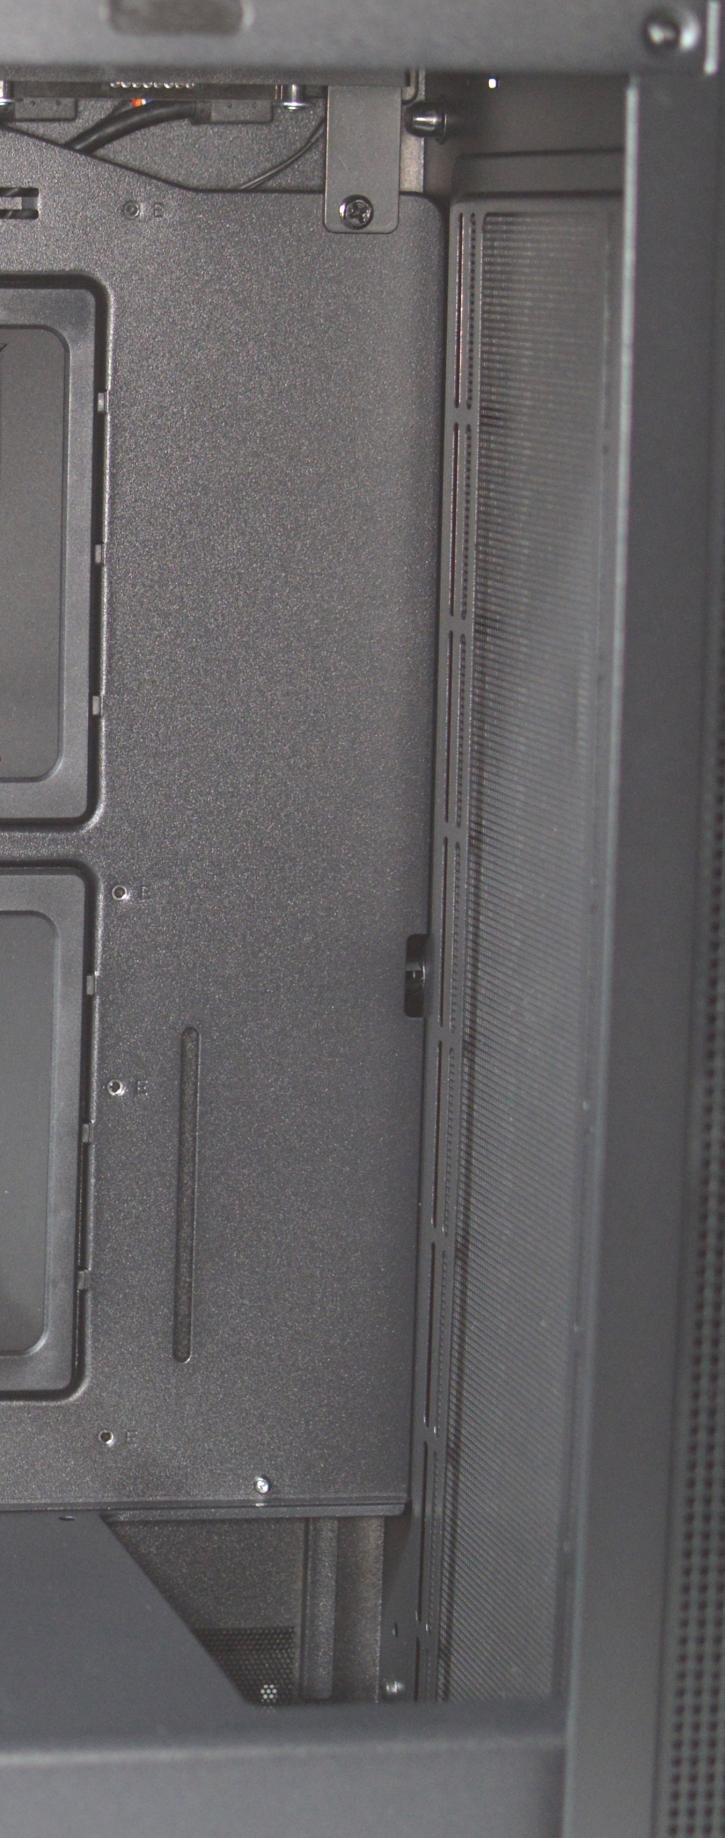
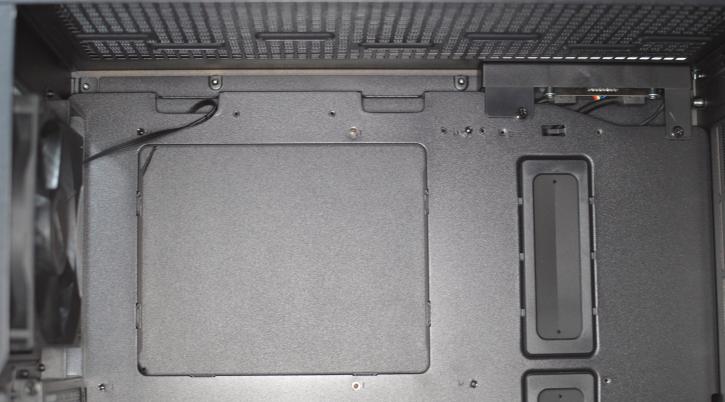
Typically (in older cases), you’d need to take out the motherboard to install a new cooler. The giant cutout for your cooler’s backplate should make life easier. With the solution mentioned above, you can reach it from both sides without the unpleasant experience of removing your motherboard from the chassis.

There are two rubber grommets on cutouts on the right side of the motherboard.
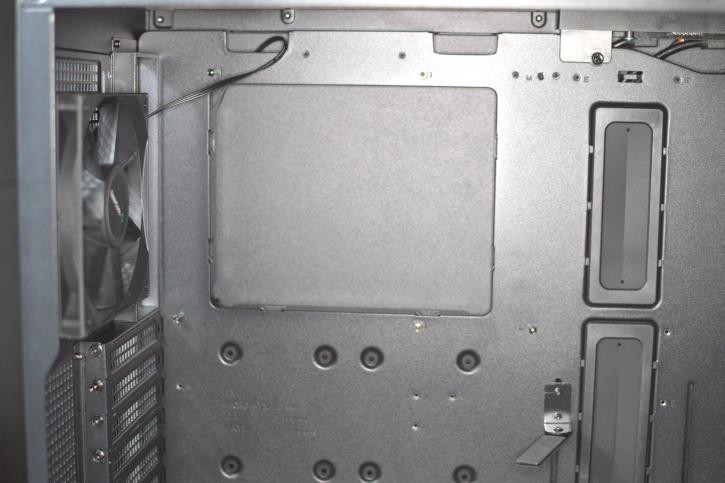
Also – you can see the metal GPU support bracket (with a rubberized layer). You can also use it for the longer cards, as it’s possible to move the element further from the motherboard.
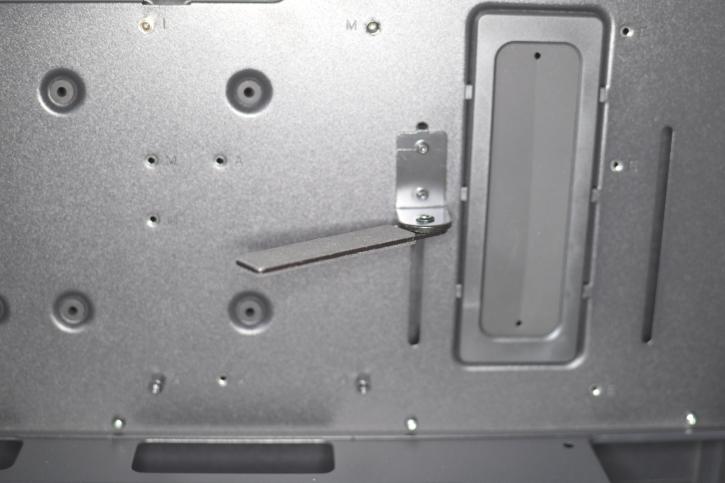
The case has 7 PCI card slots secured with screws, unfortunately not thumbscrews (in default state). Why Deepcool? That wouldn’t change the costs much.

There’s about 7 cm for the combination of the fan and the radiator at the front.
At the front, you can see a place for three 120 mm fans (or two 140 mm ones), or you can install an LCS there, provided that it’s nothing more extensive than a 360 mm rad. There are no provided fans.
At the top, you can see a place for three 120 mm fans (or two 140 mm ones), or you can install an AIO there, not more significant than a 360 mm variant. There are no provided fans.
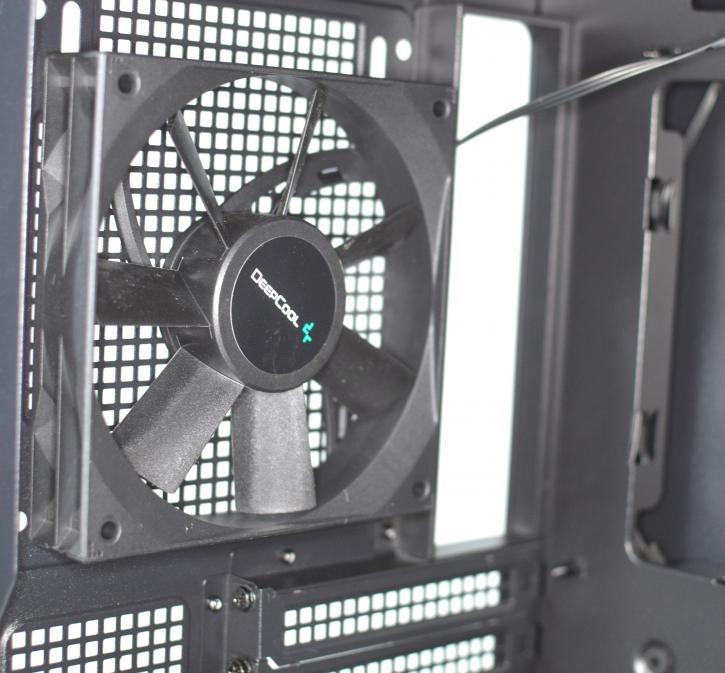
A 120 mm fan is pre-installed at the back.
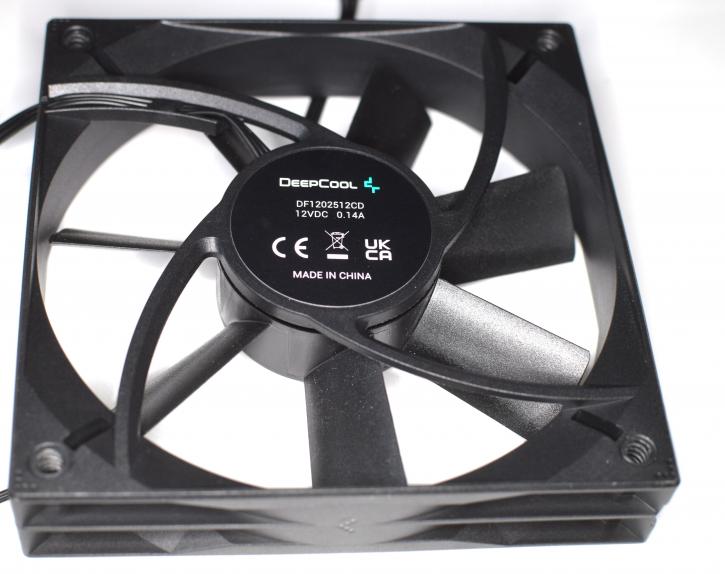
It’s powered by a 3-pin cable (that’s fine). Luckily there’s no Molex connector like Deepcool did in the past. You can easily mount a 140 mm AIO in there instead.
