Page 3
So is everybody ready ? Here we go then. Over the next pages you'll find dozens of photo's. If you are on a dialup connection, please bare in mind it can take a while to load up as we'll have 4 good resolution photo's per page. This is a broadband site, please consider moving to cable or DSL if available in your region.
In the photo shoot we'll show you all the components after which we'll build a system and then take it for a test spin followed by our conclusion. Enjoy ;)
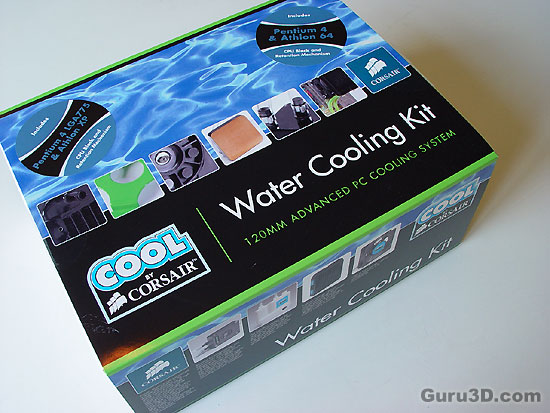
Delivered in crisp condition this is the box (hey we show it all you know).
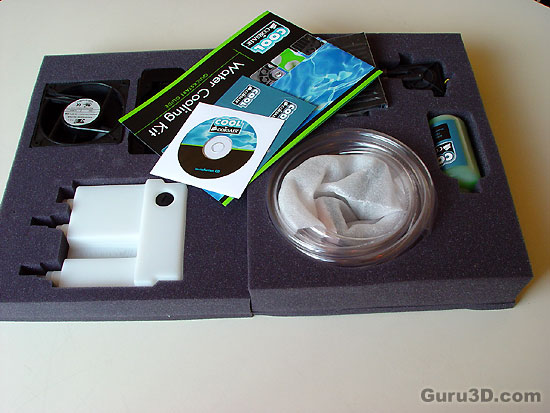
Unpacking: two layers of foam with the products carefully placed into compartment. Placed side by side in the photo above, you can see all the included parts. The packaging should prevent damage during transport. You'll also get a CD with a detailed installation manual, a quick start guide and a sheet Corsair stickers to pimp that rig.

This is the primary gear we'll be using today. Water-blocks; Corsair delivered a kit compatible with all sockets and this it had two waterblocks and multiple brackets for Pentium 4 Socket 775/Athlon XP or Socket 478/Athlon 64. We'll be needing the Socket-775 kit today. Furthermore, cooling liquid, clamps, washers, springs... everything you need to get the H2O process going and flowing.
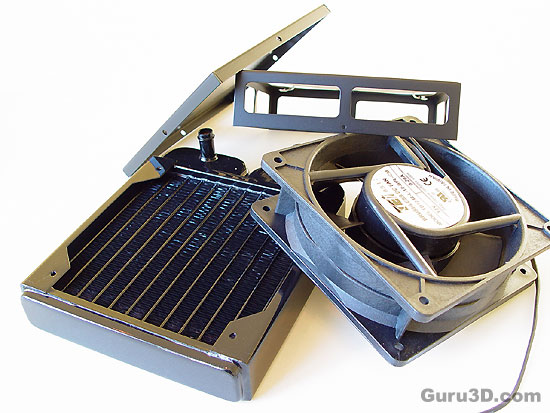
Other accessories in the photo above are radiator/fan cage. We'll discuss assembly later.
