Product Installation
Product installation

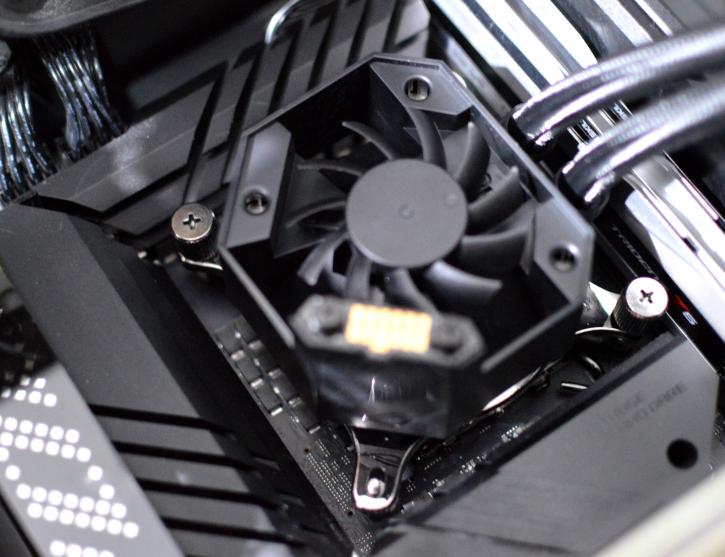
Below the the pump's cover (with the LCD screen), you can find the VRM fan, that can rev up to 4800 rpm.
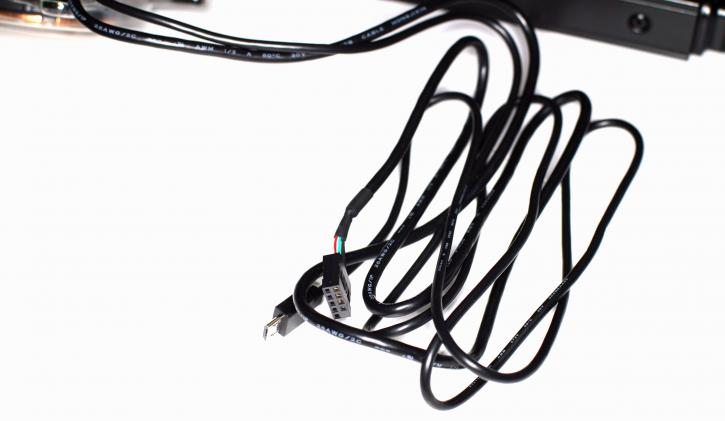
You can find the following cables coming out of the pump. It's a USB and micro-USB connector.
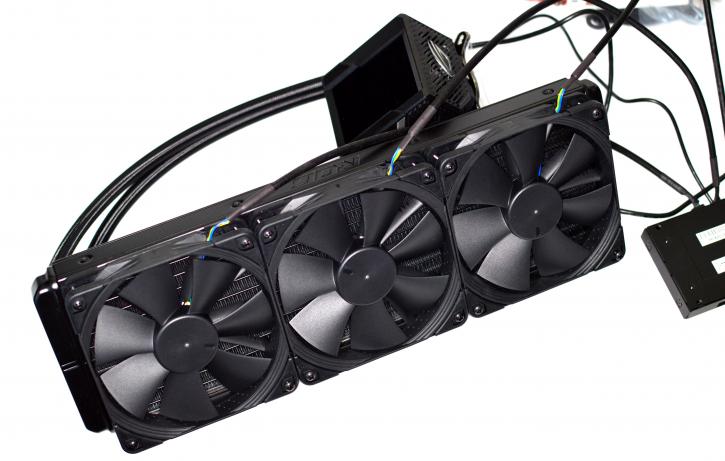
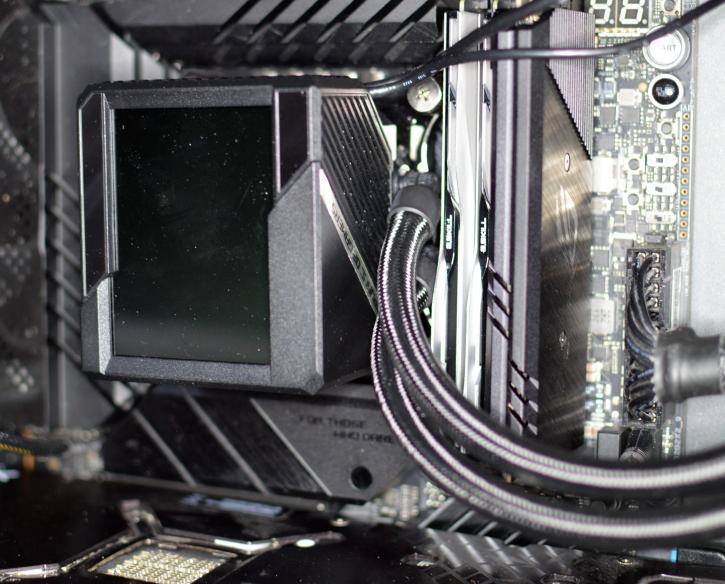
This is what the cooler looks like with the assembled fans.
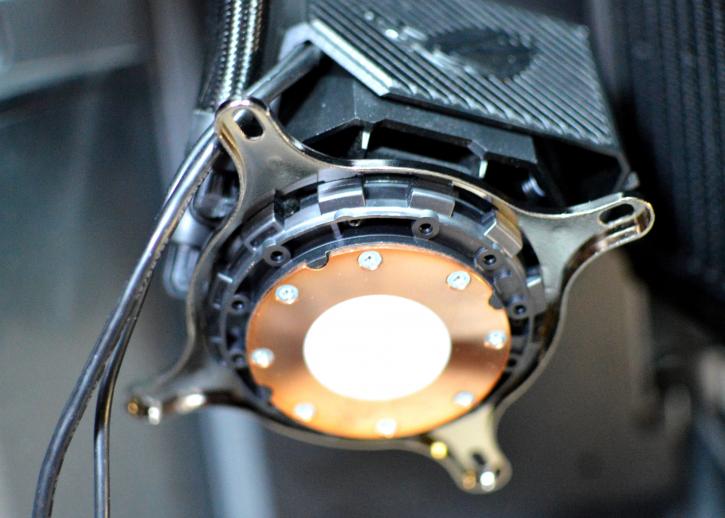
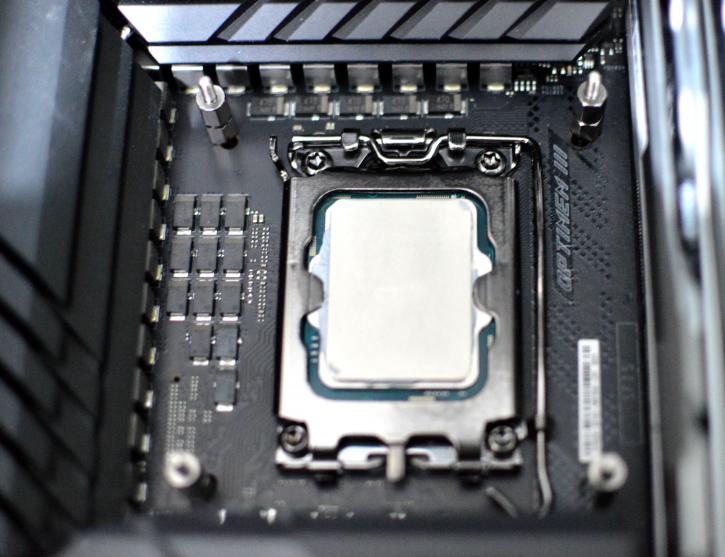
There’s a pre-applied thermal paste. The installation process of Asus Ryujin II 360 has been described in the included manual, but you can find it on the Asus website as well. We’ll show it to you on the example of the socket 1700 platform.
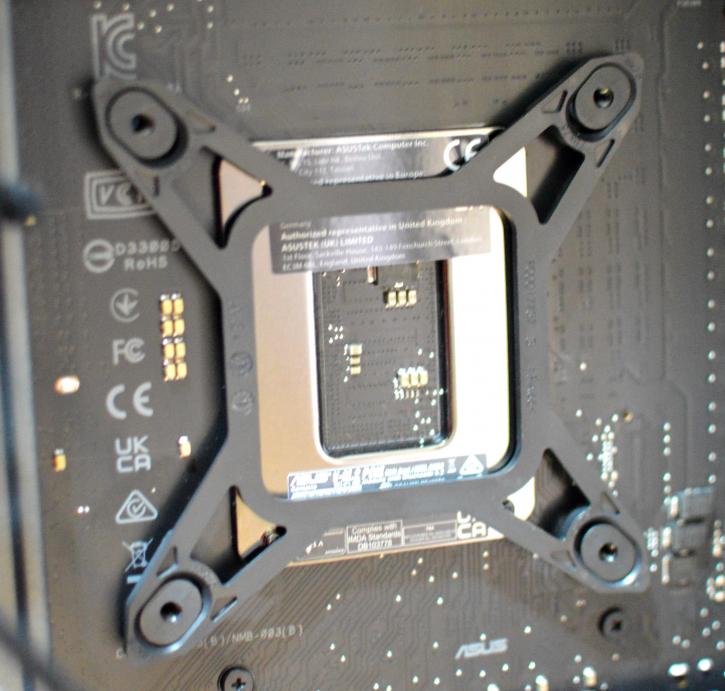
First, you need to install the backplate. Most modern cases have a big cut-out for the CPU cooler, so there should be no need to pull the motherboard out to install the backplate.
Next, find the Intel standoff screws and install them to secure the backplate.
Last but not least, the AIO pump needs to be secured by the thumbscrews. Position the heatsink on the CPU and begin tightening them, alternating them with applying even pressure.
For the AMD, you need to change the pump bracket from Intel’s, remove the original heatsink mount and then install the standoff screws. After that – you need to secure the AIO pump the same way as Intel. Fans can be installed afterward. The last step is to screw in the radiator and install it in the chassis, but you can always do it first. You need to plug the fan/pump cables into the supplied controller or plug the fans into the motherboard using the provided y-splitter.
