Product Installation
The Arctic Liquid Freezer III 360 ARGB installation process is described in the online manual, but you can find it on the Arctic website.
We’ll show it to you on the example of the AMD AM5 platform.
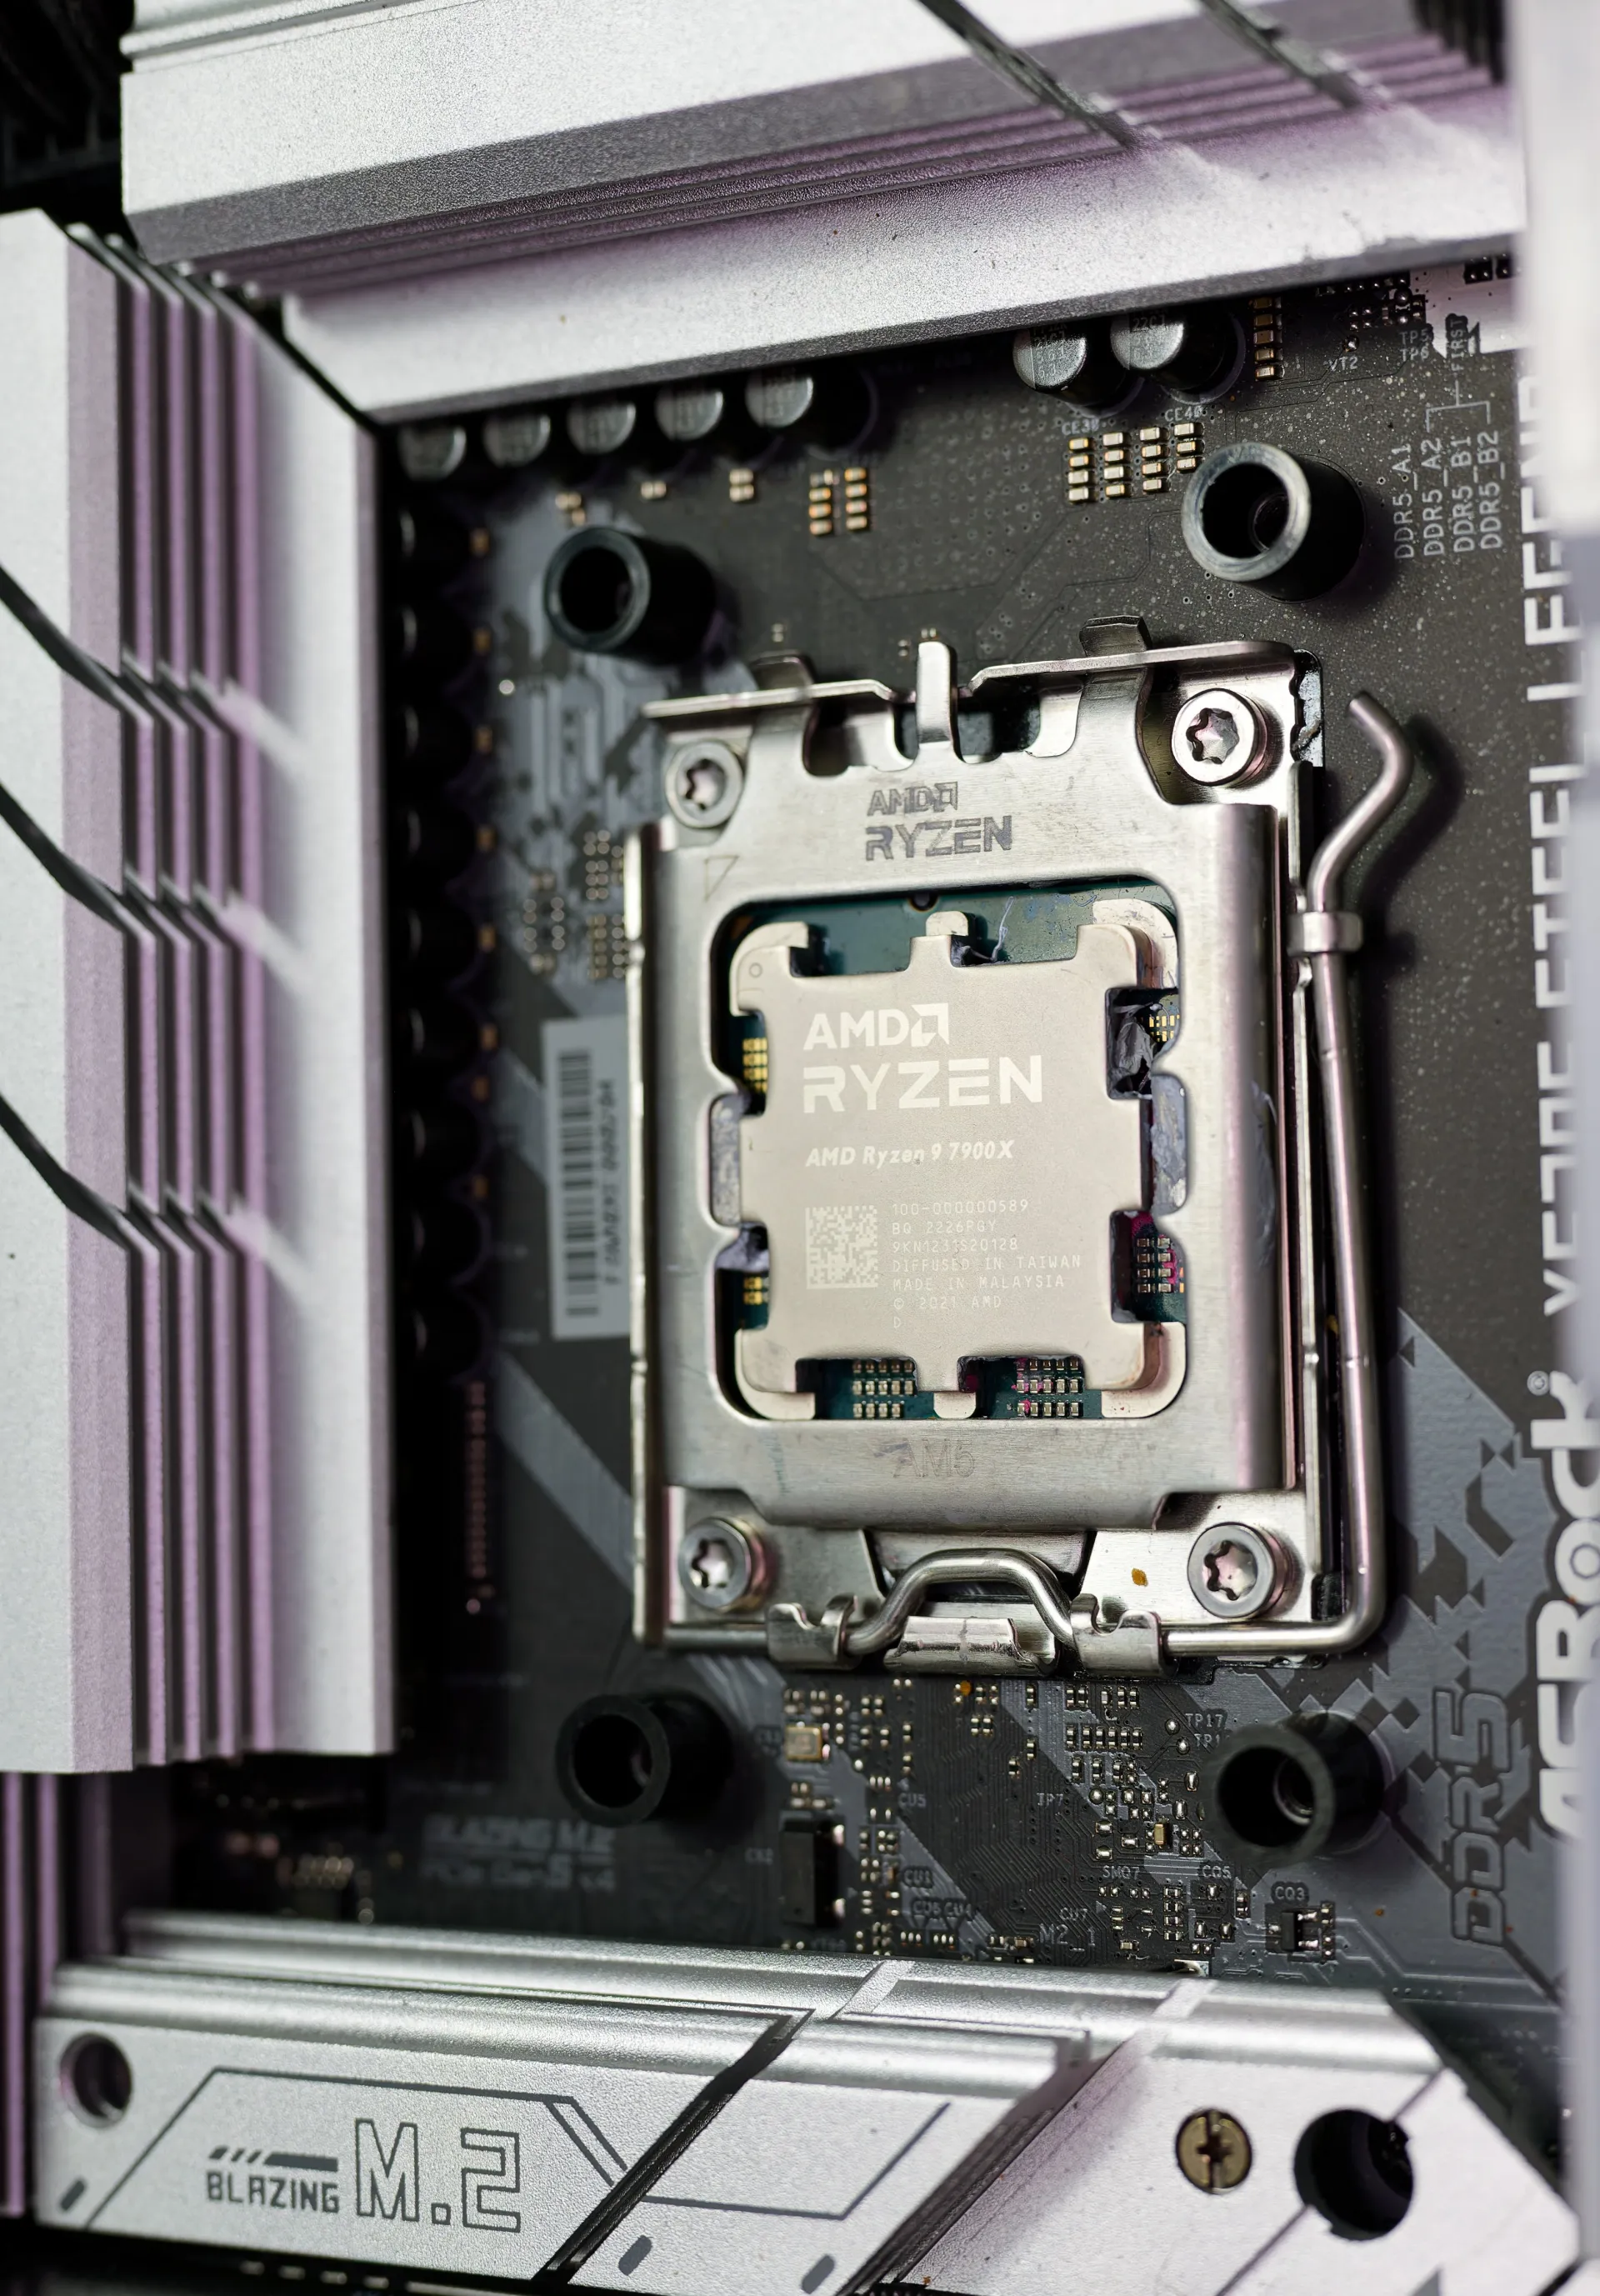
You need to remove the standard AMD bracket and use the ones provided by Arctic. The L/R is clearly labeled, so you shouldn’t confuse the sides.
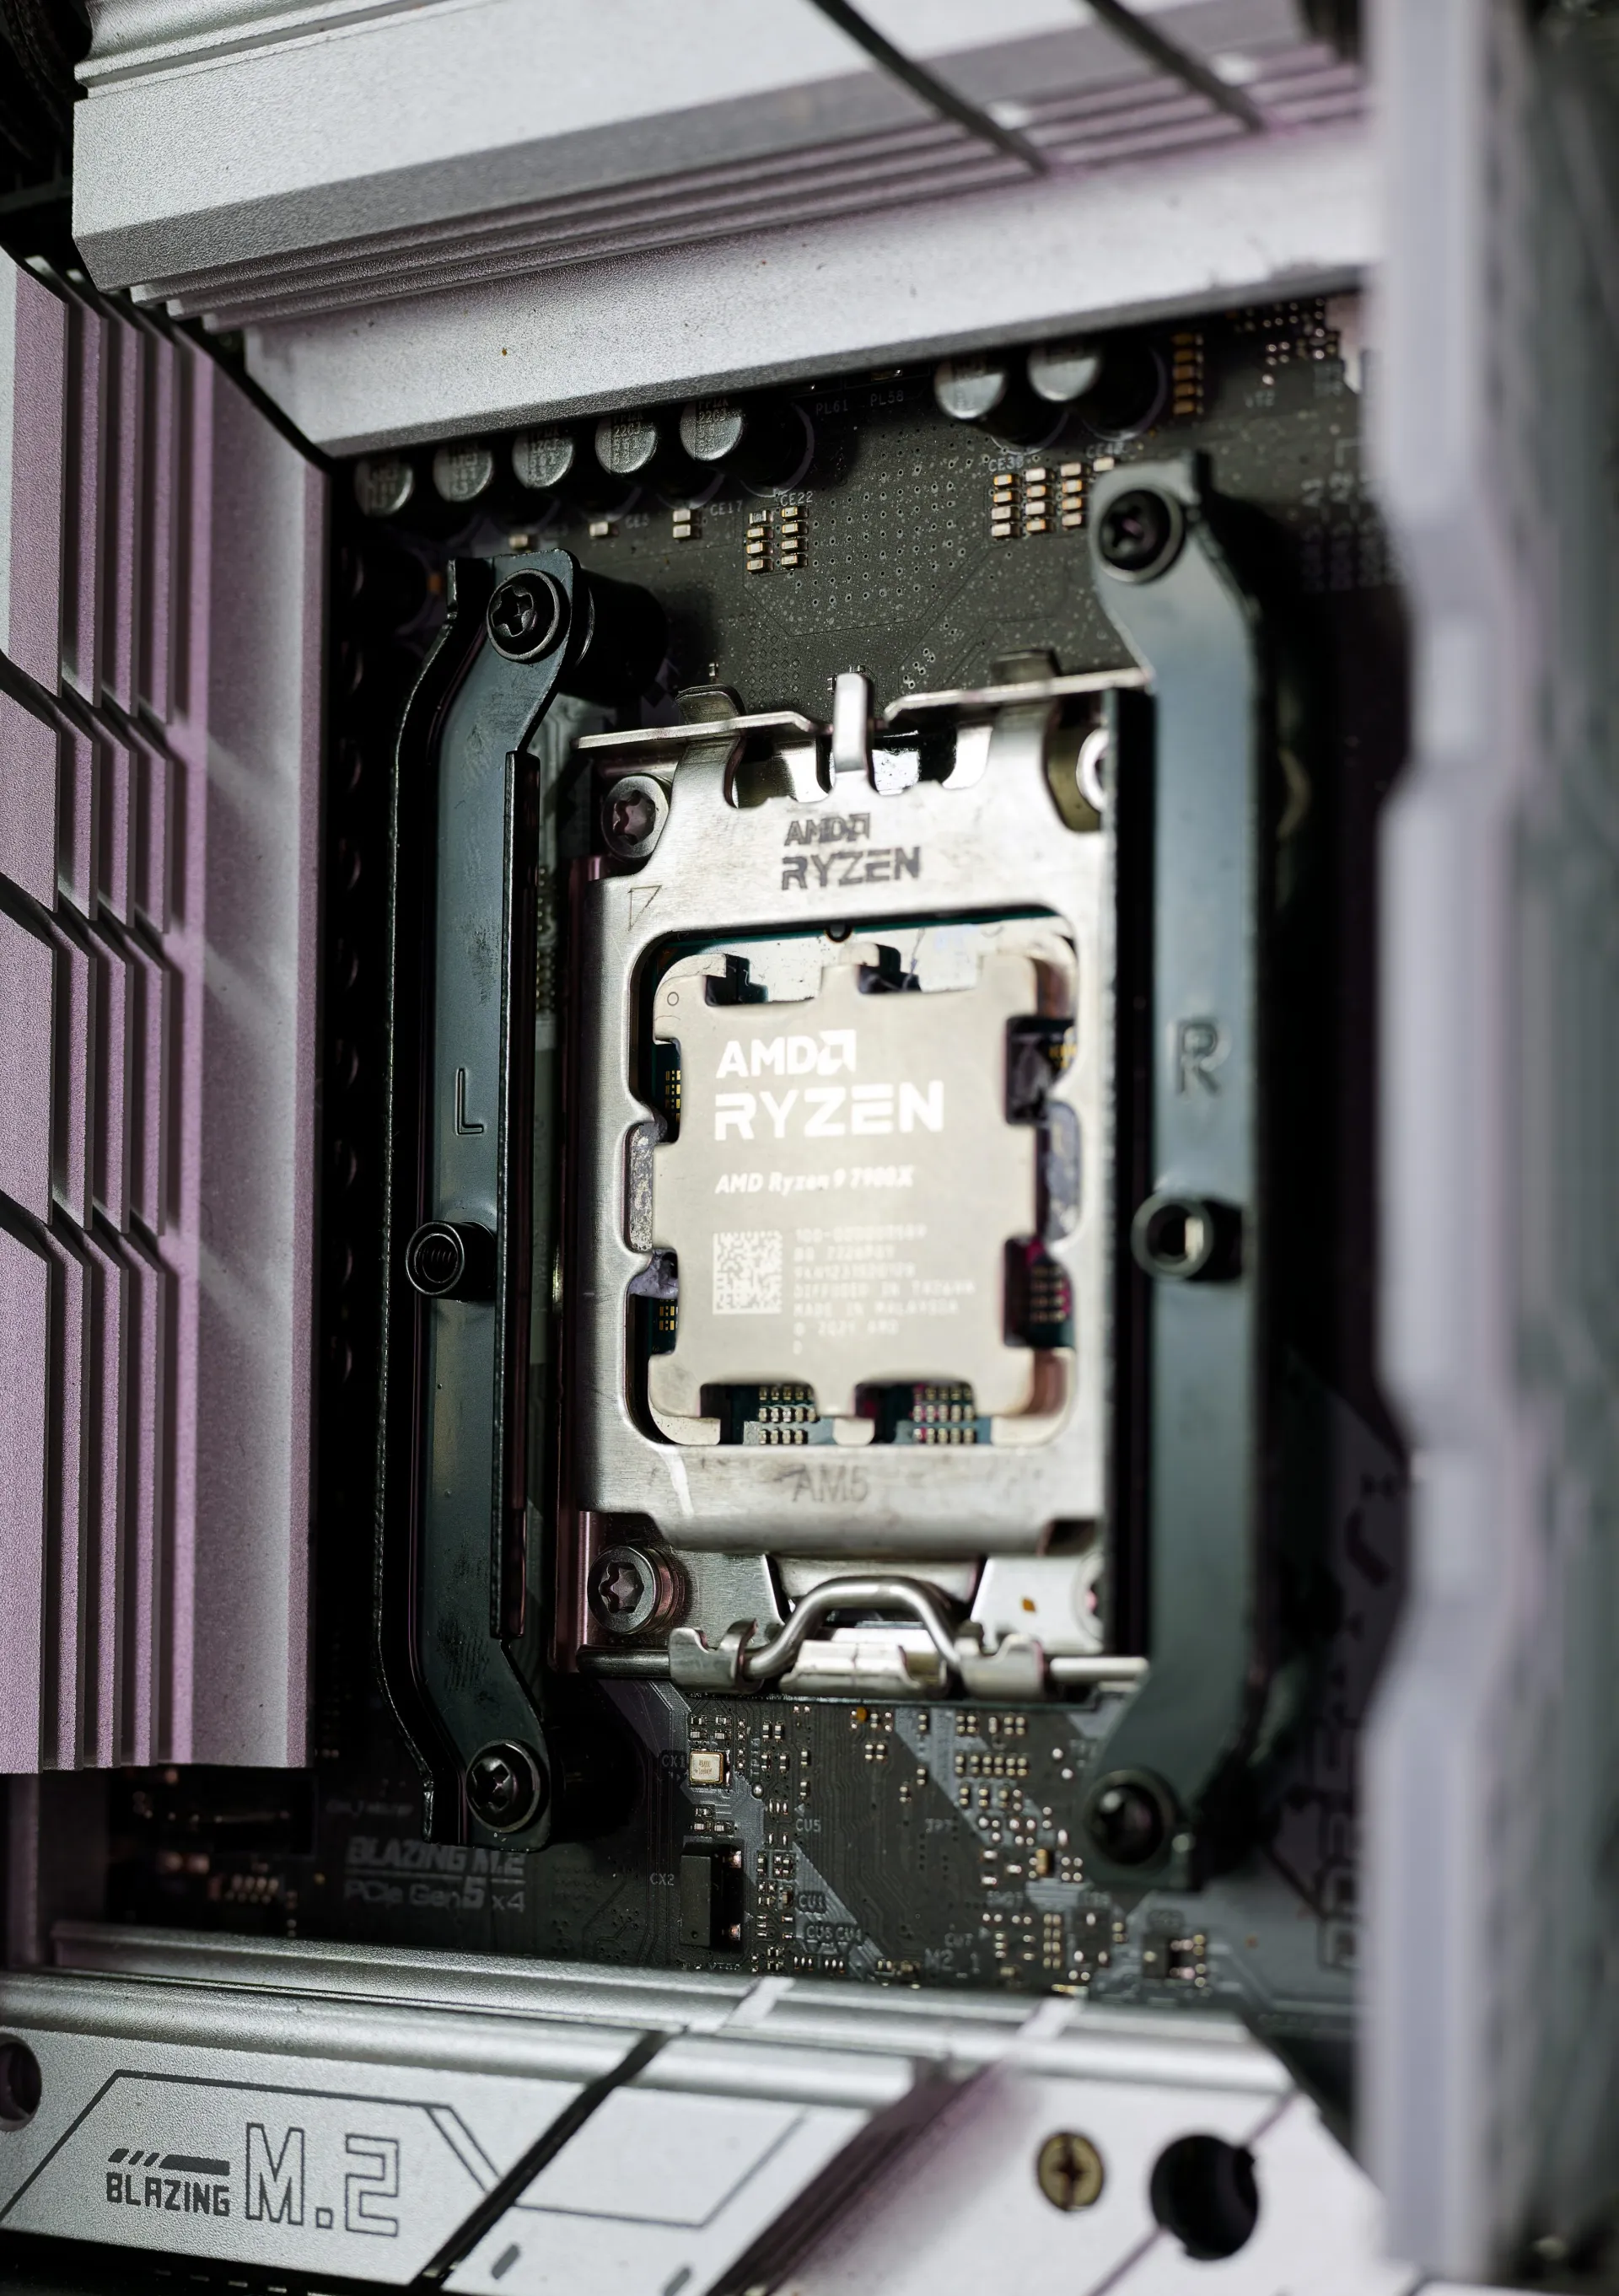
You’ll need to use the provided spacers and then screws to secure it.
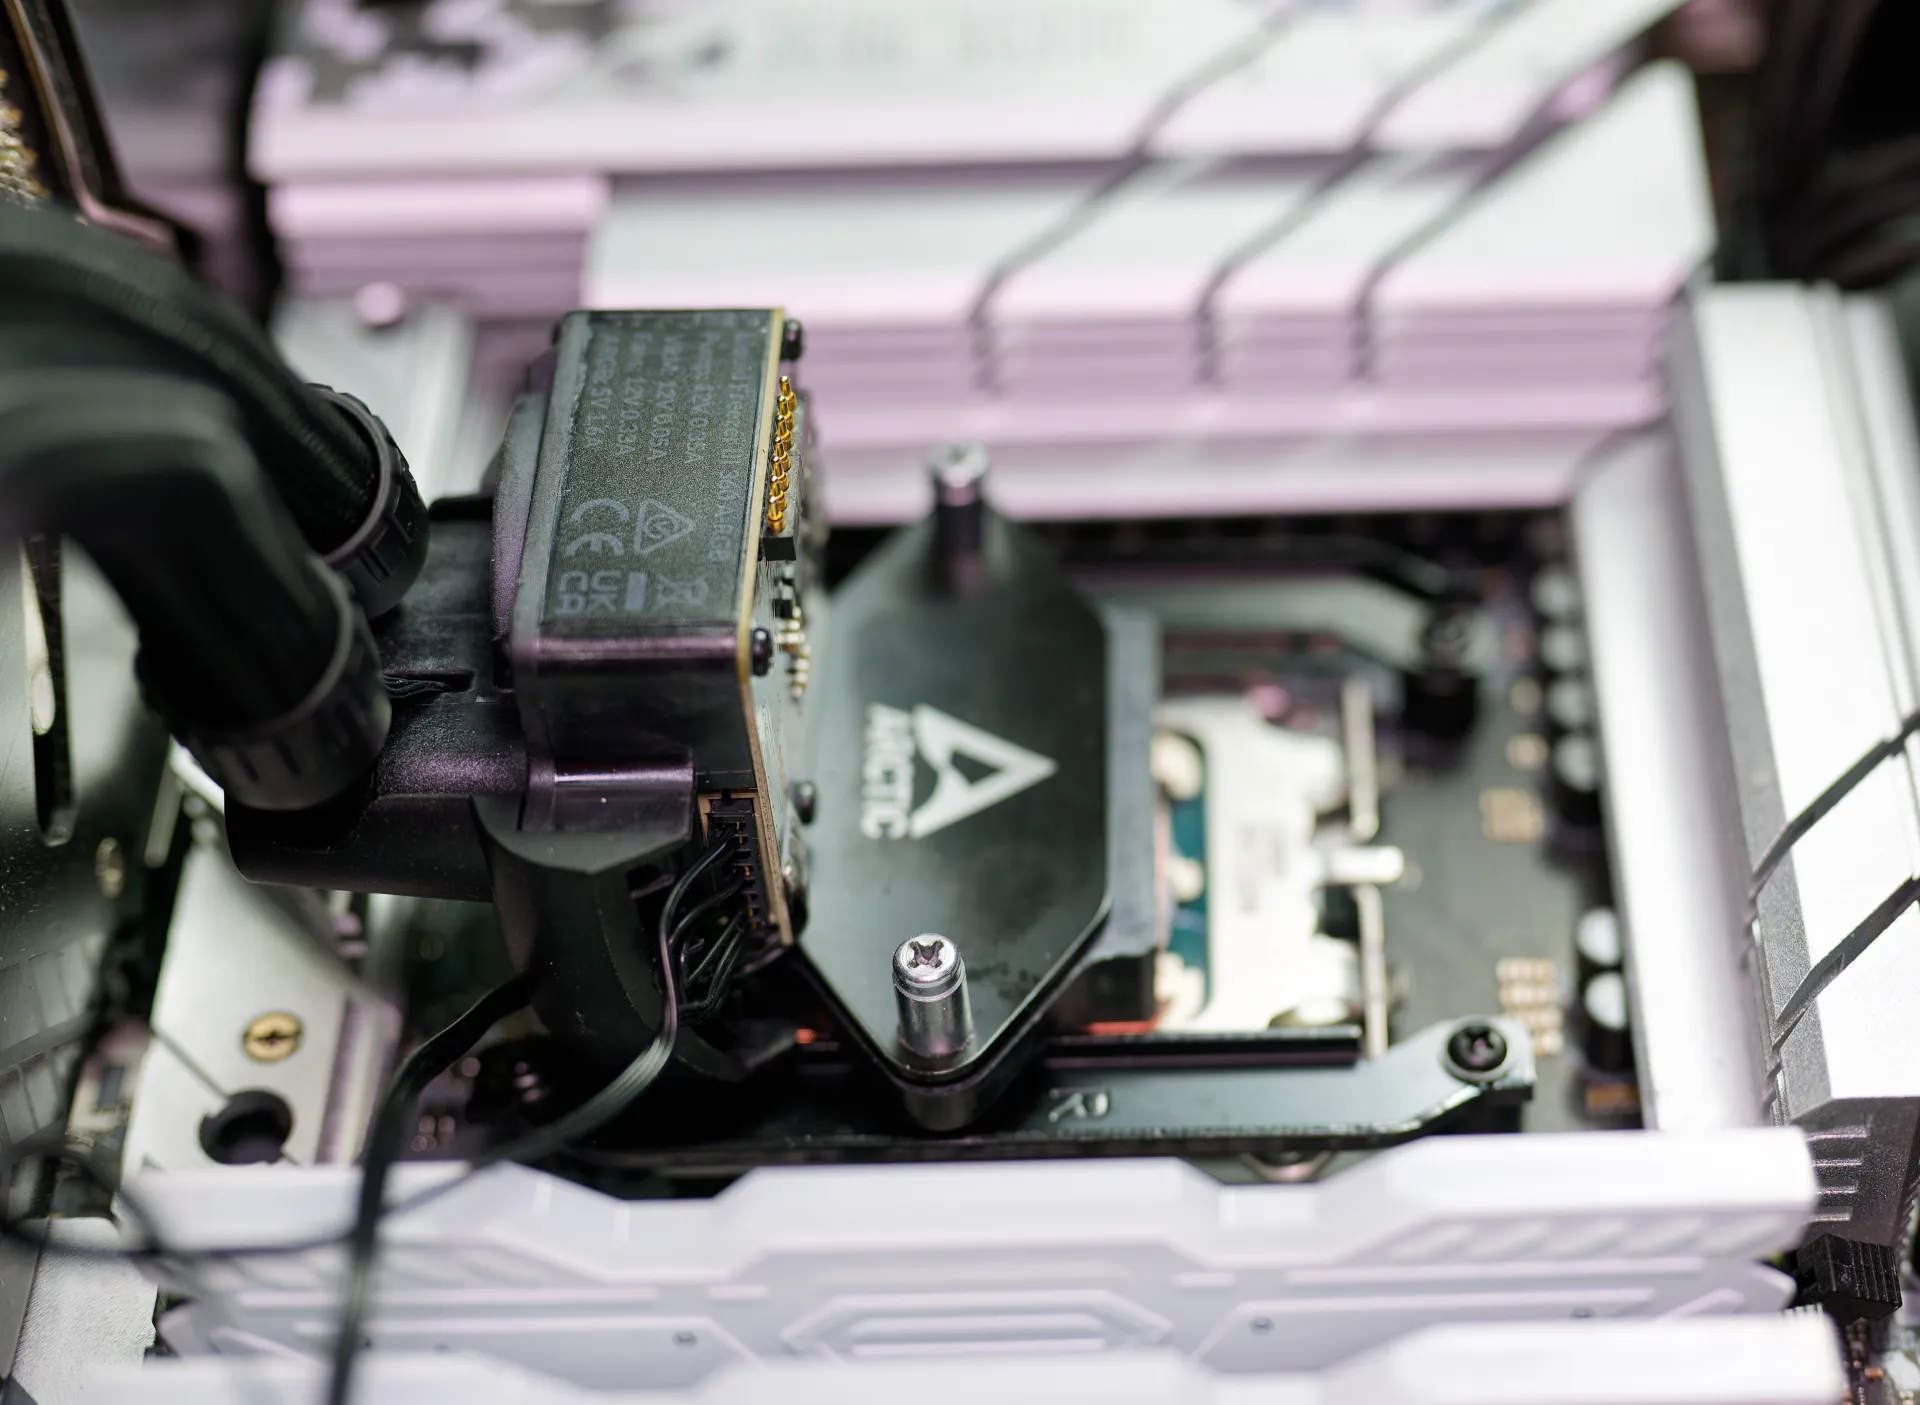
No pre-applied thermal paste exists, but you can use the provided product (Arctic MX-6). Of course, you should remove the protective film from the cold plate. For the sake of the review, we used Thermal Grizzly Kryonaut as a thermal paste. With the paste applied, all that needs to be done is to slide the CPU block into place and secure it to the mounting brackets. Position the heatsink on the CPU and begin tightening, alternating, and applying even pressure.

After that, you must put the VRM fan in the designated place on the pump. The magnets should hold it correctly.
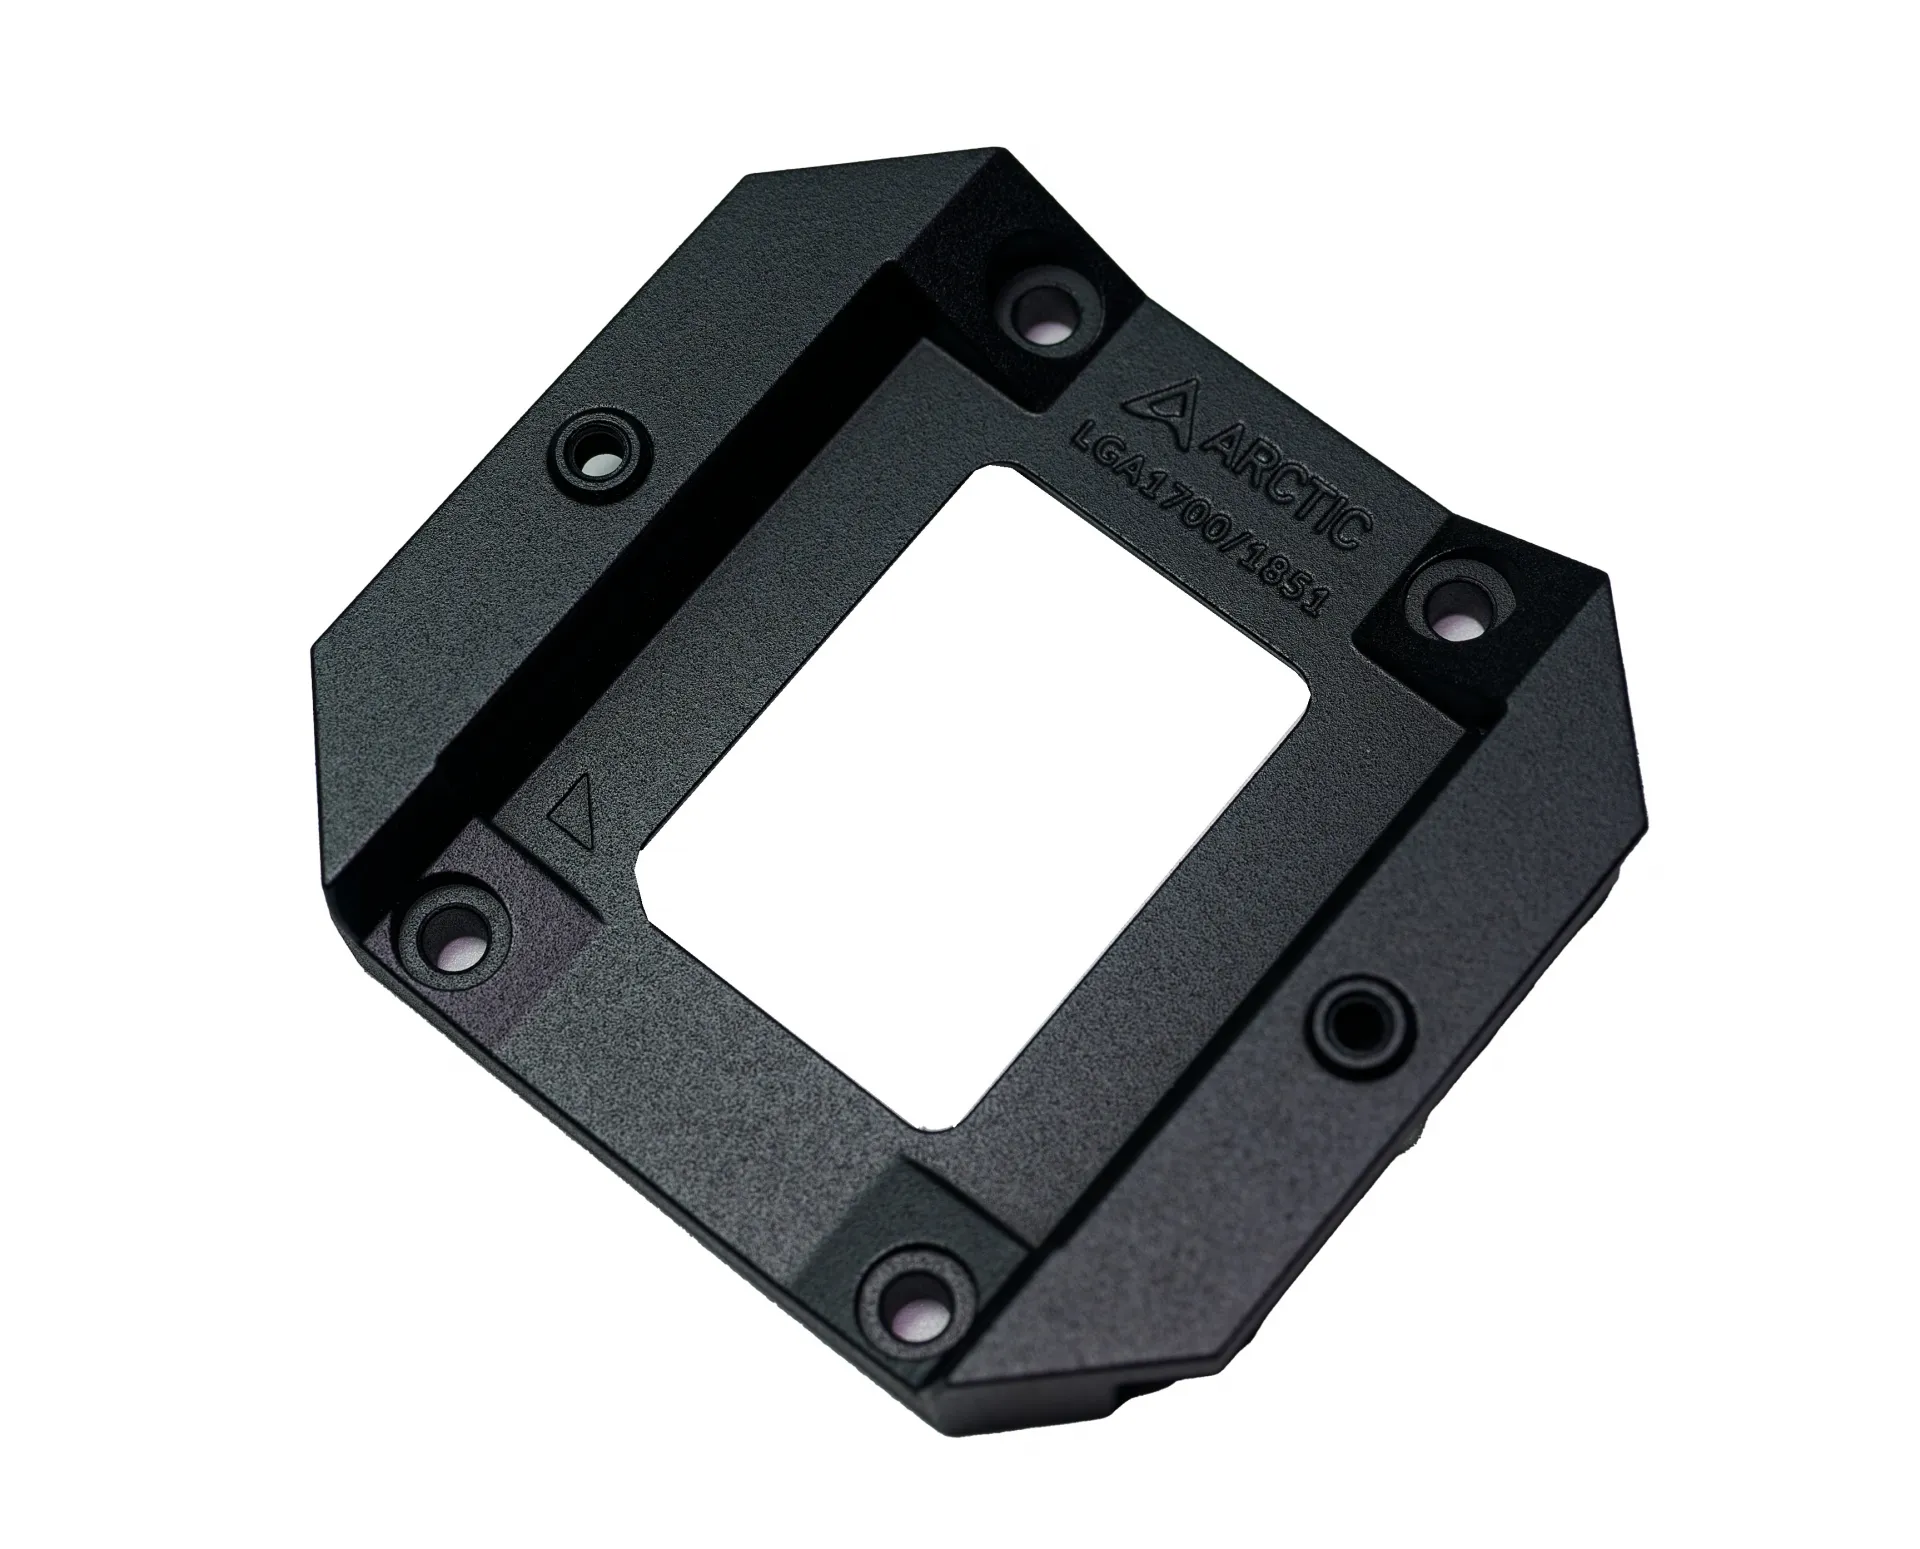
As for the Intel LGA 1700 (and potentially 1851) installation – you need to use the provided contact frame. Overall, it’s a good idea, as it should prevent deformation of the CPU because of the ILM (Intel’s Independent Loading Mechanism) and provide better contact with the cooler. It’s better to remove the motherboard from the chassis to change it. Still, some users can feel less comfortable, as there is a bit of interference in the default motherboard status, and you need to be careful when switching it.
