Page 8
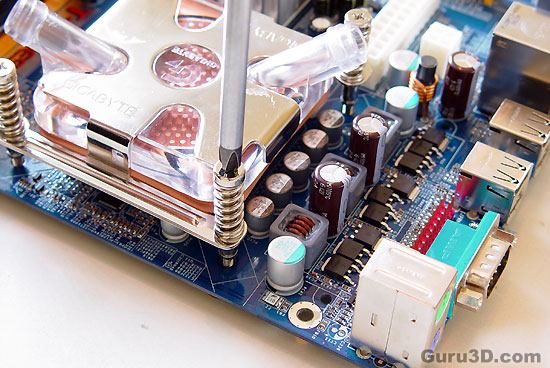
We now place the water-block onto the mainboard and secure it with springs, guides and washers towards the backside plating of the mainboard. Once you feel tension on the springs don't go any further.
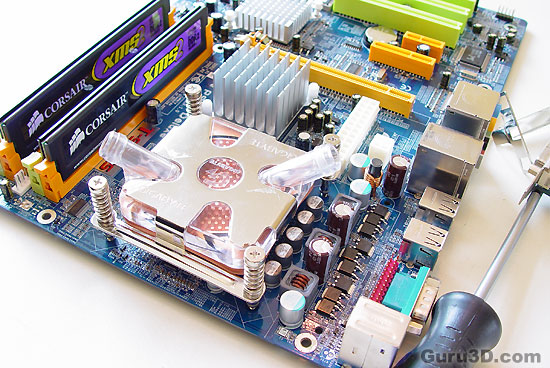
And here we have the mainboard prepared. Now what I did not do yet should have done was attach and clamp down the tubing. The tubing is very stiff, so doing that once the mainboard is installed will put additional strain on the mainboard/processor when you push on the tubing.
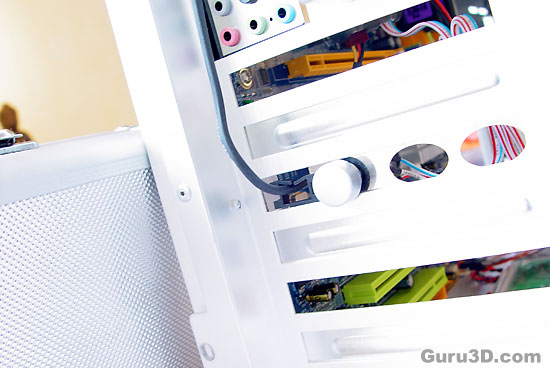
In the backside of the PC we insert a little metal bracket with holes in it. This actually guides the tubing and electricity towards the radiator and fan. There's also a control knob on it, this is the fan controller.
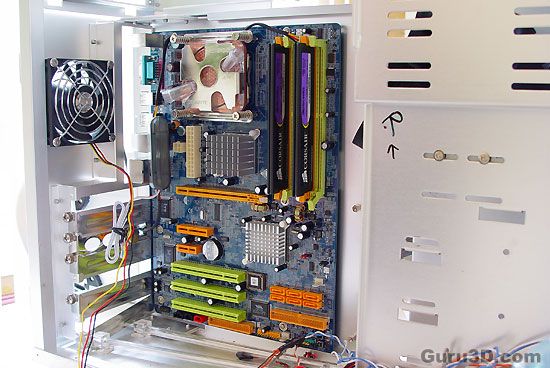
I have now installed the mainboard into the chassis. The clever thing to do is to have all components installed and seated onto the mainboard for a hassle free installation of the water-cooling components.
