Page 7
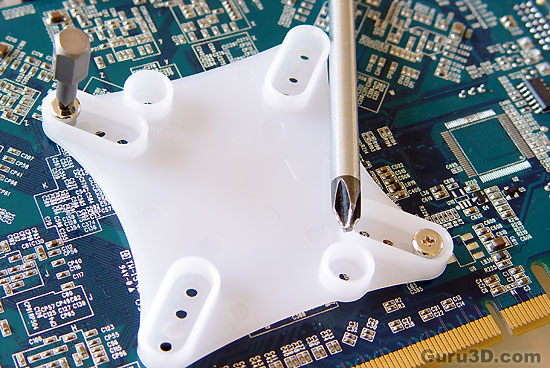
Once that's done, on the backside we place a plastic retainer clip. Small note here: You'll need to find the smallest screw driver you can find, a regular one will not fit. Secure this clip with two screws only ! Four will put tremendous strain on the graphics core which you do not want to damage. This clip will fit on any modern graphics card.
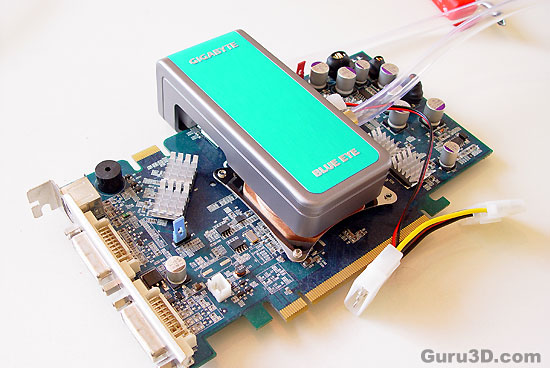
The two screws will secure themselves on the blue eye. Gigabyte will use a new revision soon with springs. This method is simplly not good as too much force could kill your graphics core. The versions you'll find in the stores will be the updated ones !
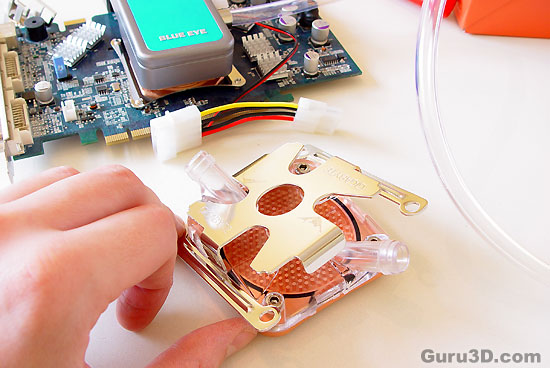
Time to install the PC, we take off this metal shim (it's equipped with the AMD shim) and insert an LGA 775 metal shim on the cooler. On the backside of the mainboard we place a retention clip so that the mount is secure with the cooling block.
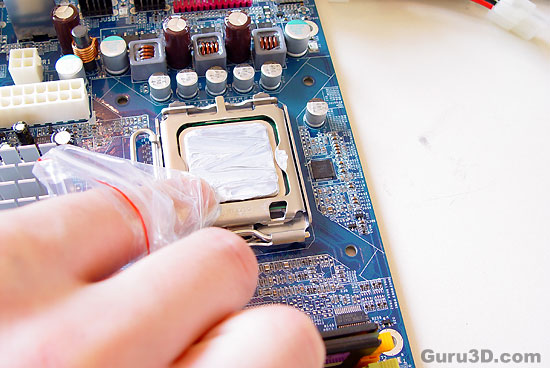
Before we mount it securely we need to make sure that the top of the processor is clear, clean and has been applied with thermal paste.
