Showcase Installation
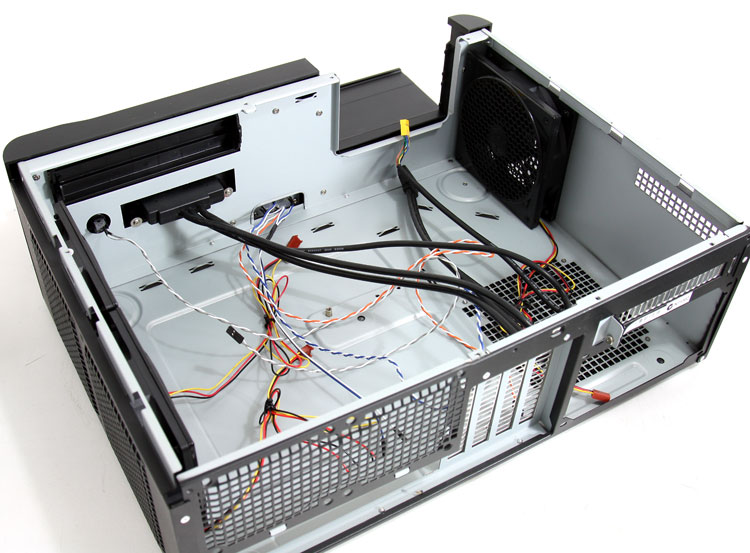
Well remember this, you can not install a regular ATX sized motherboard. Your best next option is a micro-ATX motherboard and there's a plethora of them available these days. As you can see we removed the optical and HDD bays. We are ready and all prepped for installation. Installing a mATX motherboard in this case was pretty straight forward. All of the standoffs are pre-fitted for a mATX motherboard.
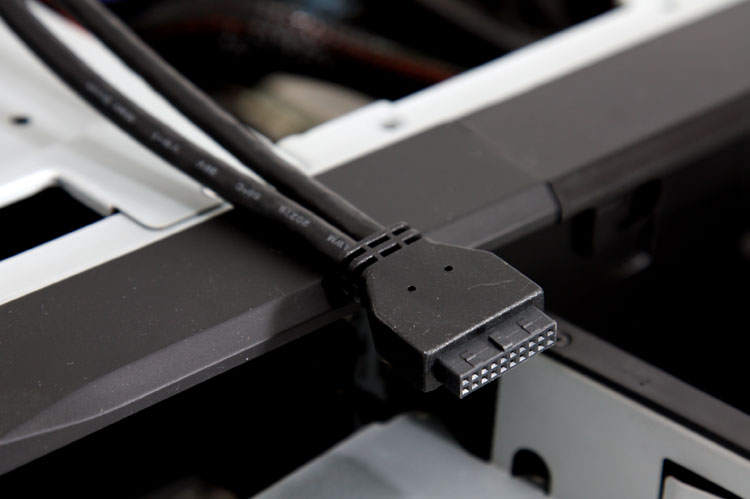
Small note, we love the fact that this chassis comes with the native USB 3.0 connector which you can connect directly to any motherboard supporting it. You do not have USB 3.0? Well use the supplied converter cable and connect the device up to a USB 2.0 header on your motherboard and then you are good to go as well.
Here you can also see the motherboard mounting holes, remember this is an mATX chassis, a regular ATX sized motherboard would not fit -- it will only house micro ATX or mini ITX form factor based motherboards.
There's plenty of mATX motherboards available right now, in fact just browse our motherboard reviews section for a bit of advice on that.
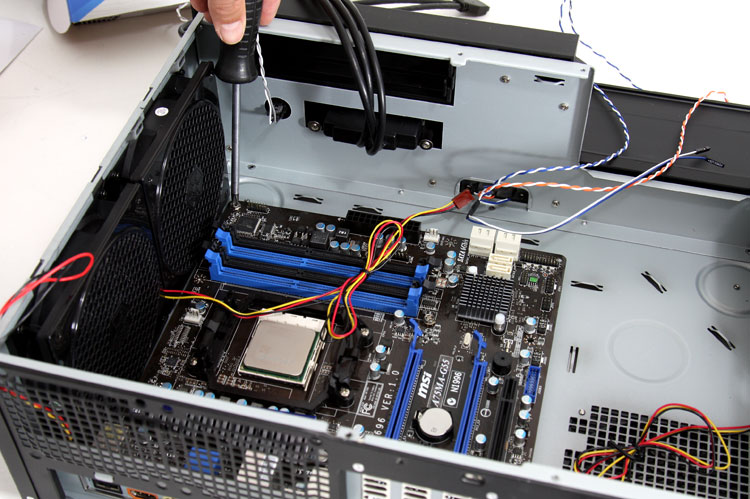
We choose to use a AMD A75 motherboard from MSI, we pop in an A8-3800 APU and instantly gain a CPU/GPU/Audio/HDMI/ Gigabit Ethernet. What more would we need? This setup is plenty powerful and will cost us no moree than 200 EUR. 2GB memory is 30 EUR, then all there's left is a Power supply.
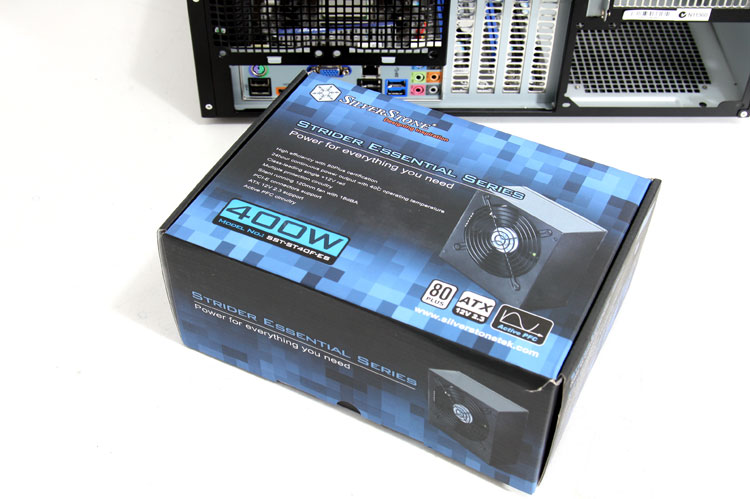
PSU wise we opted to go with a SilverStone Strider. At 400W and reasonable efficiency it is the perfect product really. This is the smallest ATX version, only 15cm wide. Anything wider would not fit in this chassis.
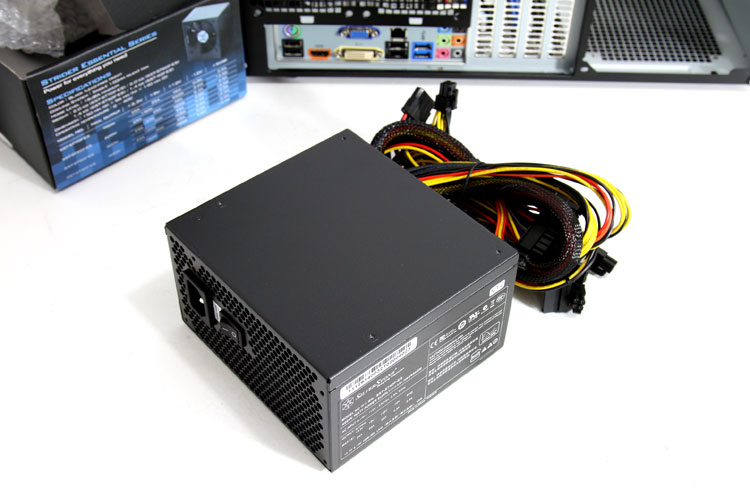
So that's another 40~50 EUR. All in all we now have spend oughly 400 EUR but got ourselves a really interesting HTPC components wise.
