Page 8
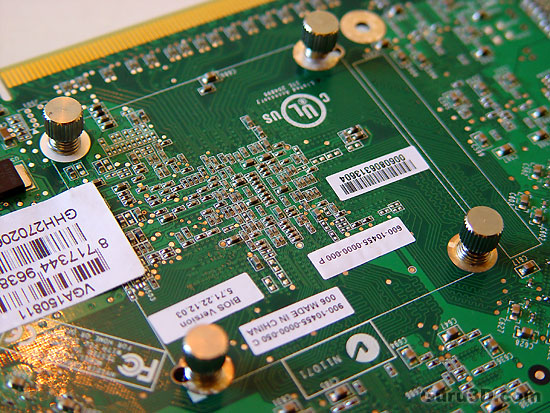
Once everything is installed properly this is what the rear looks like. Let me flip that card around for ya to look at the frontside.
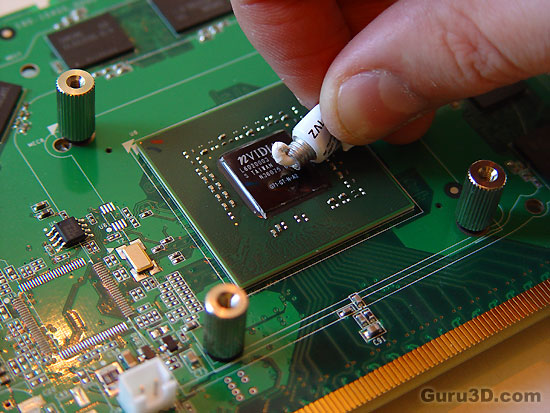
At the frontside we place a rubber washer and the stands. This videocard is now ready for the water-block. As stated before, first we need to apply a little thermal paste onto the GPU core.
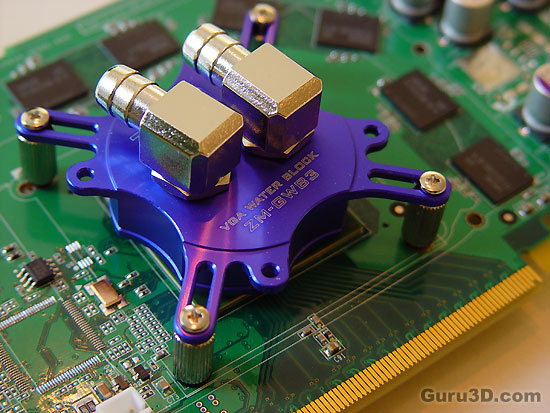
Next you place the water block on top of the GPU and then screw it secure with, and you'll never guess this... four screws. That's how we install the VGA card. Let's move onwards to the mainboard, preparation wise.
