Page 10
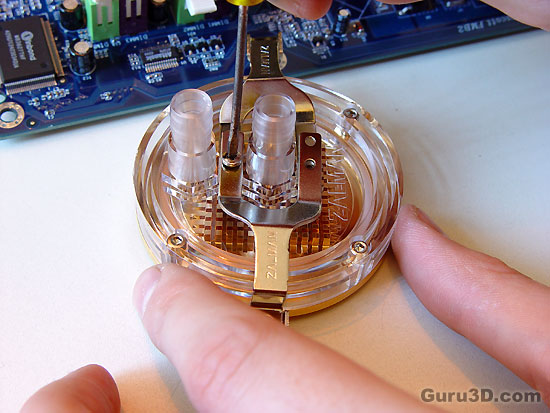
Now have a look at the manual. You need to secure the two brackets according to your Socket Specification in order to mount the CPU block onto the CPU socket and retention holder.
Now we place the water block on top of the CPU and screw it in securely with the help of a retention clip and two screws. Carefully place the mainboard back into the PC chassis.
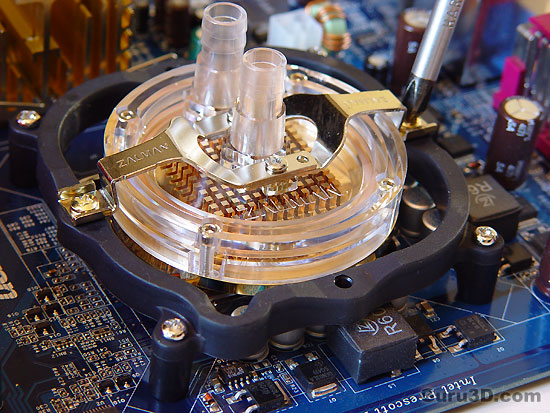
Now two things I need to mention. First off .. DUH .. I have the water-block positioned improperly. It needs a 180 degree turn, the spot where the tube is needs to be on top, this is your inflow of water, the middle connector is the outflow. Secondly, please install the tubing prior to installing the waterblock. I kind of had to use a lot of force to push them onto the mounting. Also do not forget to clamp down (as so irrefutably shown) the tubing to prevent leakage.

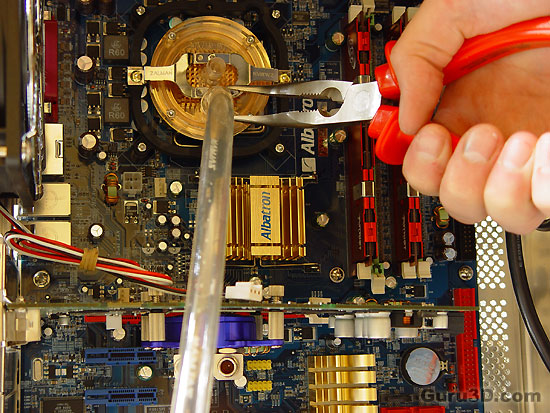
We now insert the graphics card which we also have lubed and tubed. Now have a look at the flow line. The flow should go towards the CPU, then towards the GPU and then back to the reserator. Work the flow from up to downwards, gravity, make it as easy on the pump as possible. Don't forget to guide the tubing into the casing with the help of the I/O bracket. You guide the tubing to the water units and then lead them outside the system case through the holes in this special back panel bracket. Also a power cable goes inwards that connects to a Molex connector as it's being used to power up the LEDs and alarm of the reserator.
