Page 7
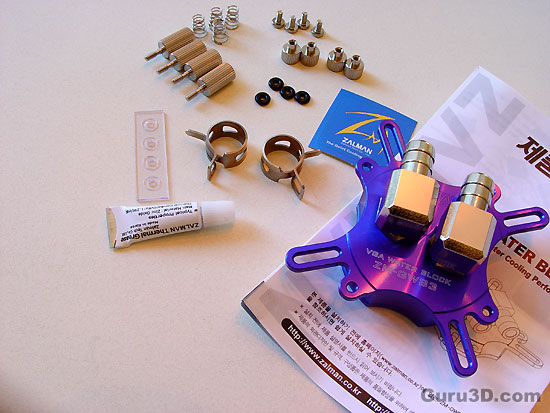
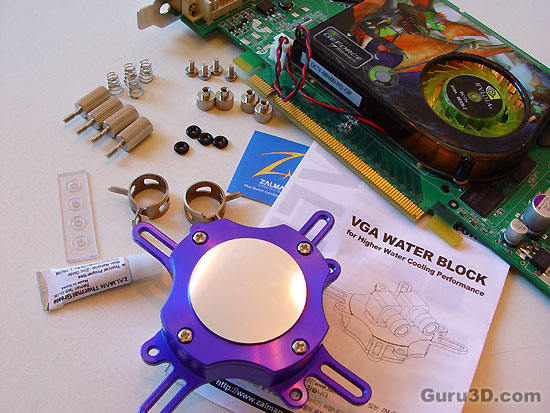
Here we can see the water cooling gear for the VGA card. The package contains a GPU water block, four stands, screws, plastic pads to go under the screws, tube clamps, users manual and a tube of Zalmans thermal (not tooth!) paste. So pretty much all the appropriate hardware is delivered. No spare parts though. Lose a spring and you need to report to Houston ... (that you have a problem dude!).
We'll be water-cooling a 300 bucks worth NVIDIA GeForce 7950 GT today, so this better work properly my dear Guru3D citizens!
The GPU block has a light weight pure aluminum base for high cooling performance. The entire block is anodized and coated to help prevent oxidization.
Now before installing the water-block we immediately install the tubing and the clamps. You do not want to do that tubing stuff after you installed the water block onto the GPU as you'll need to apply a diminutive force (understatement). So basically you prevent damaging it if you do that up-front.
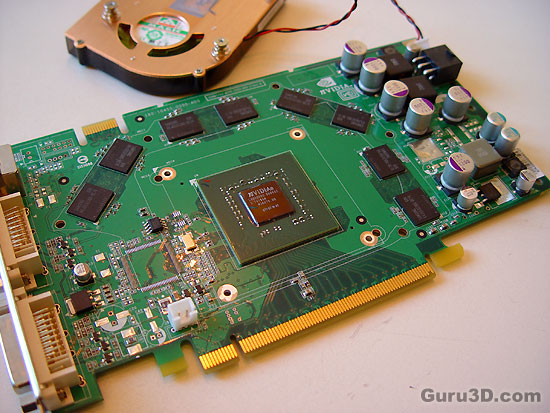
Once unscrewed we can easily remove the cooling unit and see the GPU core all nekked babe! Get some Kleenex and clean it, get that goop off the GPU. Then make sure you re-apply thermal paste on the GPU and distribute it evenly and don't overdo it. A drop or two is more than enough.
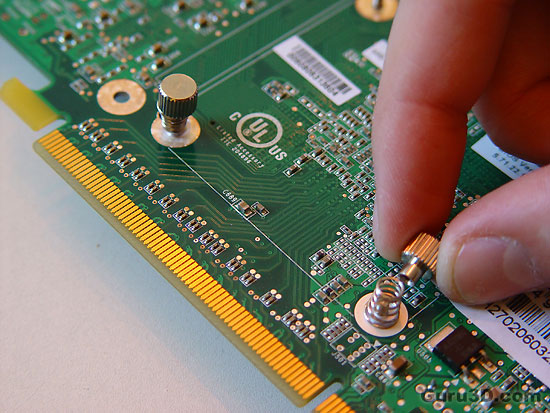
At the backside we place a washer, spring and screw, four of them which mount towards the stands on the frontside.
