Software installation
Software installation
Right, after you startup this NAS you'd expect it to pickup a DHCP lease within your network. E.g. your router should assign an IP to the NAS to bind it into you local LAN network. This is not the case unless you hover in the 192.168.1.x subnet. Our (and most) networks are to be found in the 192.168.0.x or 10.0.0.x area, the Thecus NAS comes configured with a static IP at 192.168.1.1 which is in another sub-net, and therefore it cannot be reached or accessed.
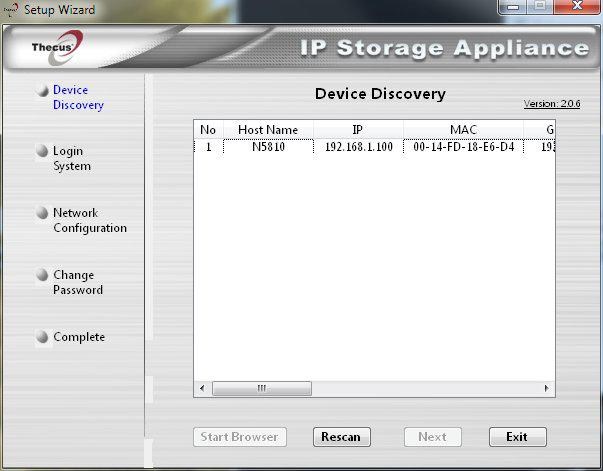
So with a DHCP lease, normally you type in the IP in your browser and start configuring. However to access the NAS for setup, we'll need to revert to a utility (Thecus setup wizard installer) that Thecus delivers with their NAS units (available for download on their website as well). Just start it up and you will see your NAS listed as above.
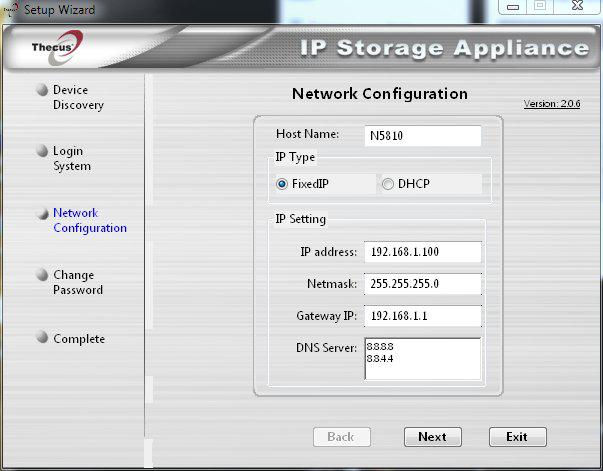
After you login with the default admin/admin name/pass (change that!) you can assign an IP or, select DHCP after which your router will assign it one. Here you can also alter DNS lookup servers. Thecus conveniently points to 8.8.8.8 and 8.8.4.4 both owned by Google and always online. Once you will have finished the wizard your NAS is ready to be accessed.
We type in our new IP and now can access the NAS. A wizard starts to setup the unit. After installing your HDD(s), giving the unit power, connecting it to the Ethernet and powering it up, after a minute the HDD LEDs will lit up and you'll hear a series of beeps. The device is ready for setup. You'll notice the shoddy old style design of the ADM ThecusOS software below. Thecus still delivers revision 2 of their ThecusOS software. The good news is that they are in the finishing stages of revision 3.0 and we will test the unit today with the beta of ThecusOS 7.0. firmware.
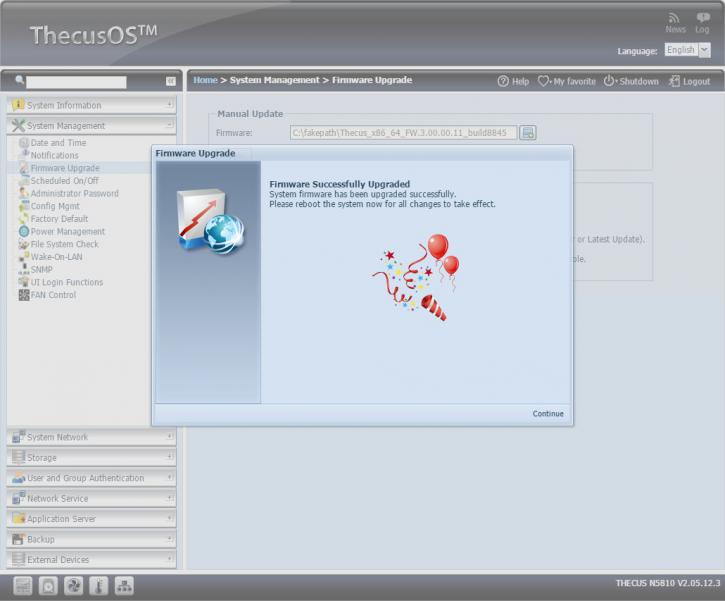
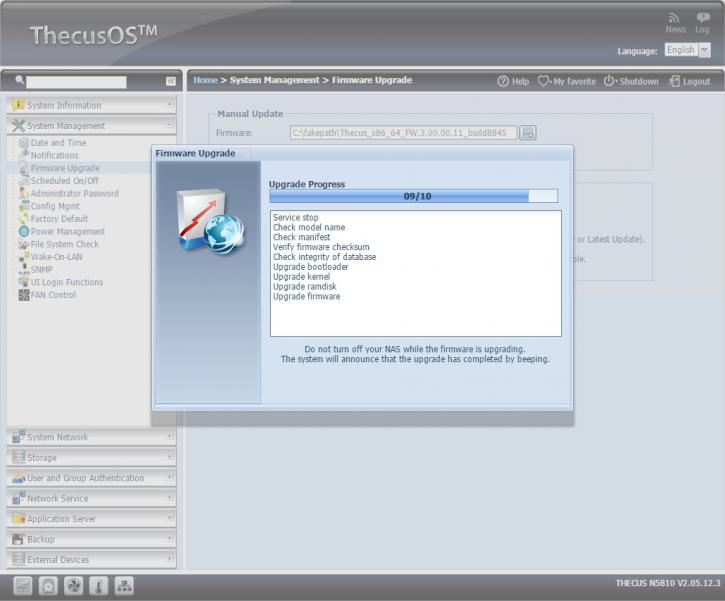
Regardless of us trying and showcasing the new beta 3, the first thing you should do is to see if there is new firmware available. You should update with the update function. The Firmware will automatically download and install. A process that takes merely a minute or so.
ALWAYS update your firmware to the latest revision when an update is ready. These updates not only introduce new software, they apply security and vulnerability fixes as well. Especially if you plan to make your NAS publicly available though http / ssh / mysql or FTP then always update. Once your NAS has installed the firmware and has rebooted it will continue in your browser. If not, type in the NAS IP again.
We now choose the wizard setup (which is tremendously easy) insert a NAS unit name and password, and from there on you can follow a simple wizard to setup your device and configure it in your network.
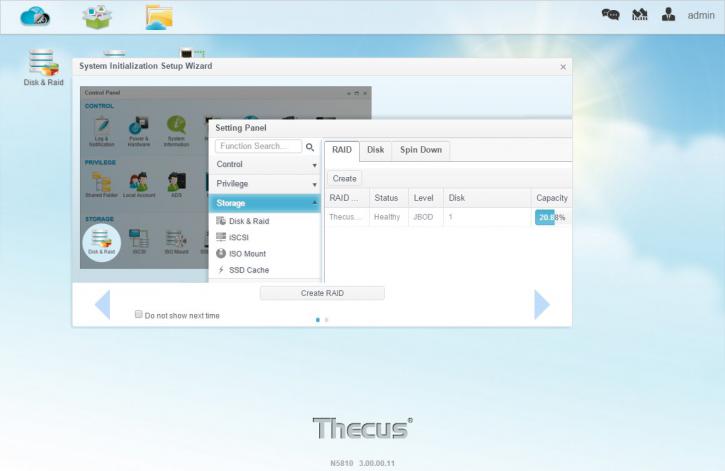
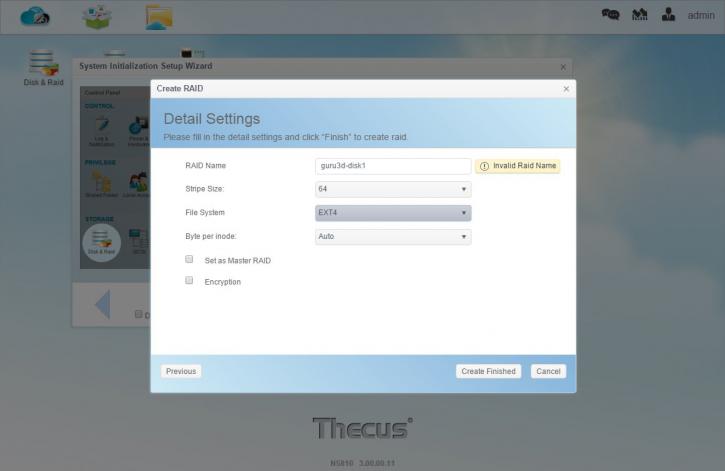
In the initial system initialization you will be asked to setup your storage units / array. You'll have plenty to choose from, we test with an SSD to be able to stress the file-system, yet also properly measure the capable throughput of the NAS unit. Nice to see is that we can opt from multiple file-systems, the always popular EXT3/EXT4 system, XFS and Btrfs are supported as well. Btrfs is interesting yet will be slower oppose to to XFS and EXT4. But hey choices are good right ?
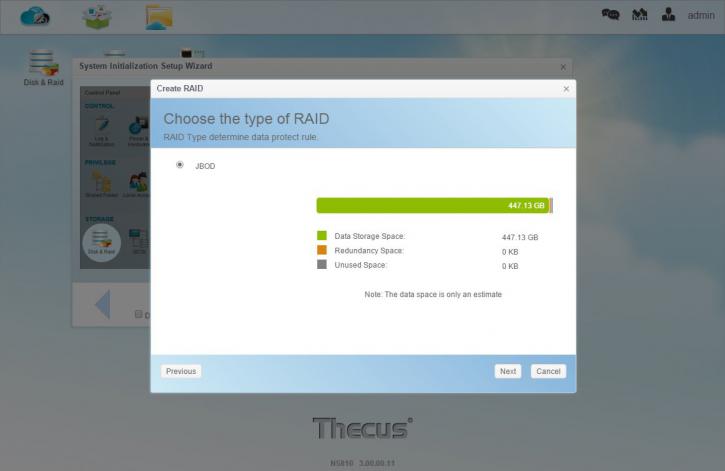
We'll only test with one fast SSD, so we'll create a JBOD and leave RAID for what it is. However you can go with RAID 0, 1, 5, 6, 10 and thus JBOD (allows to add more HDDs as you go). With raid you can stripe and mirror or combine that. It's mostly about redundancy with raid so that if an HDD fails, a hot-spare or replacement hotswap HDD could kick in and you can rebuild your array without data-loss.
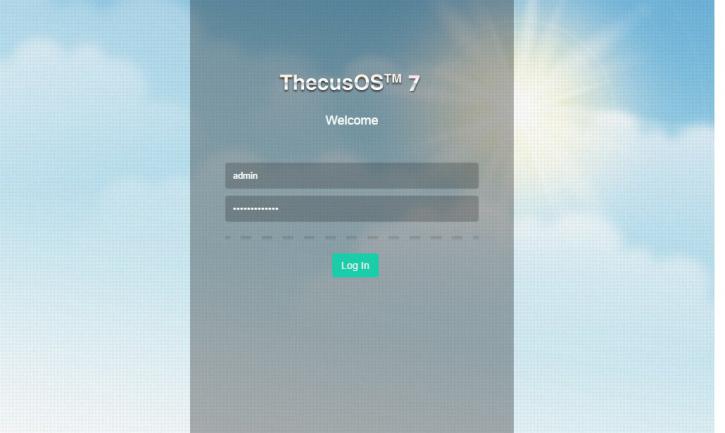
Once the NAS goes through the setup initialization stages we can login based on the admin logon password we just inserted. Small tip in advance, should you like to have your public web-content and say FTP available on the internet, then in the router setup open up TCP ports 80 and 21 for your NAS IP 192.168.0.xxx / 10.0.0.xxx after which your router will redirect all in and outgoing requests to the assigned IP. But again, make sure you download and updated to the latest available firmware for security reasons.
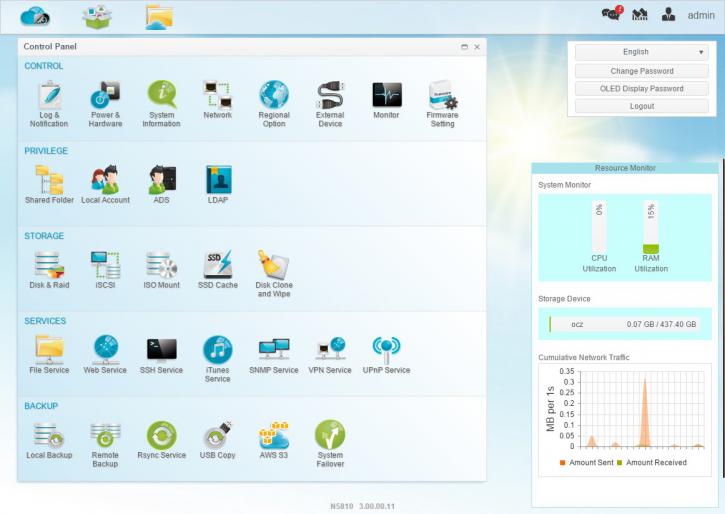
Once the automated setup is complete the unit will login to the admin interface, and there you have it ... the new Beta of the ThecusOS 7.0. firmware is at build 3.00.00.11. That most definitely looks a heck of a lot better than the previous revision. Thecus was in for a long awaited upgrade in comparison to the competition alright. It looks really good, but being beta a thing or two will not yet work for us, mostly related to the downloadable apps. The core functionality with this beta is rock solid though.
