Home Storage Center (NAS)
Once you have connected the NAS unit through the Network and powered it up it's time to find it within the network. The unit will automatically configure to defaults and obtain a DHCP lease from the router. Once that process is finished all you need to do is to look in your Network where you'll notice a new device called SITECOMNAS.
Now we can go all complex with driver seek software and what not, but try the simplest rule in the book - open up a browser and type in the name like so http://SITECOMNAS
After a few seconds the administration login will present itself, here we enter (what a surprise) admin:admin

And yes, be sure that you change your NAS login and password okay? Now after you change username and login, we recommend the novice user to enter the setup steps.
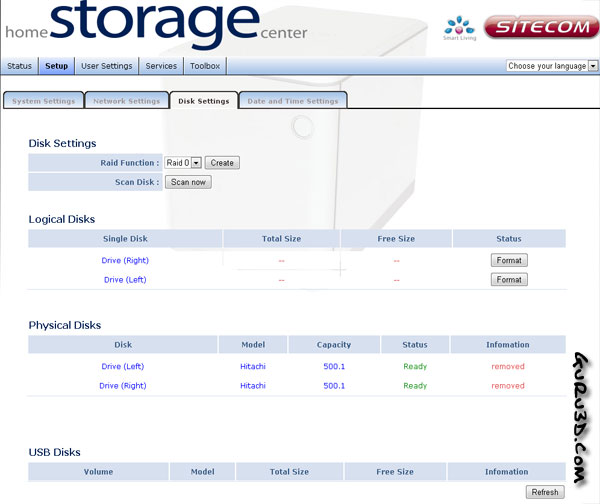
Now we want to make a choice on how to configure the HDDs, RAID 0 or RAID 1
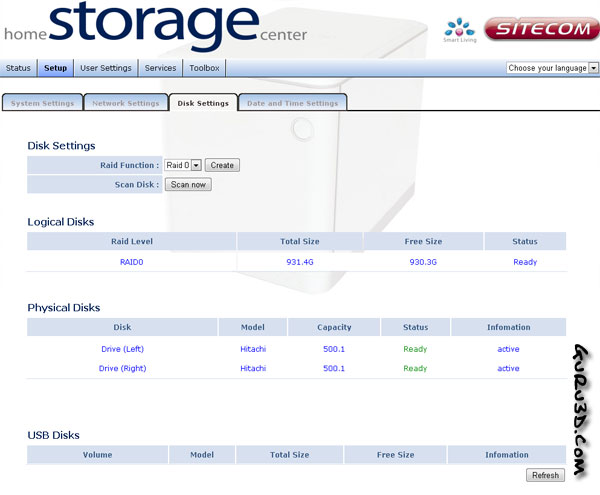
After you format the HDDs in whatever shape or form you like them, the NAS unit will reboot, and you can immediately start using it, as a public share is already available. Of course if you like to go deeper you can assign user based network shares.
