Product Installation
Product installation
We are testing the cooler in a case, in order to recreate a real-life scenario. Here, you can see how many wires you will need to manage.
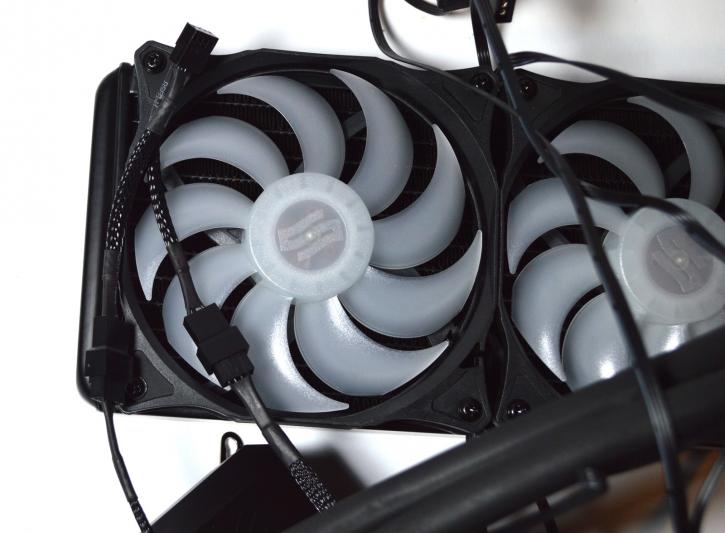
The RGB cables from the pump and fans (connected together) go to the RGB header on the motherboard. Then there is a SATA cable to power up the pump. The fans need power from 4-pin PWM connectors, and you can use the provided Y-Split cable for that.
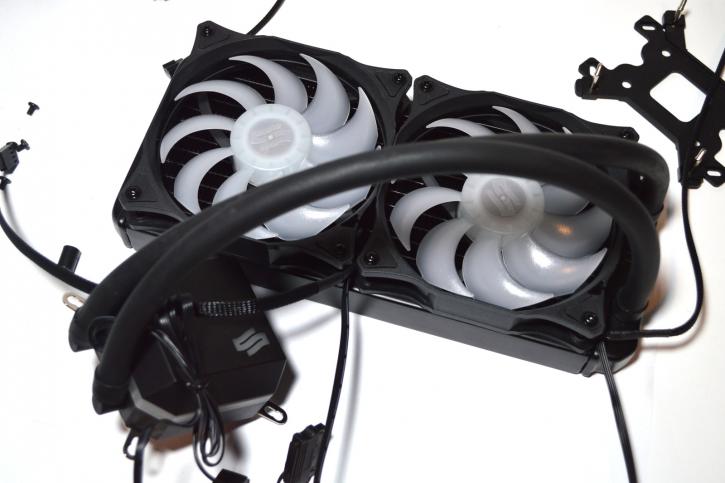
The pressure of the block is very good. The tubing is flexible, and its position can be easily adjusted.
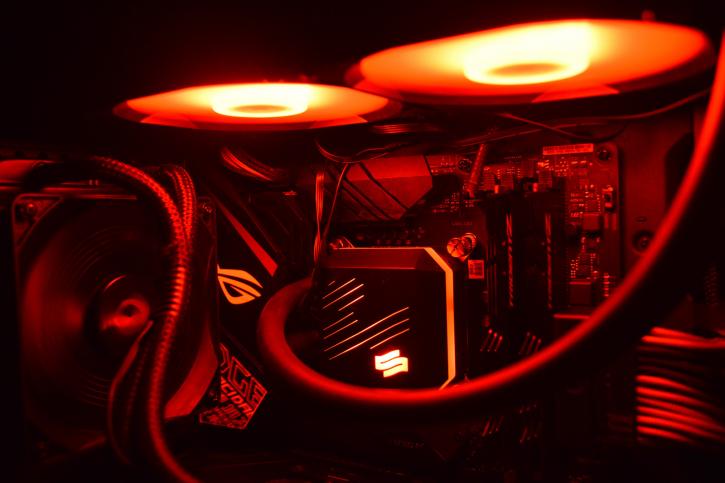
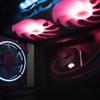
A small teaser of what the Navis looks like after booting. Wanna see more? Then head to the next page.
