Product Gallery
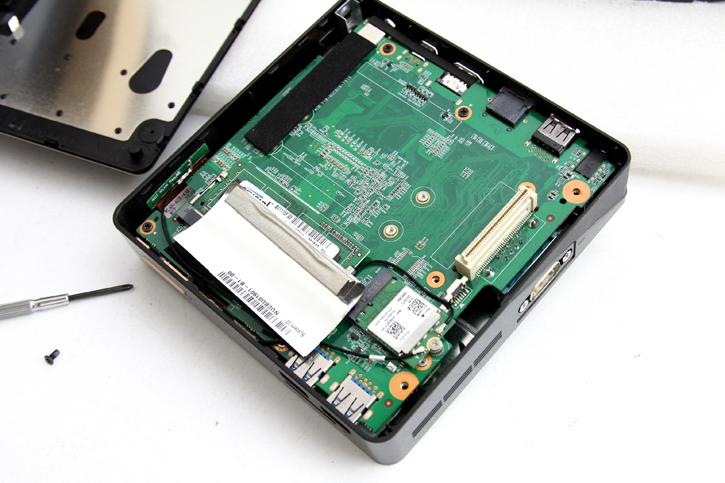
So storage wise basically you can do two things, you may can insert one 2.5" SATA6 HDD/SSD. Obviously you should go with an SSD and not a HDD, it is SATA3 (6 Gbps) capable. At the other side of the PCB (we'll show you that as well) you can however mount an M.2. SSD. This would be more convienent to install really.
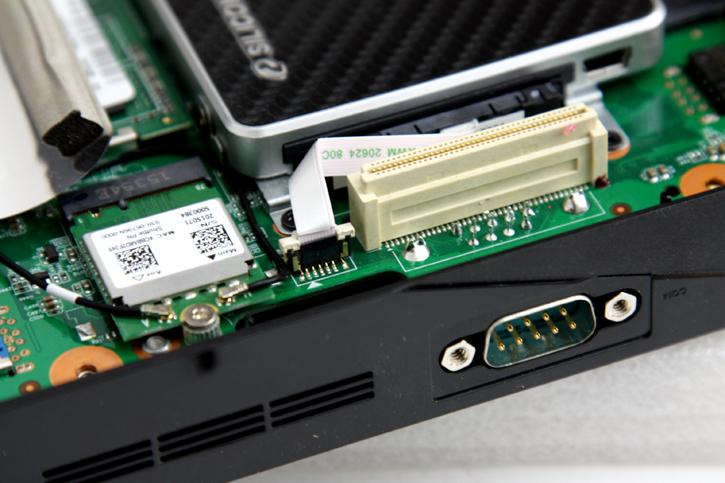
See, 2.5" SSD wise things are more complicated to install. You need to prep and install that little flat-cable (sata and power travels over it). Hence we feel M.2. is the way to go. If however you do want to install a SATA3 SSD, please make note of the fact that it must be a 7 mm tick one, e.g. laptop compatible. Most SSDs anno 2015 however follow that thin form factor.

Here you can see the WIFI card with the two wires leading as antenna's. The WIFI solution is pretty good as we passed 100 Mbit/s performance over WIFI, this is a proper WIFI card supporting wireless 802.11 b/g/n/ac and also offers bluetooth.
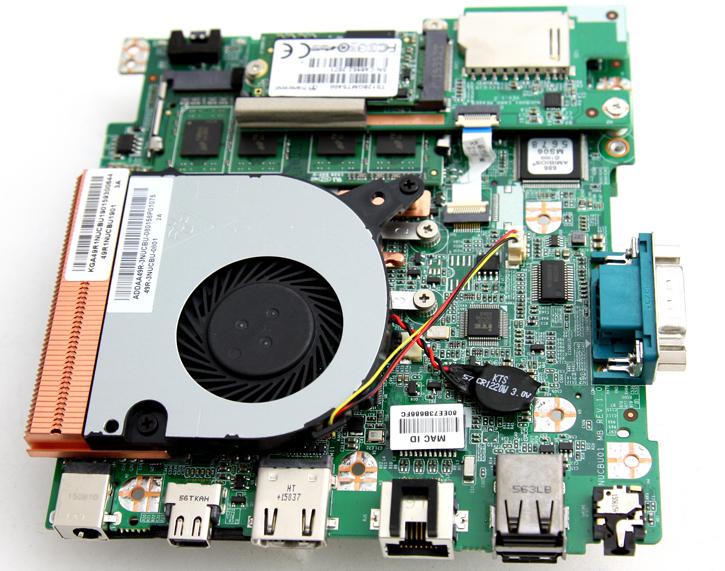
Now when we flip around the PCB, things look more PC style :) On top of the Intel Celeron 3205U Processor sits your standard laptop cooler. Not too noisy but then the processor is stressed you will hear it. At the top side you can see the 2nd SODIMM and the M.2. SSD module that has been installed.
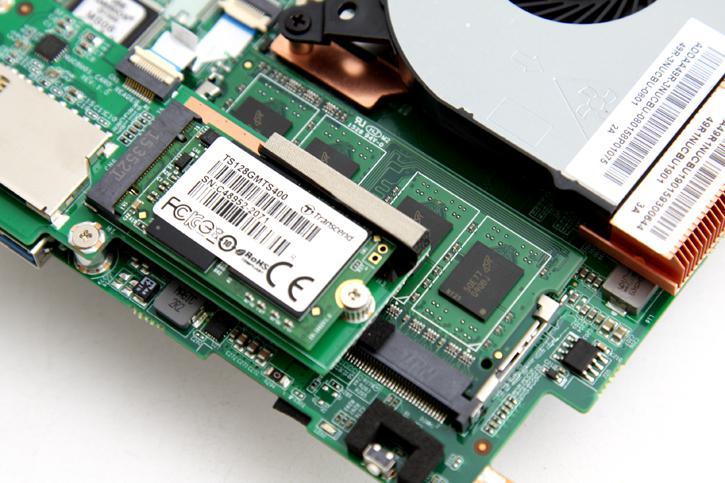
Let me just zoom in at the M.2. SSD (128GB), it was provided by Shuttle for testing. You can opt these things through the Systems Configurator at Shuttle. Alternatively if you like to save money, purchase an M.2. SSD and memory and install it yourself.
