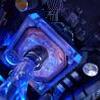
Product Showcase P360 Cooling (Chassis Mounting)
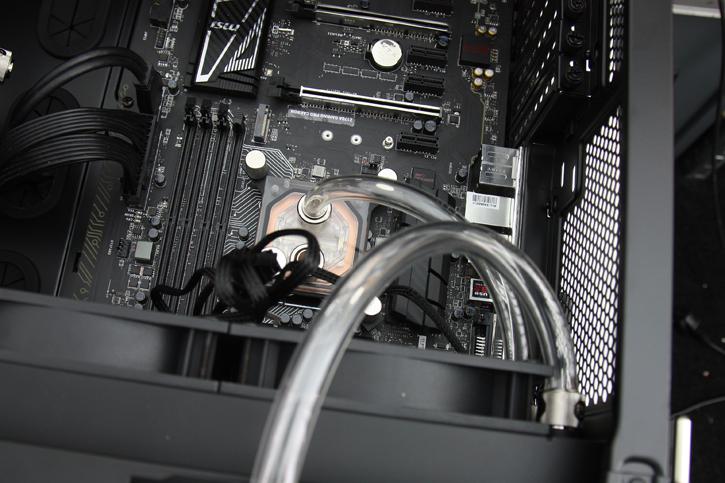
With all components installed, and tubing connected, double check and secure the fittings. Just give them one last twist as there are six of them in this loop. If there is going to be any leakage, it's going to be from an insecurely tightened fitting or improperly applied tubing.
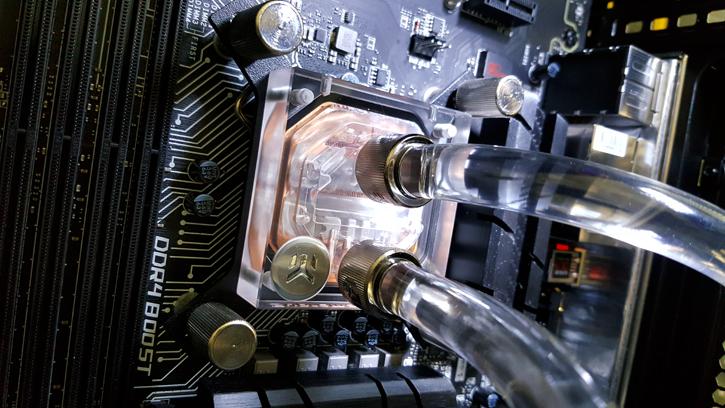
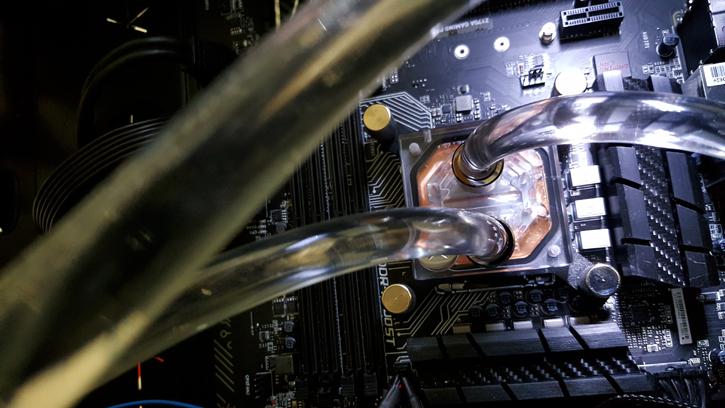
What I have not discussed just yet is our tubing route, let's talk for a second about that. If you are going to install tubing just start at the CPU block outtake (lower one close to the EK logo), our preferred tubing route will ge like this:
- The coolant inflow route will be radiator out-flow to to CPU waterblock to reservoir/pump back towards the radiator-in-flow.
It is a very simple route, but a very important one. Your liquid coolant will be the coldest when it exits the radiator, hence once you exit the radiator you'll want to have that coolant go directly towards your CPU. Having the reservoir in-between that section thus would not make any sense.
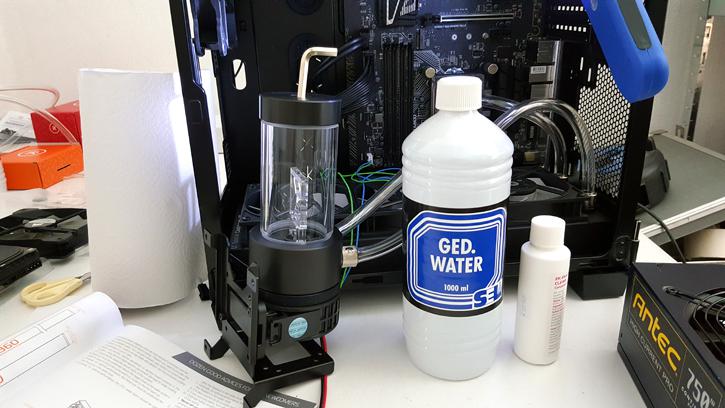
Once we have our loop in place we need to fill the unit and let air escape. We now fill the reservoir and added some of the included anti-corrosion coolant towards our distilled water. BTW you can pick up distilled water at supermarkets and gas stations. It's really cheap to get - here in the Netherlands it's like 50 cent per liter. The anti-corrosion coolant supplied with the P360 has been designed to prevent corrosion not only to the pump but also other materials it comes into contact with. It provides a bit of peace of mind for long-term operation.

We now have everything in place and can power up the PC. Now since this is a PC and we haven't been able to check for leakage with the loop filled just grab some disposable towels and place some at critical areas (CPU and VRM). If there's going to be a drop of leakage that towel will absorb it.
For the first stage test run we'll only want to power up the pump. You can do this several ways, disconnect the motherboard ATX power connectors and simply only connect the pump to the molex connector. You can now hotwire the PSU with the included PSU hot-wire adapter. power will go on, the pump will start. BTW the pump will only start if you have not connected the FAN PWM connector to the motherboard.
In our case we have used a second PSU, connected the pump and hot-wired it to activate just the pump.
So again: use the delivered ATX bridging (hotwire) plug. Just plug it into the ATX cable and your PSU will turn itself on with just the pump connected and thus activated. IF there was any leakage (very slim chance), then you are not shorting things out. And again, at critical positions (fittings) place some disposable towels. If there would be any leakage it'll be absorbed.
We recommend leaving the pump activated for a couple of hours to make sure there is no leakage. Slowly fill the reservoir once it needs more water. It'll take a while before all air is out of the system as well.
If you are impatient, a good 15 minute test should be pretty consistent as well. Once you are confident nothing is leaking you can remove the bridging plug, connect your components and power on your PC. Go to the BIOS, set your PUMP at 100% RPM for a few seconds and any air left inside the loop will be force out in seconds.
