Product Showcase P360 Cooling (Chassis Mounting)
Product Showcase P360 Cooling (Chassis Mounting)
So the next step is to install everything inside a chassis. Being our long-time partner I've been talking with Corsair a bit about what would be a good looking chassis with an EK 360 custom liquid cooling loop. As stated not many chassis can actually house such a big radiator.
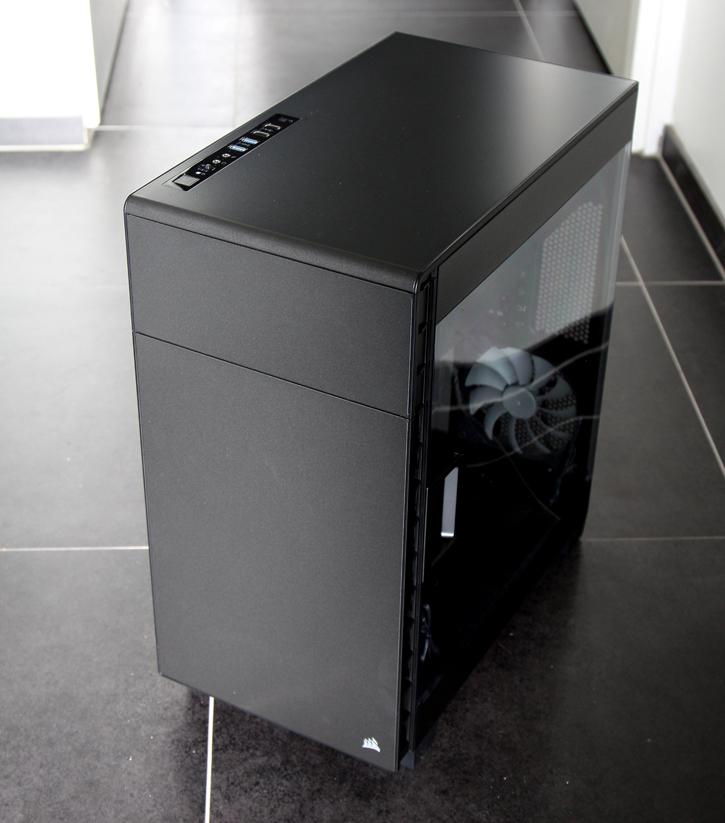
Since I like to do things differently we opted the Corsair Carbide Series Clear 600C (review here). The funky thing about this chassis is that it is a reversed chassis, it's flipped with the see-through panel at the right side, allowing you to look directly at the graphics card in an upright position as well. Heck even the power supply is installed at the top of the chassis.
We're going to build a pretty high-end setup based out of the following components:
- EK P360 kit
- Core i7 6700K
- MSI Z170A Gaming PRO Carbon
- GeForce Titan X
- Corsair Vengeance LPX 16GB DDR4 memory kit
- Corsair AX 1500i PSU
- Corsair Force SSD
- Corsair Carbide Series Clear 600C
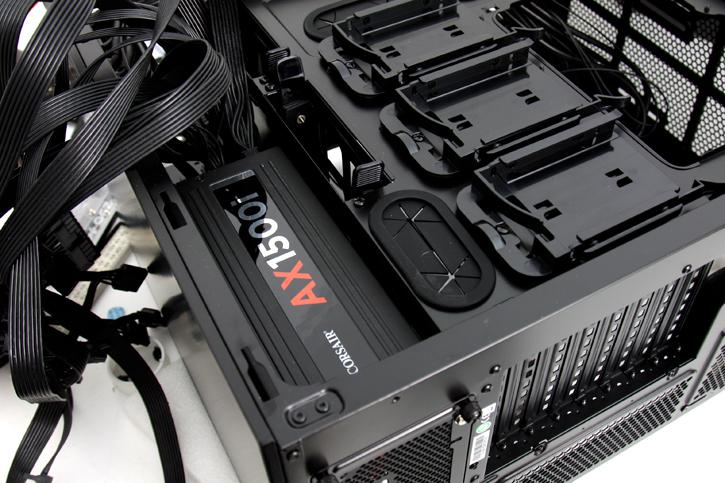
We'll first install the motherboard and power supply as we want to get our cable routing in place. It just sucks when you already installed a radiator to find out it's blocking some sort of access, right?
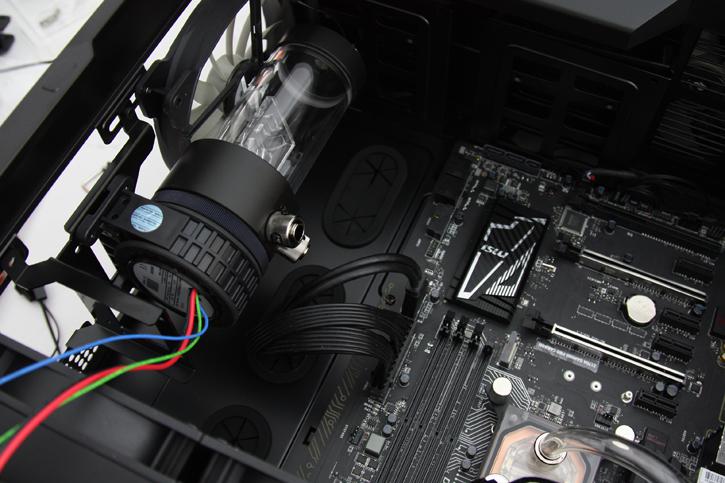
We'll now slowly install the components, and please do fiddle around a bit where you'd want to position your D5 reservoir/pump unit and decide on the orientation of your radiator (fittings at the right or left side). From here on it's all about taste, and thus subjective aesthetics.
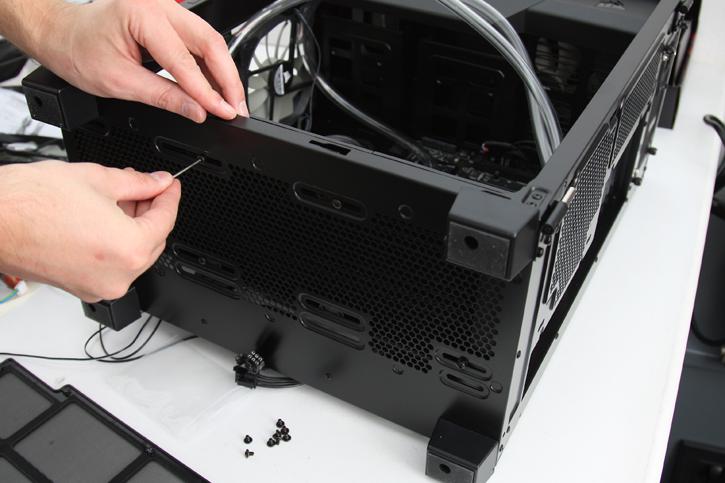
Once the motherboard / PSU and cabling is in place we'll be installing our radiator at the bottom side. The chassis is reversed and has plenty of meshes for proper airflow, we do like our Corsair chassis alright.
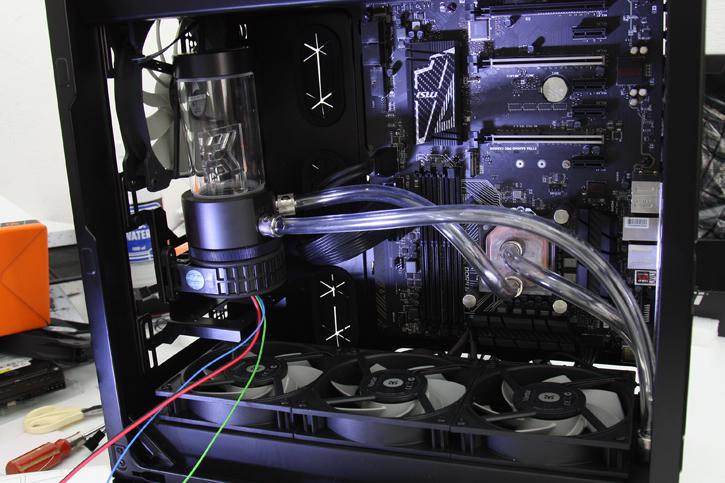
For the D5 pump/reservoir I initially tried to mount to both the the right and left sides of the chassis, yet in the end I decided mount it at the bottom on top of a Vardar fan. Since everything is reversed you'll have plenty of options as there is space left, as well as clearance on the left and right top side and even more if we remove one front or rear fan.
Once you determined your positioning and finished up your cable routing you can slide the tubing over the fittings, simply cut the tubing with scissors towards a desired length and secure it tight with the fitting.s Be careful as you will need to apply grip and pressure which is a little tricky as we don't want to break stuff.
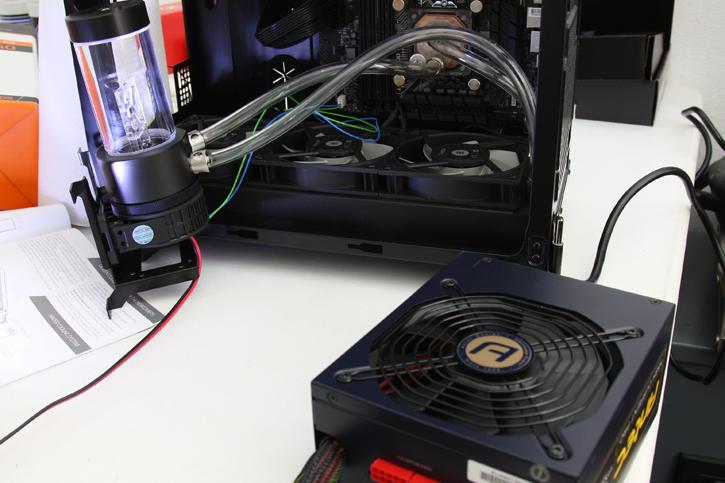
We are now close to filling the loop with coolant. We'll be using a secondary PSU to power up just the pump and not the rest of the PC.
