Product Showcase CPU & GPU cooling (installation)
Product Showcase - CPU & GPU cooling (installation)
So here's the part of the review where we will add a graphics card to the cooling loop. The Phoenix 360 GPU block again is pre-filled and has quick disconnects so you can easily add more components to the loop.
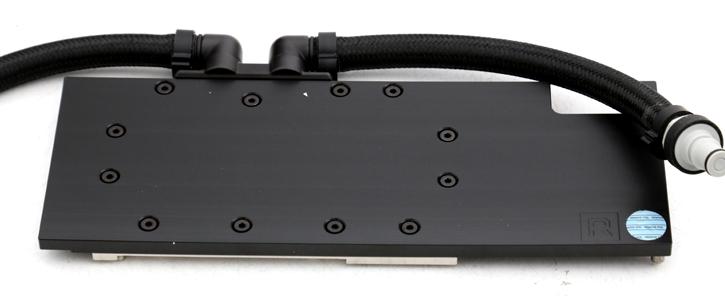
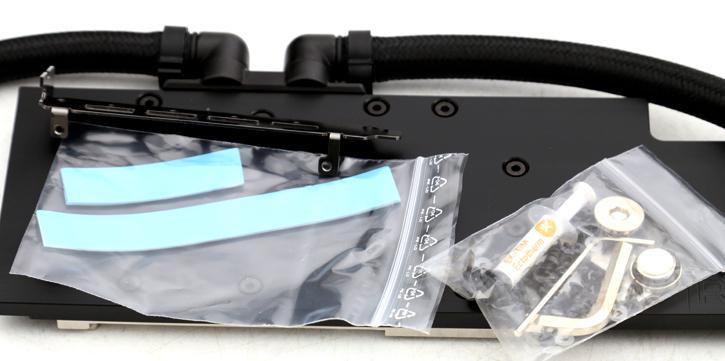
We requested a cooling block for the Radeon RX VEGA reference design as we'll be using the Vega 56 today. This graphics card should be a fun one to see on liquid cooling. The kit we received costs 135 bucks and thus comes with tubing and quick disconnects and is already factory installed and filled with coolant, included are screws, thermal paste, and thermal pads for the VRM section of the graphics card PCB.
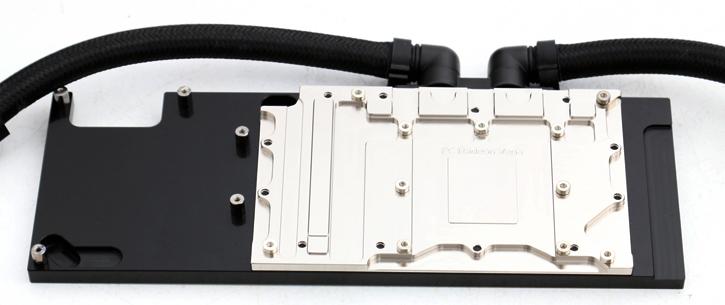
The water-block directly cools the GPU and memory as well as VRM area - water flows directly over these critical areas, thus allowing the graphics card and its VRM to remain stable under overclocked conditions. I opted an Acetal+Nickel finish.
The base is made of electrolytic nickel-plated copper, while the top is made of POM Acetal material. Screw-in brass standoffs are pre-installed and allow for a safe, painless installation procedure. As you are about to find out, the water block will transform the VEGA 56 into a beautiful graphics card.
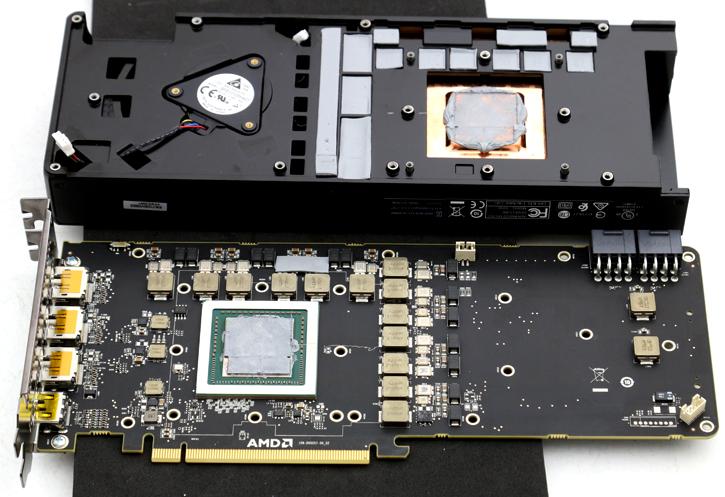
So let me talk you through the process. We take the (originally) 399 EURO graphics card (hey its 650~700 bucks these days!) and need to remove screws, lots of them! - starting with screws at the back-plate. You will need a mini Philips screwdriver there. Easily found in any hardware store.
Then for the front and backside, you'll notice the design that AMD has created, note that everything needs to come off though. It's really a lot of screws. Take your time, and not to sound corny, be gentle ...
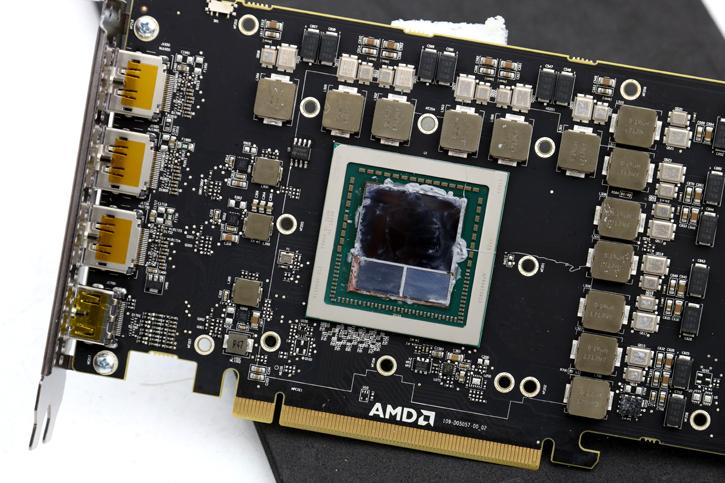
Once you removed the blower style cooler and fan power cable from the PCB you can see the GPU, carefully clean off the residual thermal paste. Cotton swabs and some paper towel will do the job fine, again here ... be gentle. Also, remove the original thermal padding over the VRM ICs in place; obviously we replace them with the padding supplied by EK. As you can see AMD applies quite a bit of thermal paste, simply remove it as we will be applying the included thermal paste that EK delivers with the kit.
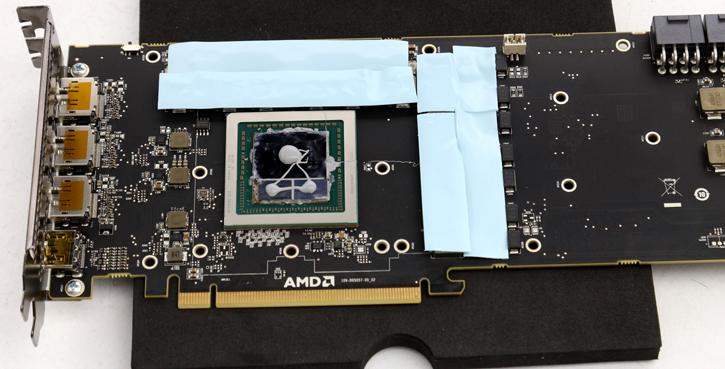
Once cleaned we apply thermal padding on the VRM area, and apply some thermal paste on the GPU and the HBM2 memory. We're now ready to place the cooling block.
