Product Showcase
Product Showcase
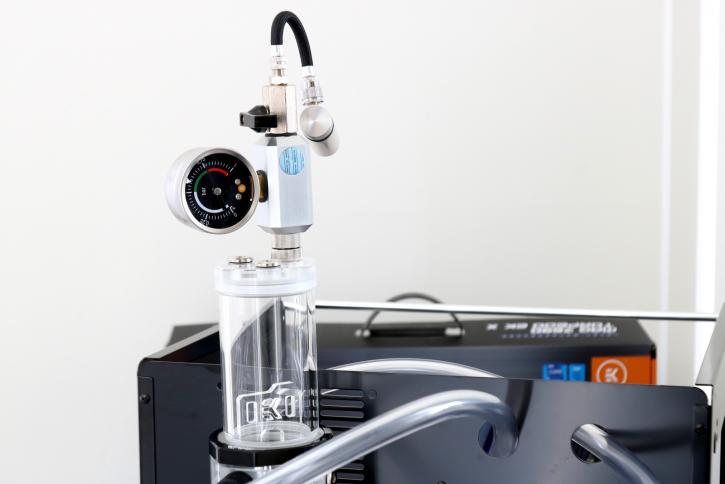
Are you concerned about leaks? EK offers an excellent pressure gauge. Connect this kit prior to filling your loop, add 2-3 bar to the loop, and observe if it leaks air rather than water over your components. Surprisingly, this aided me tremendously because I had a leak, the reservoir tubing was not snug enough against the fitting. After reinstalling itr, the loop was repaired and we were fine to go without adding water.
BTW, the EK kit has a hot wire for your PSU, so you don't have to power anything on the motherboard or components; simply power the pump and let it do its job; after filling, let it run for an hour and check for leaks. We were ready to depart.
Once you performed your pressure testing and leakage testing ... you can now continue and place the block.
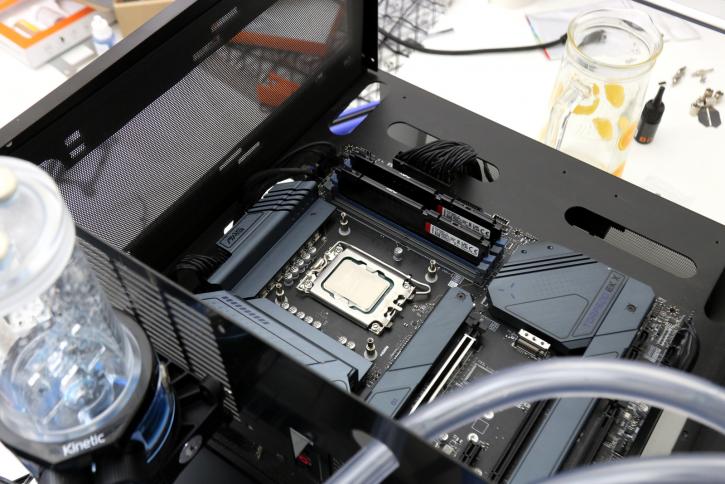
Here you can see the Quantum Velocity2 block which we also received. We'll also test this one to cress compare the temperature on the VRM area (with and without the monoblock).
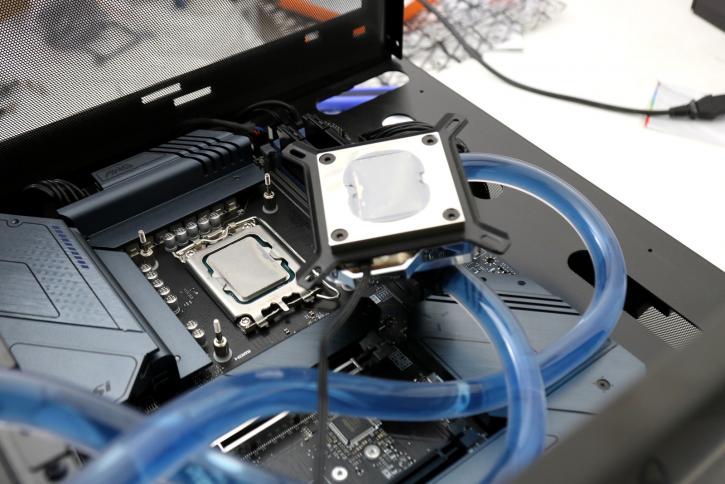
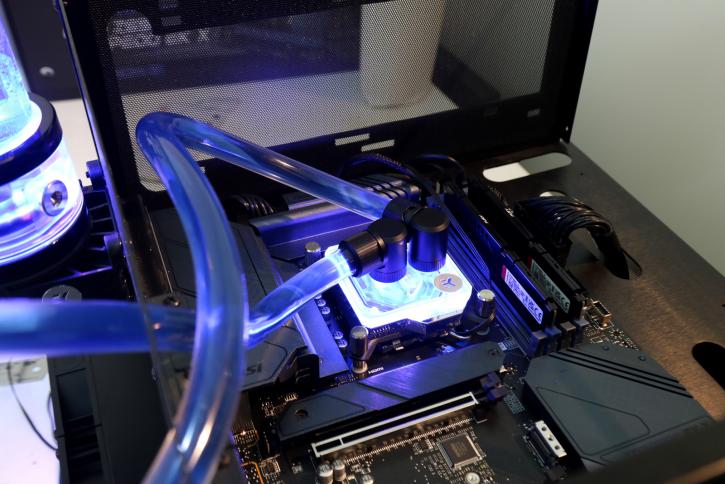
Alder Lake has a pretty big surface area to cover, typically a small drop in the middle of the CPU is enough thermal compound to use. As you can see it spreads nice and evenly.
Once we were done testing the Quantum Velocity2 block we removed it all and started prepping the mobo with the monoblock. Here you can see washers and mounting screws in place.
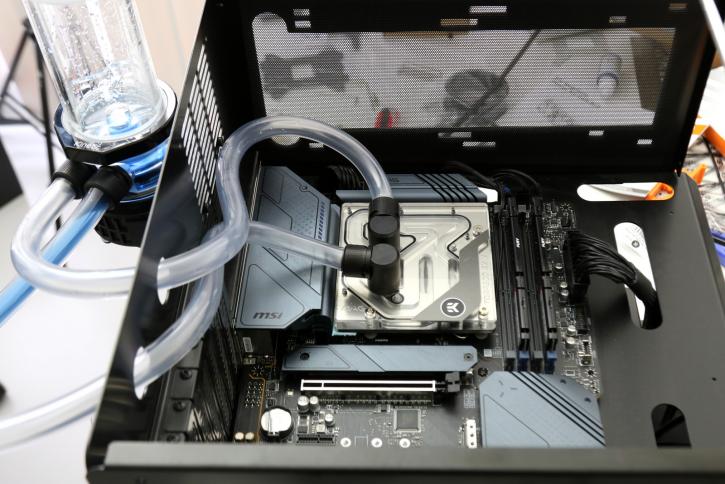
While the monoblock appears to be out of place in terms of color, the Quantum power package contains colored dies for the coolant. Naturally, we chose Guru3D blue.
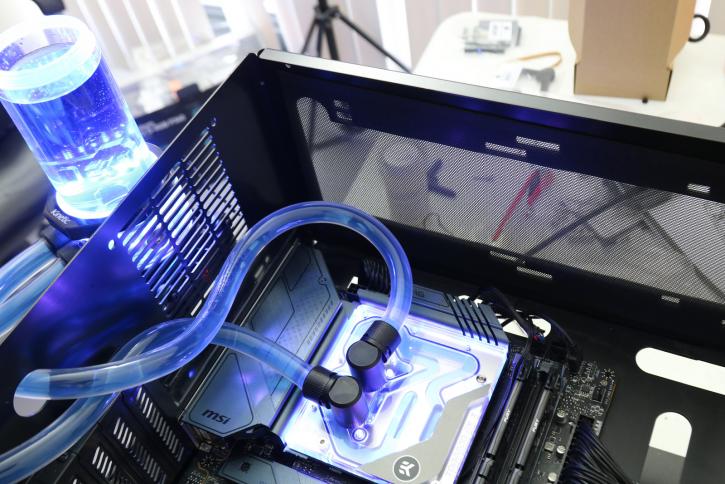
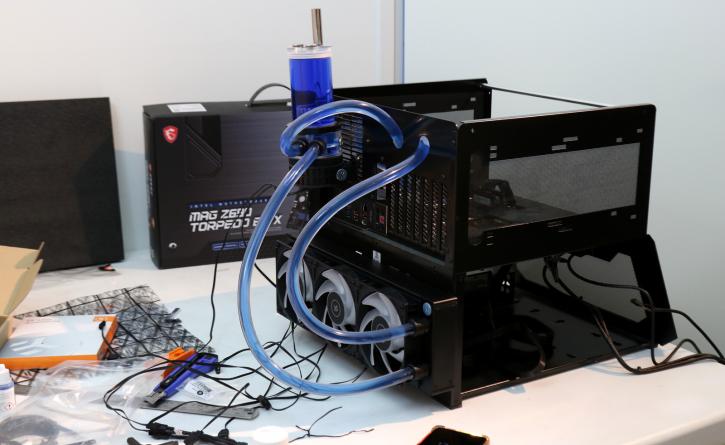
And here we fill up the loop again ... on the next page, we'll have a look at the finished product.
